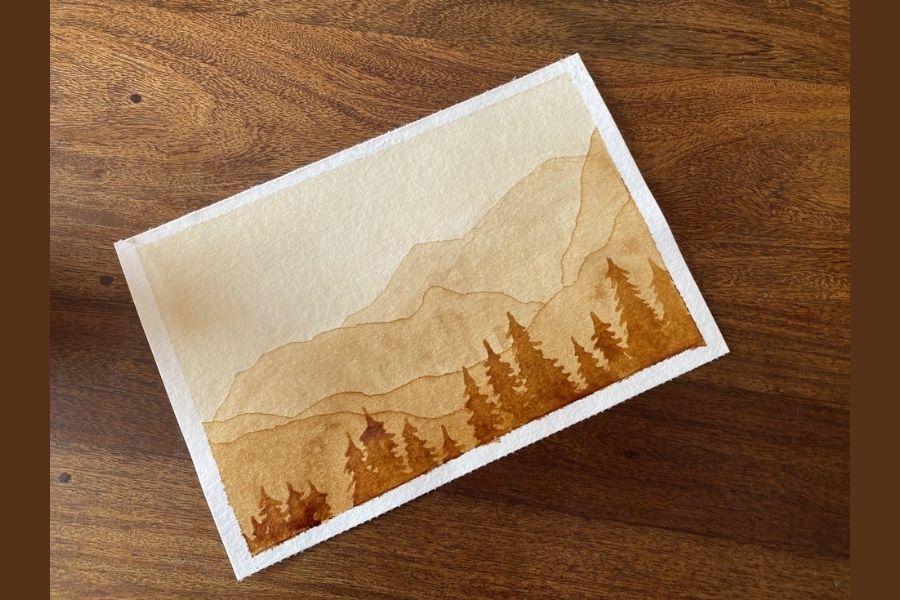
Coffee Painting
Paint pictures using brewed coffee as watercolor, mix shades, experiment with brushes and paper, and display your finished artwork safely.


Step-by-step guide to Coffee Painting
Step 1
Cover your table with newspaper or a plastic sheet to protect it.
Step 2
Ask an adult to brew a small cup of coffee and let it cool to room temperature.
Step 3
Tape the edges of your watercolor paper to the table to keep it flat.
Step 4
Pour cooled coffee into three small bowls to make separate shade jars.
Step 5
Add a little water to one or two bowls and stir to make lighter coffee shades.
Step 6
Dip a brush and test each shade on scrap paper to see how they look.
Step 7
Lightly sketch your picture on the taped watercolor paper with a pencil.
Step 8
Paint the lightest areas first using the palest coffee shade.
Step 9
Rinse your brush in clean water when you want to change shades.
Step 10
Blot your brush on a paper towel to remove extra water before painting.
Step 11
Add darker coffee shades in thin layers to create shadows and depth.
Step 12
Let your painting air dry completely on a flat surface.
Step 13
Remove the tape carefully and display your artwork safely with clips or a frame.
Step 14
Share your finished coffee painting on DIY.org.
Help!?
What can I use if I don't have watercolor paper, painter's tape, or brewed coffee?
If you don't have watercolor paper, use heavy mixed-media paper or thick cardstock taped down as instructed, replace painter's tape with masking tape, and substitute brewed coffee with strong brewed tea poured into the three small bowls to make shade jars.
My coffee painting keeps pooling and the paper buckles—what should I try?
Make sure the coffee is cooled to room temperature and more diluted for paler washes, tape the paper edges tightly to keep it flat, blot excess coffee with a paper towel after rinsing your brush as the instructions say, and let each thin layer air dry completely before adding darker shades.
How can I adapt the activity for a 3‑year‑old, an 8‑year‑old, or a 12‑year‑old?
For a 3‑year‑old, skip the pencil sketch and let them paint freely with the palest coffee shade and a large brush while supervising, for an 8‑year‑old follow the steps including light sketching and teaching rinsing/blotting, and for a 12‑year‑old add more bowls for subtle shades, finer brushes, and deliberate thin layering to build shadows and depth.
How can we personalize or make the coffee painting more advanced or decorative?
Try sprinkling coarse salt on wet pale layers for texture, reserve highlights with masking fluid before adding darker coffee shades, add tiny touches of watercolor paint for color accents, or press dried coffee grounds into a damp area for gritty texture before removing the tape and framing as suggested.
Watch videos on how to paint with coffee
Coffee Filter Art | Simple Painting for Kids
4 Videos

Coffee Filter Art | Simple Painting for Kids
Technique- Painting with Coffee (Studio Art)
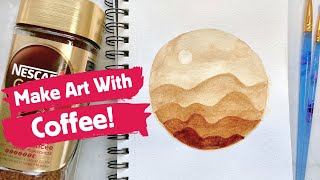
Painting With Coffee ☕ Easy Sunset Landscape For Beginners Tutorial ☕
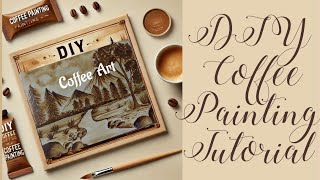
How to Create a Stunning Coffee Painting |Step-by-Step Tutorial |Art with Coffee #diyart #coffeeart
Facts about watercolor painting for kids
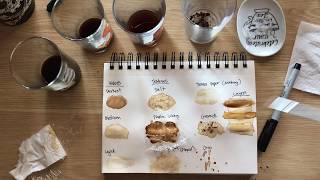
☕ Brewed coffee works like watercolor—mix more water for pale sepia and a strong brew for rich dark browns.
🖌️ Different brushes (round, flat, fan) change how coffee spreads and the textures you can make.
🌿 Coffee’s brown comes partly from tannins, plant compounds also used as natural dyes for cloth.
🕰️ Artists have long experimented with beverage-based inks like tea and coffee to create warm monochrome art.
💧 Let coffee paintings dry fully and seal or frame them behind glass to prevent smudging, fading, or mold.
How do you do coffee painting with kids?
What materials do I need for coffee painting?
What ages is coffee painting suitable for?
What are the benefits and safety tips for coffee painting?
