Design a Chibi Character Based on an Animal
Design and draw a chibi character inspired by your favorite animal, simplifying features, choosing colors, and adding expressive poses and accessories.

Drawing Apps
Step-by-step guide to design a chibi character based on an animal
【 Tutorial 】 How to draw Chibi Characters
Step 1
Pick your favorite animal and say its name out loud.
Step 2
Look at a photo or picture of that animal for one minute to notice shapes and colors.
Step 3
Choose three key features to simplify and exaggerate like big eyes fluffy tail or pointy ears.
Step 4
Draw a large round head in the middle of the paper.
Step 5
Draw a small rounded body under the head with simple stick or stubby limbs.
Step 6
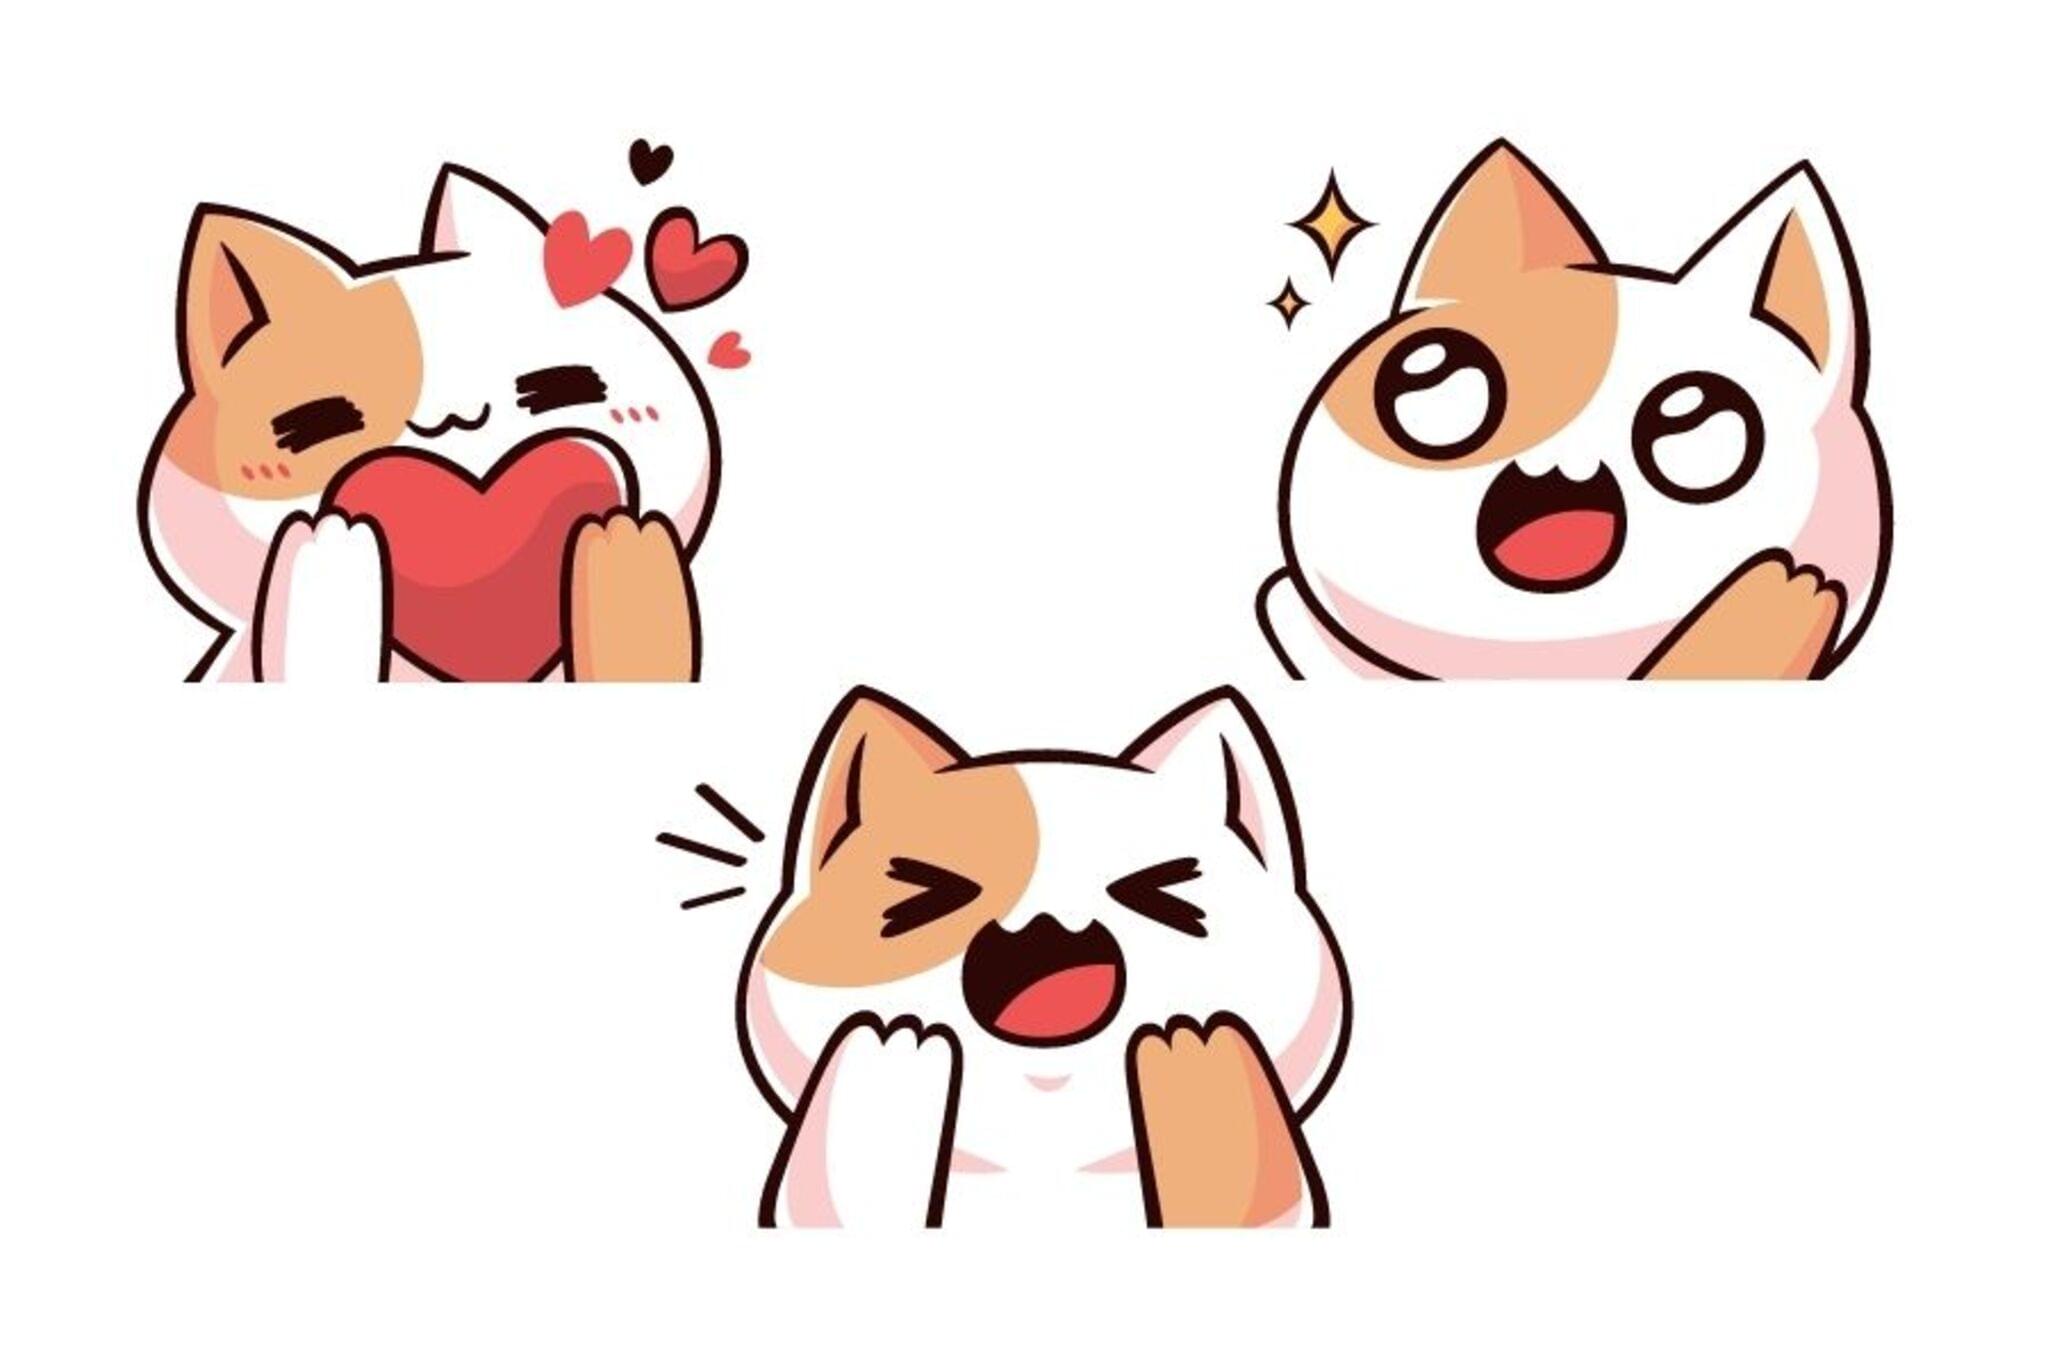
Add big expressive eyes a tiny nose and a simple smiling mouth on the head.
Step 7
Draw the three key features you picked (ears tail markings or other) in a simple chibi style.
Step 8
Position the arms legs or tail to give your chibi an expressive pose like waving sitting or jumping.
Step 9
Add one or two small accessories that show personality like a hat scarf or tiny toy.
Step 10
Trace your favorite pencil lines with the black marker or pen to make the drawing pop.
Step 11
Erase any remaining pencil lines gently so your ink looks clean.
Step 12
Color your chibi using the colors you like and add small shading or patterns if you want.
Step 13
Take a picture or scan your finished chibi and share your creation on DIY.org.
Help!?
What can I use instead of a black marker or pen if I don't have one?
You can use a dark charcoal pencil, a fine-tip permanent marker, or a black gel pen to trace your favorite pencil lines so the chibi still pops.
My ink smudged when I tried to erase—how can I fix that?
Let the ink from the black marker or pen dry fully before erasing, then gently remove remaining pencil lines with a clean eraser while resting your hand on scrap paper to avoid smudging.
How can I adapt this activity for younger or older kids?
For younger children simplify to choosing an animal, drawing a large round head with stick limbs and coloring with crayons, while older kids can focus on the three key features, add small shading and patterns, or scan and edit digitally after tracing with the pen.
How can we extend or personalize the chibi once it's finished?
Extend the drawing by adding a background scene, creating extra paper accessories (hat, scarf, tiny toy) to attach, making a flipbook of poses, or taking a picture/scan to add digital patterns and share on DIY.org.
Watch videos on how to design a chibi character based on an animal
How to Draw the Chibi Art Style - Fun Cute Characters - Full Tutorial
4 Videos

How to Draw the Chibi Art Style - Fun Cute Characters - Full Tutorial

How to Draw Chibi Characters (Cute Anime Drawing Guide)
How to Draw a Happy Chibi Bunny | Easy Step by Step Drawing Tutorial for Beginners
How to draw chibis and find your style!
Facts about character design for kids
🎨 Chibi characters often have heads about one-third to one-half of their total height — bigger heads = extra cuteness!
🐾 Anthropomorphism (giving animals human traits) has been used in myths and fables for thousands of years to teach lessons and spark imagination.
😺 Hello Kitty, created by Sanrio in 1974, helped make kawaii character design a worldwide phenomenon with a very simple, iconic look.
🔍 Simple shapes and bold silhouettes make a character easy to recognize even when it's tiny, like a sticker or avatar.
🌈 Color choices change the vibe — warm colors feel energetic, cool colors feel calm, and contrasting accents make accessories pop.
How do I design and draw a chibi character based on an animal?
What materials do I need to design a chibi animal character?
What ages is this chibi animal design activity suitable for?
What are the benefits of designing chibi characters inspired by animals?
