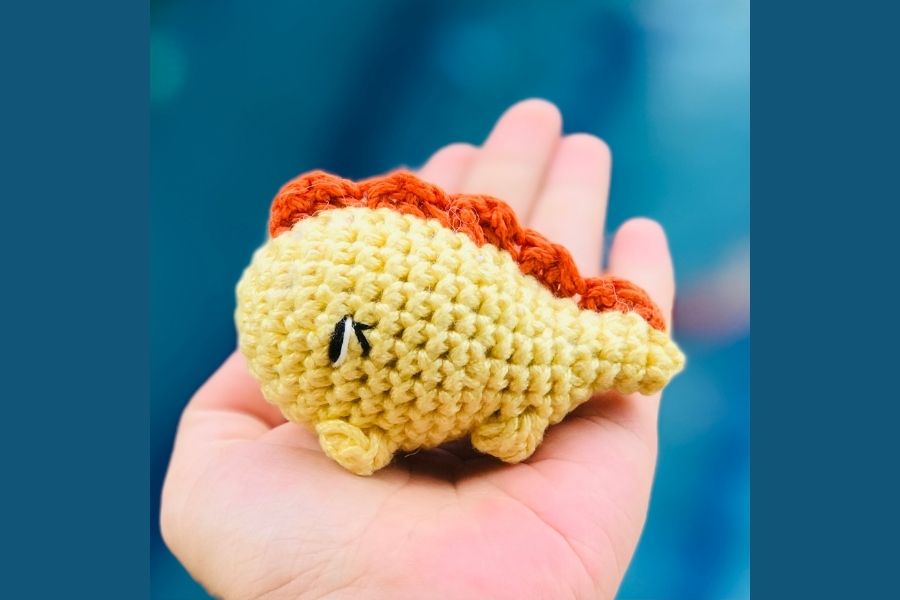
Crochet a tiny dinosaur
Learn to crochet a tiny dinosaur using basic stitches, yarn, and stuffing, following step-by-step instructions to create and personalize a small plush toy.


Step-by-step guide to crochet a tiny dinosaur
Step 1
Gather all your materials and find a comfy spot to crochet so you are ready to start.
Step 2
Make a magic ring and crochet 6 single crochets into the ring to form the base of the dinosaur head/body.
Step 3
Increase by crocheting 2 single crochets into each stitch around so you have 12 stitches total.
Step 4
Increase again by doing (1 single crochet then 2 single crochets in next stitch) around to make 18 stitches.
Step 5
Crochet even rounds by working one single crochet in each stitch for 4 rounds to build up the body length.
Step 6
Decrease by repeating (1 single crochet then single crochet 2 together) around to reduce to 12 stitches.
Step 7
Stuff the body lightly with polyester stuffing through the open end so it becomes squishy and round.
Step 8
Continue decreasing with single crochet 2 together until the hole is nearly closed then fasten off leaving a long tail for sewing.
Step 9
Crochet two small legs by making a magic ring with 6 single crochets then work 3 even rounds, stuff lightly and fasten off leaving a tail.
Step 10
Crochet two little arms by making a magic ring with 6 single crochets then work 2 even rounds, stuff lightly and fasten off leaving a tail.
Step 11
Make 5 small spikes by chaining 3 then single crocheting back across to form a tiny triangle and repeat this process five times and fasten off leaving tails.
Step 12
Use the long tails and a yarn needle to sew the legs arms and spikes to the body and attach safety eyes or embroider eyes then weave in all tails neatly.
Step 13
Take a photo or ask an adult to help and share your finished tiny dinosaur on DIY.org.
Help!?
What can I use if I can't find polyester stuffing, safety eyes, or a yarn needle?
If you don't have polyester stuffing, use scrap yarn or cotton balls for stuffing, embroider the eyes with embroidery floss instead of safety eyes, and substitute a blunt sewing or tapestry needle for the yarn needle when sewing legs, arms, and spikes to the body.
My dinosaur hole won't close after decreasing — what should I try?
If the hole won't close after the later decreasing rounds and single crochet 2 together steps, add a bit more stuffing through the open end, tighten your stitch tension, and use the long tail left after fastening off to hand-sew the opening closed with your needle.
How can I adapt this activity for different ages?
For younger children have an adult make the magic ring and do the tricky increases/decreases while kids help stuff, choose colors, and sew on pre-made legs/arms/spikes, for beginners practice the even single crochet rounds and simple arms/legs, and for older kids add extra increases, color changes, or embroidered eyes instead of safety eyes.
How can we personalize or extend the tiny dinosaur project?
Personalize the dinosaur by using variegated yarn or different colors for stripes and the five spikes, embroider a face instead of using safety eyes, attach a keyring loop when you fasten off to make a keychain, or crochet a matching tiny egg to photograph and share on DIY.org.
Watch videos on how to crochet a tiny dinosaur
no sew mini dinosaur crochet tutorial | easy amigurumi tutorial for beginners!
4 Videos
no sew mini dinosaur crochet tutorial | easy amigurumi tutorial for beginners!
Mini Toby the Tarbosaurus: Learn to Crochet a Dinosaur Amigurumi (Full Tutorial)
Baby Brontosaurus Dinosaur Amigurumi || Beginner Crochet Tutorial and Pattern - LEARN TO CROCHET
How to crochet a CUTE Dinosaur | Easy tutorial for beginners
Facts about crochet and yarn crafts for kids
🧶 The word "crochet" comes from French for "small hook" — you only need one hook to make all kinds of stitches!
🪡 Amigurumi is the Japanese art of knitting or crocheting tiny stuffed toys; 'ami' means knit/crochet and 'nuigurumi' means stuffed doll.
🦕 Dinosaurs lived during the Mesozoic Era (about 252–66 million years ago) — their many shapes inspire endless dino designs for toys.
🧵 Yarn can be made from wool, cotton, acrylic, or blends — the fiber you choose changes how soft, warm, and stretchy your dino will be.
🧸 Most modern plush toys use polyester fiberfill for stuffing because it’s light, squishy, and holds up well in washes.
How do you crochet a tiny dinosaur step-by-step?
What materials do I need to crochet a tiny dinosaur?
What ages is crocheting a tiny dinosaur suitable for?
What are the benefits and safety tips for crocheting a tiny dinosaur?
