Create any Shape Pop Up on Paper
Make a pop-up paper card featuring any shape using folding, cutting, and gluing; experiment with tabs and layers to create moving 3D designs.


Step-by-step guide to Create Any Shape Pop-Up on Paper
Step 1
Gather all your materials and find a clear workspace.
Step 2
Fold the cardstock or construction paper in half to make the card base.
Step 3
Draw the simple shape you want to pop up on a piece of scrap paper to make a template.
Step 4
Cut out the scrap paper shape to create your template.
Step 5
Place the template on colored paper and trace around it with a pencil.
Step 6
Cut out the traced colored paper shape.
Step 7
Inside the folded card mark two short parallel lines where you want the pop-up tab to be.
Step 8
Cut along the two marked lines to make a tab in the card.
Step 9
Push the cut tab inward so it folds and creates a pop-up platform.
Step 10
Fold the card flat to crease the tab firmly into position.
Step 11
Put glue on the top edge of the pop-up platform.
Step 12
Stick the cut shape onto the glued pop-up platform.
Step 13
Make a small folded paper tab from scrap paper if you want an extra layered pop-up.
Step 14
Open and close the card to watch the pop-up layers move.
Step 15
Share your finished creation on DIY.org
Help!?
What can we use instead of cardstock if we don't have any?
If you don't have cardstock, use two sheets of construction paper glued together or a piece of cereal-box cardboard folded in half to serve as the card base for the fold-and-tab steps.
The pop-up tab tore or won't fold cleanly—how can we fix that?
If the pop-up tab tears or won't fold, make the two parallel cuts slightly shorter, score the fold line with the blunt back of scissors before pushing the tab inward, and fold the card flat to crease the tab firmly into position to prevent tearing.
How can this activity be adapted for different ages?
For younger children, pre-cut the template shape and tabs and have them trace and glue the shape onto the pop-up platform, while older kids can design intricate templates, add multiple layered pop-ups, or use patterned paper for more detailed scenes.
What are some simple ways to enhance or personalize the pop-up card?
Enhance the card by repeating the tab cut-and-fold step at different heights to create stacked pop-up platforms, glue varied colored shapes onto each platform, and decorate with markers, stickers, or small folded tabs for layered movement.
Watch videos on how to Create Any Shape Pop-Up on Paper
Pop-Up Tutorial 1 - Introduction - Materials and Basic Theory
4 Videos
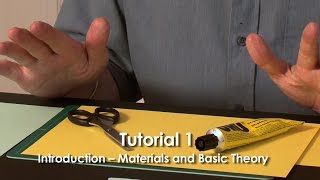
Pop-Up Tutorial 1 - Introduction - Materials and Basic Theory
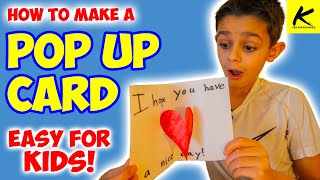
How to MAKE a POP UP CARD!! - (Easy for Kids!)
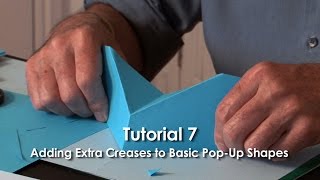
Pop-Up Tutorial 7 - Adding Extra Creases to Basic Pop-Up Shapes - Part 1
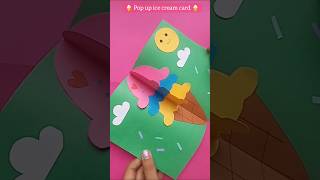
Pop-Up Ice Cream Card 🍦 | Easy Paper Craft for Kids
Facts about paper engineering for kids
🧩 Pop-up books use "paper engineering" to turn flat pages into surprise 3D scenes — the same tricks you use for pop-up cards!
✂️ Kirigami means cutting + folding and is a pop-up cousin: a few well-placed cuts can create amazing shapes and motion.
🔀 Two classic pop-up folds are the V-fold (creates peaks that pop up) and the box fold (makes little boxes or stages).
🎚️ Simple moving effects come from pull-tabs, sliders, and rotating discs — a tiny tab can make a character wave or a door open!
📄 Heavier paper or cardstock (about 120–300 gsm) holds folds and tabs better than thin printer paper, so your pop-up lasts longer.
How do I make a pop-up shape card on paper?
What materials do I need to make a pop-up shape card?
What ages is this pop-up shape activity suitable for?
What safety tips and creative variations can we try?
