Recreate Rectangular Pop Up Card on Paper
Make a rectangular pop up paper card by cutting, folding, and gluing tabs; design decorations and measure dimensions to learn basic geometry and crafting skills.


Step-by-step guide to Recreate Rectangular Pop Up Card on Paper
Step 1
Gather all the materials and clear a flat workspace.
Step 2
Fold the cardstock in half to make the base card and press the fold firmly.
Step 3
Use the ruler and pencil to draw two equal horizontal lines on the folded edge where the pop-up will be.
Step 4
Cut along the two pencil lines with the safety scissors to make two slits.
Step 5
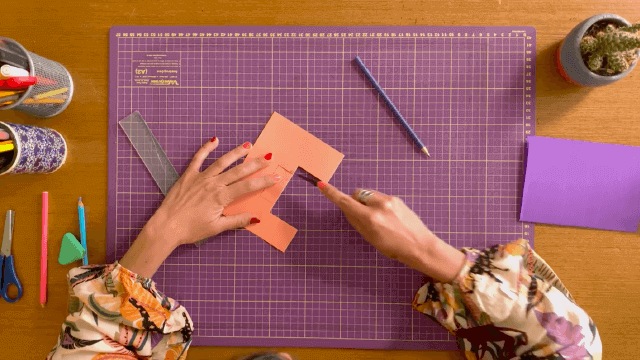
Push the cut section inward through the slits to form a rectangular pop-up tab.
Step 6
Measure the width and height of the pop-up tab with the ruler.
Step 7
Cut a rectangle from the decorative paper that matches the tab size plus a small margin.
Step 8
Decorate the rectangle with colouring materials and stickers.
Step 9
Apply glue to the front of the pop-up tab.
Step 10
Press the decorated rectangle onto the glued pop-up tab so it sticks.
Step 11
Decorate the rest of the card and write the rectangle's width and height on the outside to show your measurements.
Step 12
Share a photo and a short description of your finished pop-up card on DIY.org.
Help!?
What can I substitute for cardstock or decorative paper if I can't find them?
Fold a sheet of sturdy printer paper or cut a cereal-box cardboard to make the base card instead of cardstock, and use colored construction paper or patterned wrapping paper cut to the rectangle size in the 'Cut a rectangle from the decorative paper' step.
The pop-up tab rips or won't fold inward—how can I fix it?
Make sure you drew the two equal horizontal lines on the folded edge with the ruler and pencil, score lightly along the fold with a blunt edge before cutting with safety scissors, and cut only along the pencil lines so the tab can push inward without tearing.
How can I adapt this activity for younger kids or older kids?
For younger kids, pre-measure and pre-cut the slits and rectangle and let them do the 'Decorate the rectangle' and 'Press the decorated rectangle' steps, while older kids can measure precisely with the ruler, calculate the margin when cutting the decorative paper, and add more pop-up tabs.
How can we extend or personalize the pop-up card once it's finished?
Add multiple rectangular pop-up tabs or small folded elements glued to the tab faces, decorate with stickers and colouring materials, write the rectangle's width and height on the outside as instructed, and share a photo with a short description on DIY.org.
Watch videos on how to Recreate Rectangular Pop Up Card on Paper
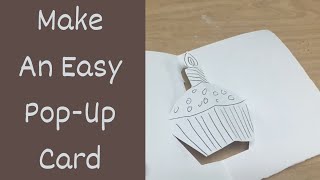
Easy Pop-Up Card Tutorial For ANY SIZE CARD
4 Videos

Easy Pop-Up Card Tutorial For ANY SIZE CARD
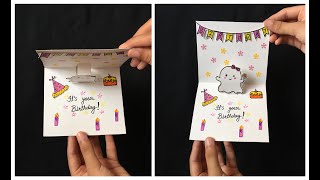
How to Make a Cute Pop-Up Birthday Card | Easy DIY Card for Kids & Friends!
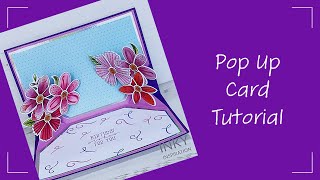
How to Make a Pop-Up Card (Easy Tutorial)
Create a simple pop-up card- make your cards pop!
Facts about paper crafts and basic geometry
✂️ Kirigami mixes folding and cutting—just a few strategic cuts can turn a flat sheet into a 3D pop-up.
📐 Making a rectangular pop-up teaches geometry basics like length, width, perimeter, and area in a hands-on way.
🧩 The simple rectangular "box" pop-up is one of the first paper-engineering moves beginners learn.
🎨 Decorating handmade cards boosts fine motor skills and creativity as kids practice cutting, gluing, and arranging designs.
📏 A single A4 (or letter) sheet folded in half plus a couple of 2–3 cm tabs is all you need to make small pop-up elements.
How do you make a rectangular pop-up paper card?
What materials do I need to make a rectangular pop-up paper card?
What ages is this rectangular pop-up card activity suitable for?
What are the benefits and safety tips for kids making a rectangular pop-up card?
