Recreate Flower Flag on Paper
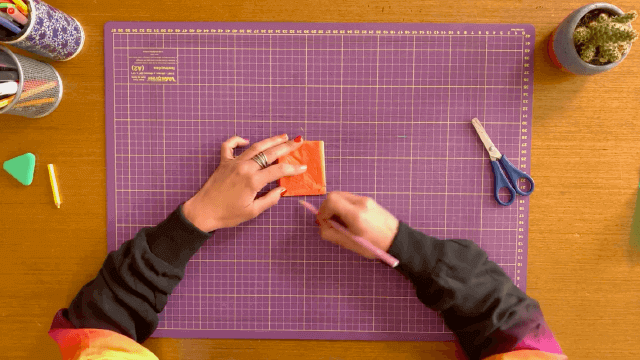
Make a colorful paper flag decorated with drawn and glued paper flowers, practicing cutting, arranging symmetry, and using safe glue and coloring tools.


Step-by-step guide to Recreate Flower Flag on Paper
Step 1
Choose a piece of construction paper and place it flat on the table as your flag base.
Step 2
Use your pencil and ruler to lightly draw a rectangle the size you want your flag to be.
Step 3
Cut out the rectangle carefully with scissors to make the flag shape.
Step 4
Lightly draw a straight vertical center line down the middle of the flag to guide symmetry.
Step 5
Pick three to five colored papers for your flowers and set them nearby.
Step 6
Draw simple flower shapes on the colored paper using your pencil.
Step 7
Cut out each flower shape carefully with scissors.
Step 8
Arrange the paper flowers on the flag symmetrically using the center line as your guide without gluing yet.
Step 9
Glue the flowers to the flag one at a time starting from the center and moving outward.
Step 10
Use coloring materials to add stems leaves and fun patterns around and between the flowers.
Step 11
Share your finished flower flag on DIY.org
Help!?
What can I use instead of construction paper or colored paper if I don't have them?
Use lightweight cardstock, pages from an old greeting card, or cut colored sections from magazines for the flag base and flower shapes so you can still follow the 'Choose a piece of construction paper' and 'Pick three to five colored papers' steps.
Why do my flowers shift or not stick when I glue them onto the flag?
Use a glue stick or a thin layer of white school glue, press each flower down and let it dry flat after 'Glue the flowers to the flag one at a time starting from the center and moving outward,' or use small pieces of double-sided tape for faster adhesion.
How can I adapt this activity for different ages?
For younger children skip the 'pencil and ruler' rectangle step and pre-cut simple flower shapes for them to arrange and glue, while older kids can precisely draw the rectangle, use the center line for exact symmetry, add detailed petal patterns, or layer petals for complexity.
How can we extend or personalize the finished flower flag?
After you 'glue the flowers' and 'use coloring materials to add stems leaves and fun patterns,' personalize it by adding button or pom-pom centers, layering tissue paper for 3D petals, attaching the flag to a craft stick for display, and then share the result on DIY.org.
Watch videos on how to Recreate Flower Flag on Paper
How To Make Paper Flowers
4 Videos

How To Make Paper Flowers
Easy paper flowers making | How to make paper flowers
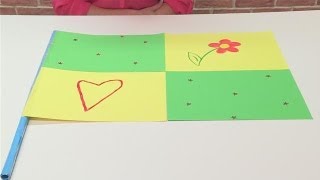
How To Make A Flag
How To Draw Spring Blossoms - Preschool
Facts about paper crafts for kids
🚩 Flags are simple designs that help people recognize countries, teams, and messages from far away.
📄 Paper was invented in ancient China about 2,000 years ago and changed how people make art and craft.
🌼 Many flowers show symmetry — daisies and sunflowers look the same around their center (radial symmetry).
✂️ You can make perfectly matched petals by folding paper and cutting once—this is a kid-friendly way to make symmetric shapes.
🧴 School glues are usually water-based and non-toxic so they’re safe for kids to use when sticking paper flowers on flags.
How do you make a flower flag on paper?
What materials do I need to recreate a flower paper flag?
What ages is the flower flag paper craft suitable for?
What are the benefits and safety tips for making a flower flag craft?
