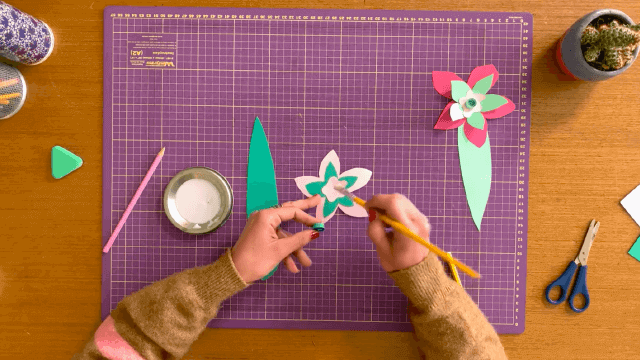
Recreate Orchid Flower on Paper
Draw and color an orchid flower on paper using pencil, colored pencils or watercolor, learning petal shapes, symmetry, and layering while practicing observation skills.


Step-by-step guide to draw and color an orchid flower on paper
Step 1
Find a real orchid or a clear photo of an orchid and place it where you can see the petal shapes closely.
Step 2
Put your paper on a flat surface and lightly draw a vertical guideline down the middle to help with symmetry.
Step 3
Sketch a small oval or heart shape near the middle for the orchid’s lip (the special center petal).
Step 4
Draw one rounded teardrop petal next to the lip on one side.
Step 5
Draw the matching rounded teardrop petal on the other side using the center line to keep them symmetrical.
Step 6
Draw the top petal above the lip as a larger rounded shape.
Step 7
Sketch two outer sepals behind the petals that slightly overlap to show layering.
Step 8
Gently erase extra guideline marks and any lines inside the petals that you don’t want to keep.
Step 9
Add vein lines and small frilly details on the lip and petals with light pencil strokes.
Step 10
Choose whether you will color with colored pencils or watercolors before you start coloring.
Step 11
Apply a light base color to each petal using light pencil strokes or a thin watercolor wash.
Step 12
Add darker tones near the petal bases and gentle highlights on the edges to create depth.
Step 13
Draw a stem and one or two long leaves beneath the flower to finish the plant.
Step 14
Share your finished orchid drawing on DIY.org.
Help!?
What can I use instead of a real orchid or watercolors if I can't find them?
Use a clear printed photo or a phone image as your reference and substitute colored pencils or crayons on any sturdy paper while following the steps like sketching the lip and petals.
My two rounded teardrop petals look uneven — how do I fix symmetry when drawing the matching petal using the center line?
Draw the first teardrop lightly, then fold the paper on the vertical guideline to transfer or trace its outline onto the opposite side, erase the fold and extra guideline marks, and refine with light pencil strokes.
How can I adapt this orchid drawing for different ages?
For younger children, simplify by tracing a pre-drawn oval or heart lip and two large teardrop petals and color with crayons, while older kids can follow the steps to add vein lines, frilly lip details, and layered watercolor tones for depth.
How can we enhance or personalize the finished orchid drawing?
After coloring and drawing the stem and leaves, personalize it by adding a soft watercolor wash background, fine ink vein details on the petals, metallic pencil highlights on edges, or mounting it as a greeting card to share on DIY.org.
Watch videos on how to draw and color an orchid flower on paper
How to Draw an Orchid Flower Easy
4 Videos

How to Draw an Orchid Flower Easy

How to Draw an Orchid Flower Easy 💕 Mother's Day Pun Art
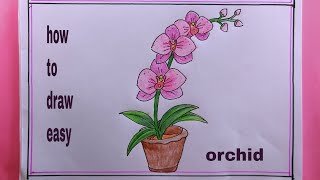
how to draw an Orchid Flower Step by Step/Orchid Flower Drawing
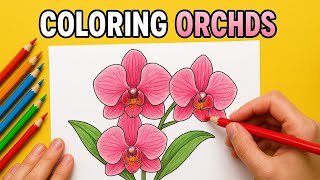
"How to Draw and Color an Orchid 🌸 | Easy Art Tutorial"
Facts about drawing and painting for kids
🌸 Orchids are one of the largest plant families with about 25,000–30,000 species worldwide.
🦋 Many orchids show bilateral (zygomorphic) symmetry—think of a flower that looks the same on left and right like a butterfly.
✏️ Botanical artists usually begin with a light pencil sketch to measure petal shapes and get symmetry right before coloring.
🎨 Watercolor is perfect for petals because transparent layers let you build soft color depth without hiding fine pencil lines.
👀 Drawing an orchid trains observation: counting veins, noticing overlaps, and studying the lip shape makes a drawing lifelike.
How do I recreate an orchid flower on paper step by step?
What materials do I need to draw and color an orchid?
What ages is this orchid drawing activity suitable for?
What are the benefits of drawing orchids and are there simple variations?
