Recreate Hibiscus Flower on Paper
Draw and paint a hibiscus flower on paper using pencil and watercolors, practicing observation, petal shapes, layering color, and simple shading techniques.


Step-by-step guide to recreate a hibiscus flower on paper
Step 1
Gather all materials.
Step 2
Find a clear picture of a hibiscus flower and look closely at its petal shapes and colors for one or two minutes.
Step 3
Lightly sketch a small circle in the middle of your paper to mark the flower center and draw faint guide lines for the petals.
Step 4
Draw five petal outlines around the circle using smooth curved lines.
Step 5
Add simple details to each petal like a few curved veins and a slightly ruffled outer edge.
Step 6
Erase the faint guide lines so the petal shapes look clean.
Step 7
Mix a light wash of your main petal color on the palette.
Step 8
Paint a thin even base layer of that light color over each petal.
Step 9
Mix a slightly darker shade of the same color on the palette.
Step 10
Apply the darker shade near the base of each petal and along some veins to create simple shading.
Step 11
Paint the flower center with a darker warm color.
Step 12
Use a small brush to paint the stamen and add tiny pollen dots with a bright contrasting color.
Step 13
Let your painting dry completely.
Step 14
Take a photo and share your finished hibiscus creation on DIY.org.
Help!?
What can we use instead of watercolor paints or a palette if those are hard to find?
If you don't have watercolor paints or a palette, substitute diluted washable tempera or food coloring mixed in a muffin tin and follow the 'mix a light wash' and 'apply the darker shade' steps the same way.
My petals look uneven or my sketching got messy—how can I fix that before painting?
If your petal outlines look uneven or messy, use the 'erase the faint guide lines' step to clean edges, redraw any of the five petal outlines lightly with a softer pencil, and practice one petal on scrap paper before painting the 'thin even base layer'.
How can I adapt this activity for different ages or skill levels?
For preschoolers simplify by skipping mixing and using crayons or washable markers to color the five petals and a pom-pom for the flower center, while older kids can follow the 'mix a slightly darker shade' step to add layered shading and paint finer stamen and pollen dots with a small brush.
How can we enhance or personalize the finished hibiscus before sharing it on DIY.org?
To personalize your finished hibiscus after it dries, add a light background wash, sprinkle salt on the 'thin even base layer' for petal texture, or glue tiny sequins at the pollen dots and note the specific colors used when you photograph it.
Watch videos on how to recreate a hibiscus flower on paper
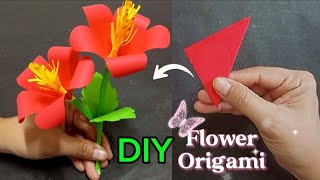
How to Make Origami Hibiscus Flower 🌺 | Easy Paper Flower Tutorial for Beginners
4 Videos
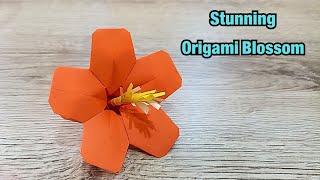
How to Make Origami Hibiscus Flower 🌺 | Easy Paper Flower Tutorial for Beginners
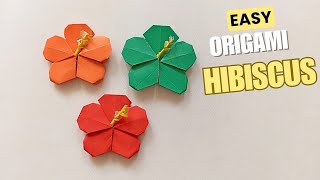
Origami Hibiscus Flower Tutorial 🌺 | Easy Paper Flower DIY Step by Step
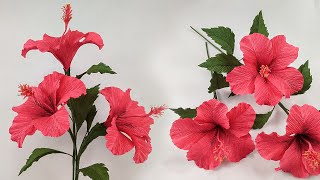
Easy Paper Hibiscus Tutorial | Hibiscus Paper Flower Made From Crepe Paper
How to make Hibiscus paper flower Origami/Beautiful Hibiscus flower/DIY Tutorial Step by step
Facts about flower drawing and watercolor painting
🌺 Hibiscus flowers usually have five petals and a prominent central stamen column — great details to look for when you sketch.
☕ Many hibiscus species (like roselle) are used to make a tart, bright-red tea that also makes a lovely painting color idea.
🎨 Watercolor paint typically dries lighter than it looks when wet, so artists build depth by layering washes.
✏️ Botanical illustrators often begin with careful pencil observation sketches before adding watercolor washes to capture shape and shading.
🌏 Hibiscus rosa-sinensis is the national flower of Malaysia and is a common, colorful choice in tropical gardens worldwide.
How do I draw and paint a hibiscus flower on paper?
What materials do I need to recreate a hibiscus flower with pencil and watercolors?
What ages is this hibiscus drawing and painting activity suitable for?
What are the benefits of drawing and painting a hibiscus flower with my child?
