Recreate Monstera Leaf on Paper
Draw and paint a Monstera leaf on paper using pencil, paint, and a simple stencil to explore leaf shape, holes, symmetry, and texture.


Step-by-step guide to Recreate Monstera Leaf on Paper
Step 1
Gather all your materials and set them on a clean flat table.
Step 2
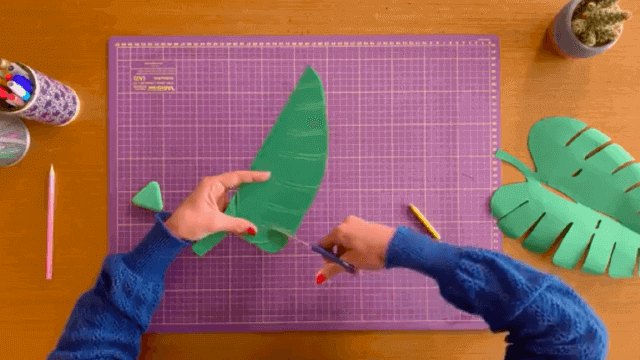
Fold your scrap cardboard in half along the long edge to prepare a folded stencil.
Step 3
Draw half of a Monstera leaf along the folded edge including big splits and a few round or oval holes.
Step 4
Cut out the leaf shape from the folded cardboard to make a symmetrical stencil using scissors with adult help.
Step 5
Place the finished stencil flat on your paper where you want the leaf to be.
Step 6
Trace the stencil outline and the inner hole shapes with your pencil.
Step 7
Draw a center vein from the base to the tip and add paired side veins to show symmetry.
Step 8
Choose two or three green paints and mix a light base green on your palette.
Step 9
Paint the whole leaf area inside your pencil outline with the base green color.
Step 10
Use a smaller brush and a darker green to paint the center vein and side veins for depth and texture.
Step 11
Dab a sponge or use a dry brush with a lighter green to add soft highlights and leaf texture.
Step 12
Let your painting dry completely before touching it.
Step 13
Erase any visible pencil lines gently once the paint is dry.
Step 14
Sign your name on the picture to show your artist credit.
Step 15
Share your finished Monstera leaf on DIY.org
Help!?
What can we use if we don't have scrap cardboard or a sponge?
If you don't have scrap cardboard for the folded stencil, cut a cereal box or thick poster board folded along the long edge to make the stencil, and if you lack a sponge dab highlights with a crumpled paper towel or cotton ball after painting.
My stencil keeps moving when I trace and paint, and the paint sometimes bleeds—what should we do?
Tape the finished folded stencil flat to your paper with masking tape before tracing and painting to stop shifting, use thin paint layers and let your painting dry completely between steps to avoid bleeding and smudges.
How can this activity be adapted for younger children or older kids?
For younger children have an adult cut a larger, simpler leaf stencil and let them color with green markers or crayons, while older kids can mix two or three greens, use the small brush for veins and a sponge for highlights to add texture and detail.
How can we extend or personalize the Monstera leaf project?
Extend the project by painting a background, creating a repeating pattern of multiple traced leaves, adding metallic or textured highlights with the small brush or sponge, and finishing by signing your name and sharing on DIY.org.
Watch videos on how to Recreate Monstera Leaf on Paper
How to draw Monstera Leaf Easy
3 Videos

How to draw Monstera Leaf Easy
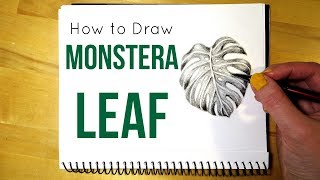
How to Draw a Monstera Leaf || Leaf Drawing in Pencil
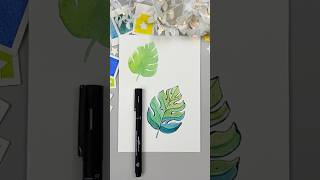
How to Draw a Monstera Leaf | Tutorial for Watercolor Sketching Beginners
Facts about botanical art and leaf anatomy
🪴 Monstera deliciosa is nicknamed the "Swiss cheese plant" because its leaves develop distinctive holes called fenestrations.
🌿 In the wild, Monstera leaves can grow very large — sometimes up to about 90 cm (around 3 feet) across!
🎨 Stencils are a super-ancient trick — artists and craftspeople have used them for repeating shapes quickly for centuries.
💨 One idea about those leaf holes is they help wind pass through and let light reach lower leaves, protecting the plant in storms.
✍️ Botanical illustration mixes art and science: artists historically drew plants in detail to help scientists identify them.
How do I recreate a Monstera leaf on paper?
What materials do I need to draw and paint a Monstera leaf?
What ages is the Monstera leaf activity suitable for?
What are the benefits of drawing and painting a Monstera leaf?
