Cut a Paper Square
Measure and cut a perfect paper square using a ruler, pencil, and scissors; learn measuring, straight lines, and safe cutting skills step by step.


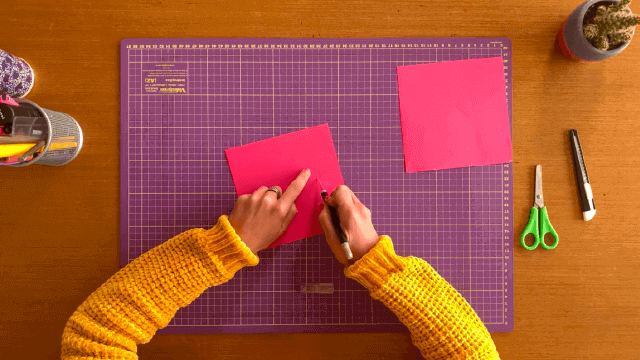

Step-by-step guide to cut a paper square
Step 1
Place your sheet of paper flat on a clean table.
Step 2
Turn the paper so the shorter side is across the top (short side horizontal).
Step 3
Measure the top short side with your ruler and read the length.
Step 4
From the top-left corner measure that same length along the top edge and make a small pencil mark.
Step 5
Place the ruler so its top end touches your pencil mark and its long edge runs straight down the page.
Step 6
Draw a straight pencil line from the top edge to the bottom edge using the ruler as a guide.
Step 7
Ask an adult to help you before you use the scissors.
Step 8
With the adult helping, carefully cut along the pencil line from top to bottom to remove the extra strip.
Step 9
Pick up the cut piece and measure two adjacent sides with your ruler to check they match.
Step 10
If one side is a little long trim the longer edge carefully with the scissors while the adult watches.
Step 11
Erase any pencil marks on your square with the eraser.
Step 12
Share your finished paper square on DIY.org
Help!?
What can we use instead of a ruler if we don't have one?
If you don't have a ruler, use a straight-edged book, credit card, or a printed ruler to measure the top short side and to guide your straight pencil line down the page.
My cut strip didn't come off straight and my square's sides aren't equal—what should I do?
To fix a crooked cut, press the ruler firmly when drawing the line, have an adult steady the scissors while you cut along the pencil line, then measure the two adjacent sides and carefully trim the longer edge to make the square match.
How can I adapt this activity for younger or older children?
For toddlers have an adult do the measuring and cutting while the child erases pencil marks and picks up the cut piece, for young kids supervise measuring and cutting, and for older kids let them complete all steps themselves including measuring adjacent sides and trimming the longer edge.
How can we extend or personalize the finished paper square?
Decorate the square with markers before erasing pencil marks, fold it into simple origami, glue multiple squares together to make a collage, or photograph the finished square and share it on DIY.org as instructed.
Watch videos on how to cut a paper square
How to make a Perfect Square for Origami
4 Videos
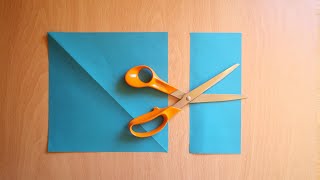
How to make a Perfect Square for Origami
How to cut a square without folding your paper | Step by step EASY
How to make square | How to turn an A4 sheet of paper into a perfect square shape | Square shape
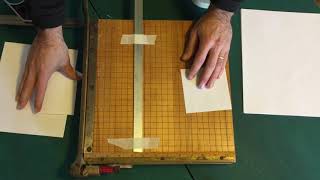
Cutting Perfect Paper Squares
Facts about measuring and cutting for kids
📏 Many rulers show both centimeters and inches — using the same units on every side helps you cut a perfect square.
✂️ Scissors date back over 3,000 years to ancient Egypt — people have been cutting with tools for a very long time!
📄 The international A-series paper sizes (like A4) use a 1:√2 ratio so folding in half keeps the same proportions — a neat measuring trick.
🧭 A square has four equal sides and four right angles — measure one side and copy it to make a true square.
🎯 Even a tiny mistake (like 1 millimeter) can make a square look off — steady hands and careful marking pay off.
How do I measure and cut a perfect paper square step by step?
What materials do I need to measure and cut a perfect paper square?
What ages is measuring and cutting a paper square suitable for?
What are safety tips and fun variations for cutting paper squares?
