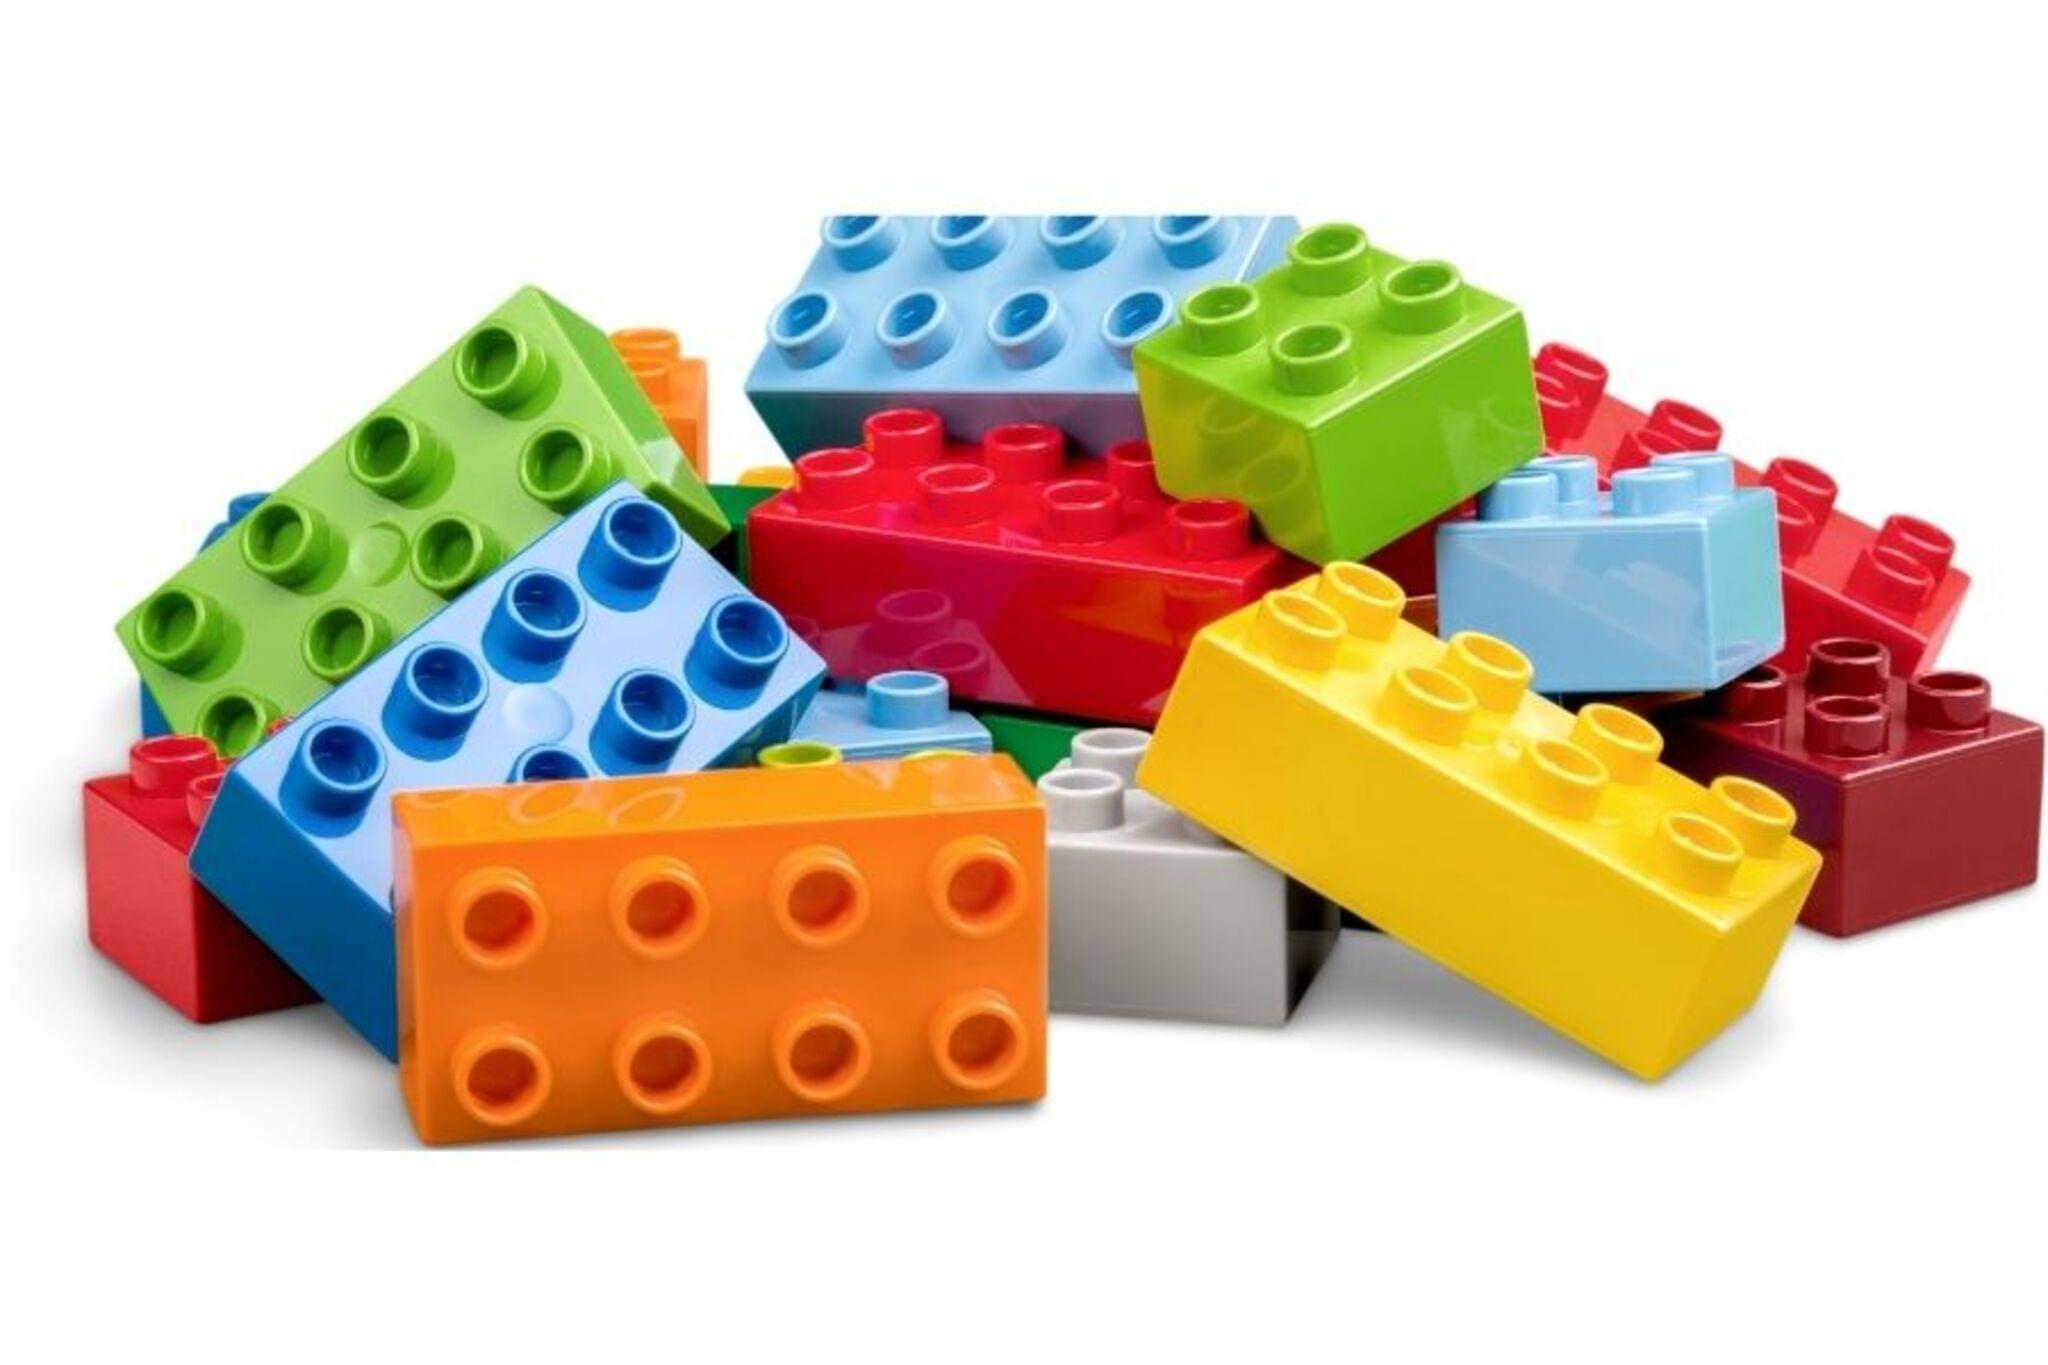
Build anything with LEGO
Design and build any creation using LEGO bricks, test moving parts, experiment with stability and creativity while documenting design choices and improvements.


Step-by-step guide to build anything with LEGO
TOP 10 Easy LEGO Building Ideas Anyone Can Make
Step 1
Gather all your LEGO bricks and place them on a clear table or the floor so you can see everything.
Step 2
Open your notebook and draw a quick sketch of one creation you want to build.
Step 3
Choose the main bricks and colours you will use for your design.
Step 4
Place a strong base on your baseplate or make a wide foundation with bricks to start building on.
Step 5
Build the main body of your creation by stacking and connecting bricks to match your sketch.
Step 6
Add at least one moving part like a door wheel or hinge to your model.
Step 7
Move the part you added several times to see if it works smoothly.
Step 8
Find any wobbly spots and strengthen them by adding extra bricks or supports.
Step 9
Try one experimental change such as swapping a piece or rebalancing weight to improve stability or looks.
Step 10
Test the whole model by doing the action it should do (roll it open it or gently bump it) to check performance.
Step 11
Write in your notebook what design choices you made and what improvements you tried.
Step 12
Share a photo and a short description of your finished creation and what you learned on DIY.org.
Help!?
What can I use instead of a LEGO baseplate or hinge if I don't have them?
If you don't have a baseplate, use a flat piece of cardboard or a hardcover book under 'Place a strong base on your baseplate or make a wide foundation', and if you lack a hinge or wheel for 'Add at least one moving part', improvise with a paper fastener, bottle cap axle, or taped cardboard flap attached to bricks.
My moving part sticks and the model feels wobbly—how do I fix that?
Follow the step 'Find any wobbly spots and strengthen them' by widening the foundation with overlapping plates, add extra bricks or supports under the moving part from the 'Build the main body' step, and adjust weight distribution as in 'Try one experimental change' so the hinge or wheel can move smoothly.
How can I adapt this LEGO activity for different age groups?
For toddlers use larger Duplo-like bricks, a very simple sketch and adult help for 'Place a strong base' and 'Add at least one moving part', for school-age kids keep the full steps and encourage 'Try one experimental change', and for older kids add complex mechanisms, technical pins or a small motor and detailed notes in the notebook.
What are some creative ways to extend or personalize the finished LEGO build?
After 'Test the whole model' and writing 'what design choices you made', personalize it by adding stickers or custom paint, adding extra moving parts or a motor for new actions, and expand the backstory in your notebook before you 'Share a photo and a short description on DIY.org.'
Watch videos on how to build anything with LEGO
Building the Eiffel Tower with Bricks: A Mini Lego Masterpiece!
4 Videos

Building the Eiffel Tower with Bricks: A Mini Lego Masterpiece!
How to Make a LEGO Modular Building

How To: Customize the LEGO Friendship Tree House Hangout Set

How to Build a LEGO Birdhouse | Cute & Easy LEGO Classic Idea!
Facts about engineering and design for kids
🧱 The modern LEGO stud-and-tube clutch system was patented in 1958 — bricks from then still click with today’s pieces!
🧪 Most LEGO bricks are made from ABS plastic, which gives them strong, durable snaps and smooth surfaces for moving parts.
🔧 LEGO Technic parts (gears, axles, beams) let builders create real mechanical functions like steering, gear trains, and suspension.
🚗 LEGO produces so many tiny tires and wheels that the company has jokingly been called one of the biggest tire-makers in the world.
📝 Designers, engineers, and kids use LEGO to prototype ideas quickly — it’s a fast way to test stability and improve moving mechanisms.
How do I run a LEGO design-and-build challenge where my child designs, tests moving parts, and documents improvements?
What materials do I need to set up a LEGO design-and-build activity at home?
What ages is a LEGO design-and-build activity suitable for?
What are the benefits of having my child design, build, test, and document with LEGO?
