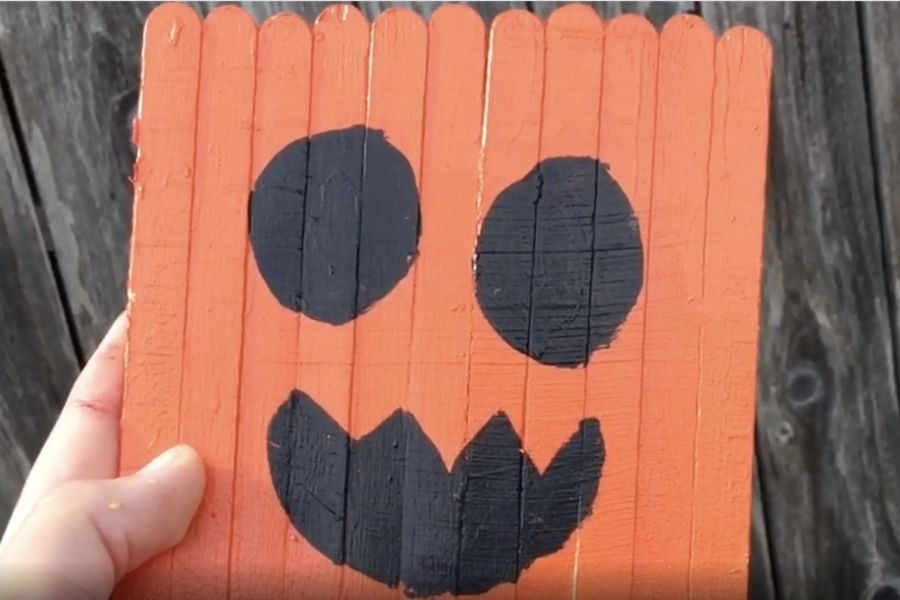
Make a Pumpkin Emoji
Make a pumpkin emoji craft using paper, markers, and safe scissors to cut shapes, assemble layers, and decorate a cheerful pumpkin face.


Step-by-step guide to make a pumpkin emoji
Step 1
Lay out all your materials on a clean table so you can see everything.
Step 2
Use the pencil to draw a big round pumpkin shape on the orange paper.
Step 3
Cut out the pumpkin shape using the safe scissors.
Step 4
Draw a small stem shape on the green paper with your pencil.
Step 5
Cut out the stem shape with the safe scissors.
Step 6
Glue the stem to the top center of the pumpkin cutout.
Step 7
Draw the pumpkin face shapes (two eyes one nose and a smiling mouth) on the black paper.
Step 8
Cut out the face shapes from the black paper using the safe scissors.
Step 9
Glue the face shapes onto the pumpkin to make a cheerful expression.
Step 10
Use markers to add extra details like highlights rosy cheeks or a little vine.
Step 11
Share your finished pumpkin emoji on DIY.org.
Help!?
What can we use if we don't have orange, green, or black paper?
Color plain white paper with orange, green, or black markers/crayons and use those sheets for the pumpkin (Step 2), stem (Step 4), and face shapes (Step 7), or cut shapes from old magazines or cardboard as substitutes.
The pumpkin edges tear or the face pieces won't stick — how do we fix that?
Trace a printable pumpkin template onto the orange paper before Step 2, cut slowly with the safe scissors along the pencil line, and use a glue stick or a little clear tape to reinforce the stem and face pieces when attaching them in Steps 5 and 8.
How can I adapt this activity for younger toddlers or older kids?
For toddlers, pre-cut the pumpkin, stem, and face shapes and let them glue and color in Steps 6–9, while older kids can add shading with markers, carve detailed expressions with a supervised craft knife, or design a series of emoji faces for a pumpkin family.
How can we personalize or enhance our finished pumpkin emoji?
Add googly eyes, glitter highlights, a yarn vine, or mount the pumpkin on cardstock and then take a photo to share on DIY.org as suggested in the final step.
Watch videos on how to make a pumpkin emoji
How to Draw Pumpkin Step by Step | Easy PUMPKIN Drawing for Kids
4 Videos
How to Draw Pumpkin Step by Step | Easy PUMPKIN Drawing for Kids
How to Draw a Cute Pumpkin | Art for Kids
How To Draw A Funny Cute Pumpkin
How to Draw a Halloween Pumpkin | Easy Art Lesson for Kids & Beginners
Facts about paper crafts for kids
🎃 Pumpkins are actually a type of winter squash and botanically counted as a fruit called a pepo.
🌾 Pumpkins were first domesticated in North America at least 7,500 years ago — people have loved them for a long time!
✂️ Kid-safe scissors have rounded tips and often plastic blades so children can practice cutting safely while crafting.
🧩 Layering paper shapes (paper relief) is a papercraft trick that makes flat artwork look 3D — perfect for pumpkin faces.
🟠 The jack-o'-lantern emoji (🎃) was added to Unicode in 2010 and is used worldwide to show pumpkins and Halloween fun.
How do you make a pumpkin emoji craft?
What materials do I need for a pumpkin emoji craft?
What ages is this pumpkin emoji activity suitable for?
What are the safety tips for making a pumpkin emoji craft?
