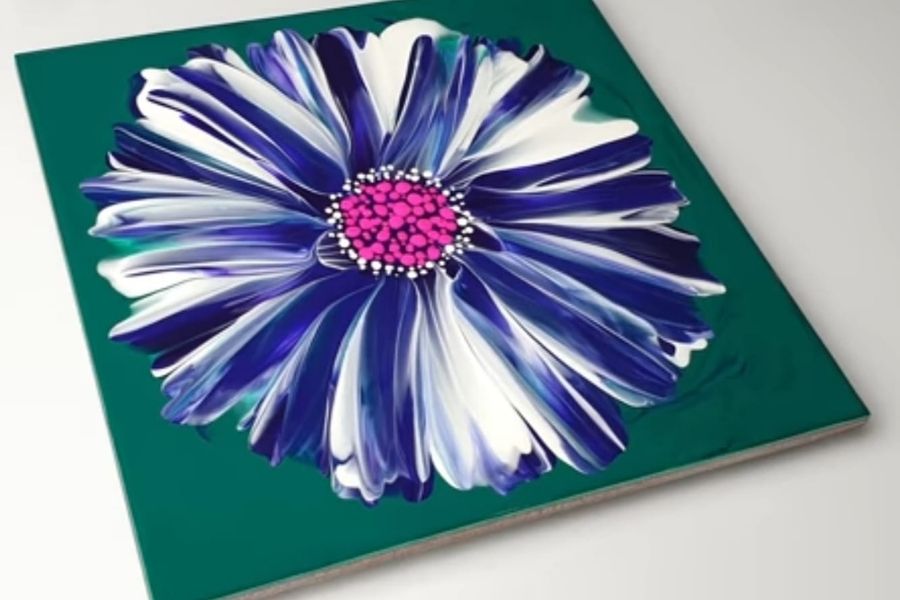
Advanced Acrylic Painting using a Spoon
Create an advanced acrylic painting using a spoon to blend, texture, and layer colors; learn mixing, brush-free techniques, and safe painting cleanup.


Step-by-step guide to Advanced Acrylic Painting using a Spoon
Step 1
Put on your old shirt or apron to keep your clothes clean.
Step 2
Cover your table with newspaper or plastic to protect the surface.
Step 3
Tape the edges of your canvas or paper with masking tape to make a clean border.
Step 4
Squeeze small puddles of each acrylic color onto your palette leaving space between colors.
Step 5
Fill your cup with water and place paper towels nearby for wiping spoons.
Step 6
Practice making marks on scrap paper with each spoon to see how the bowl edge and tip behave.
Step 7
Mix a base color by dragging two paint puddles together on the palette with the back of a spoon until the color looks even.
Step 8
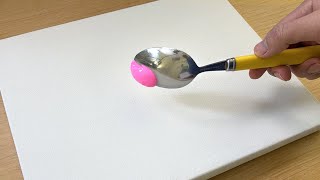
Spread a thin base layer on the canvas by scooping paint with the spoon bowl and stroking it across in broad sweeping motions.
Step 9
Wait until the base layer is touch-dry before adding more paint.
Step 10
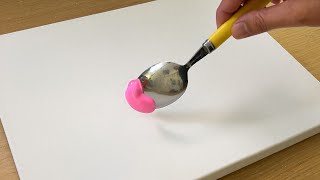
Add thicker layers by pressing paint onto the canvas with the spoon bowl and blending two colors together with gentle circular motions.
Step 11
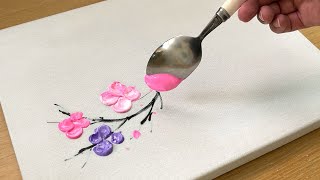
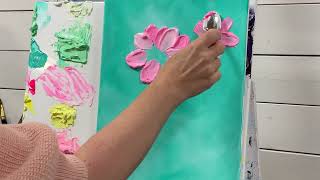
Make textures and highlights by scraping with the spoon edge for fine lines and by dabbing with the spoon tip for small dots.
Step 12
Rinse your spoons and palette under running water and wipe the area with paper towels for safe cleanup.
Step 13
Share your finished painting on DIY.org.
Help!?
What can I use if I can't find acrylic paint, a canvas, or a proper palette?
If you don't have acrylics or a canvas, use student-grade acrylics or mix washable tempera with a teaspoon of white PVA glue to mimic acrylic, substitute thick cardboard or gessoed watercolor paper for the canvas, and use a paper plate as your palette while still mixing a base color by dragging two paint puddles together with the back of a spoon.
The base layer looks streaky or the paint peels when I add another layer—how do I fix that?
If the base layer is streaky or peels when you try to add more paint, thin each spoonful slightly with water and spread a thinner coat using broad sweeping motions with the spoon bowl, then let it become touch-dry before pressing on thicker layers or scraping with the spoon edge.
How can I adapt this spoon-painting activity for younger or older children?
For preschoolers use large plastic spoons, pre-squeezed puddles on a paper plate and heavy cardstock to avoid long drying waits and reduce mess, while older kids can work with thinner base layers, deliberate blending with circular spoon motions and metal spoon edges for fine lines to increase control and challenge.
What are simple ways to extend or personalize the painting once the basic steps are done?
To personalize and extend the project try using different spoon shapes for stamping and toolmarks, mix in a texture medium or fine sand to the acrylic for raised effects before dabbing highlights with the spoon tip, finish with a gloss varnish and remove the masking tape for a crisp border to photograph for DIY.org.
Watch videos on how to Advanced Acrylic Painting using a Spoon
Spoon Painting Technique | Acrylic Painting
4 Videos
Spoon Painting Technique | Acrylic Painting
Spoon Painting Technique / Acrylic Painting for Beginners
Spoon Painting Technique / Painting / Acrylic Painting
Painting FLOWERS With a SPOON 💐 tutorial
Facts about acrylic painting techniques
🎨 Acrylic paint became popular with modern artists in the 20th century because it dries fast and is very versatile.
🥄 A simple spoon can act like a palette knife to spread, lift, or smooth paint and create surprising textures.
💧 Acrylics are water-based when wet but cure into a water-resistant plastic film as they dry.
🌈 With just primary colors plus white and black you can mix thousands of different hues and tints.
🚱 Don’t pour paint rinses down the sink — let solids settle, pour off clear water, and dispose of sludge responsibly.
How do I create an advanced acrylic painting using a spoon?
What materials do I need for advanced spoon acrylic painting?
What ages is advanced spoon acrylic painting suitable for?
What safety and cleanup steps should I follow for spoon acrylic painting?
