Make the Trapezoidal Wing Plane
Build a trapezoidal wing paper plane using paper, scissors, and tape. Test flight distances, adjust wing angles, and learn basic aerodynamics.


Step-by-step guide to make a trapezoidal wing plane
Step 1
Lay out all your materials on a clear table and pick a clear open space on the floor to test your plane.
Step 2
Fold the paper in half lengthwise and press a firm crease down the middle.
Step 3
Unfold the paper so the center crease line is visible.
Step 4
Fold the top two corners inward so they meet the center line and form a pointed nose.
Step 5
Fold the pointed tip down about 2 centimetres to lock the nose shape.
Step 6
Fold the paper in half toward you along the center crease so the nose is on the outside.
Step 7
Fold both wings down so each wing edge lines up with the bottom of the fuselage and press a sharp crease.
Step 8
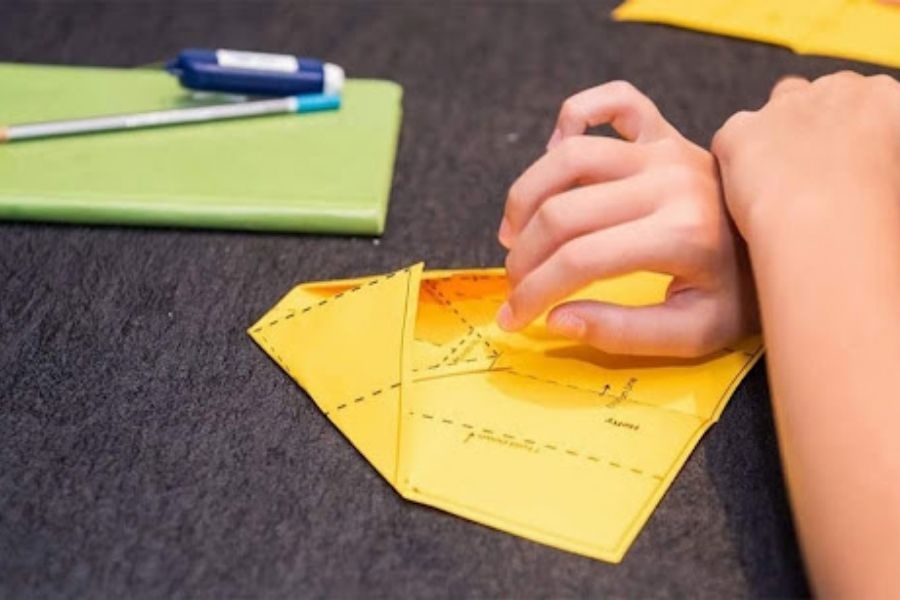
Using your ruler and pencil mark a midpoint on each wing then draw a straight diagonal line from the wingtip to that midpoint on both wings.
Step 9
Carefully cut along the two diagonal lines to remove the outer tips and create trapezoidal wing shapes.
Step 10
Put a small piece of tape on the nose for weight and gently bend each wing up a little at the root to give the plane a stable dihedral angle.
Step 11
Take three gentle throws across your clear space and measure each flight with the measuring tape to see which design flies farthest then make small wing angle tweaks and test again.
Step 12
Share a photo and the distance your trapezoidal wing plane flew on DIY.org.
Help!?
What can we use instead of a ruler to mark the midpoint and draw the diagonal lines on the wings?
If you don't have a ruler, use the straight edge of a book, credit card, or stiff piece of cardboard to mark the midpoint and draw the diagonal lines from wingtip to midpoint before cutting the trapezoidal wing shapes.
My plane dives or stalls—which steps should I check and how can I fix it?
If the plane noses over or stalls, confirm you folded the pointed tip down about 2 centimetres to lock the nose, add or adjust the small piece of tape on the nose for weight, and gently bend each wing up at the root to create a stable dihedral angle as described in the instructions.
How can I adapt this activity for younger or older children?
For younger kids, pre-fold the center crease and the nose (steps 2–4) and let them fold the wings and tape, while older kids can precisely mark midpoints with a ruler and pencil and experiment with wing angle tweaks and diagonal cut variations (steps 7–11) to optimize flight distance.
What are simple ways to extend or personalize the Trapezoidal Wing Plane after testing?
After testing flights (steps 9–11), try trimming different diagonal angles to alter wing shape, add small paper-tab ailerons at the wing tips or a paperclip on the nose for extra weight, and decorate the fuselage before sharing your photo and distance on DIY.org.
Watch videos on how to make a trapezoidal wing plane
How Airplane Wings REALLY Generate Lift
4 Videos

How Airplane Wings REALLY Generate Lift
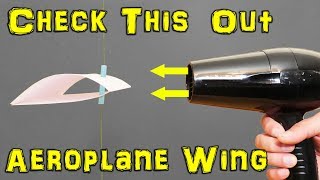
How Does A Plane Wing Work?
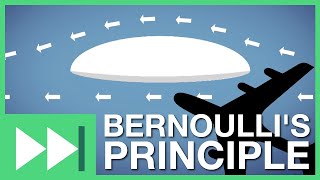
Bernoulli's Principle: How Planes Fly | Fast Forward Teachable Moments
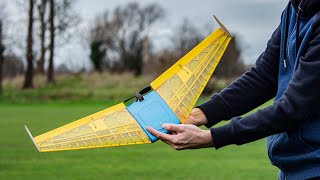
Design & Build of a Flying Wing (With Balsa Wood) + Project Files
Facts about aerodynamics for paper airplanes
✈️ Paper airplanes have been used in competitions — the longest recorded flights are over 60 meters!
📐 A trapezoidal wing shape changes how air flows over the wing, helping balance lift and drag for smoother flight.
🧪 Tiny adjustments (just a few degrees) to wing angle can add or shave off meters from your plane’s distance.
🌀 Giving the wings a slight dihedral (tilting tips up) helps the plane self-stabilize and fly straighter.
🎯 A small amount of tape or paper on the nose shifts the balance — you can tune the plane’s path by adding weight.
How do you build a trapezoidal wing paper plane?
What materials are needed for the trapezoidal wing plane?
What ages is this trapezoidal wing plane activity suitable for?
What are the benefits, safety tips, and variations for this activity?
