Sketch a Comic Layout
Sketch a comic layout by planning panels, characters, speech bubbles, and action lines on paper; practice storytelling, composition, and pacing through simple sketches.


Step-by-step guide to sketch a comic layout
How to Make Your Own Comic | Toontorial | @cartoonnetworkuk
Step 1
Think of a simple one-sentence story for your comic that shows a beginning a middle and an end.
Step 2
Choose how many panels you want for the story (pick between 3 and 6).
Step 3
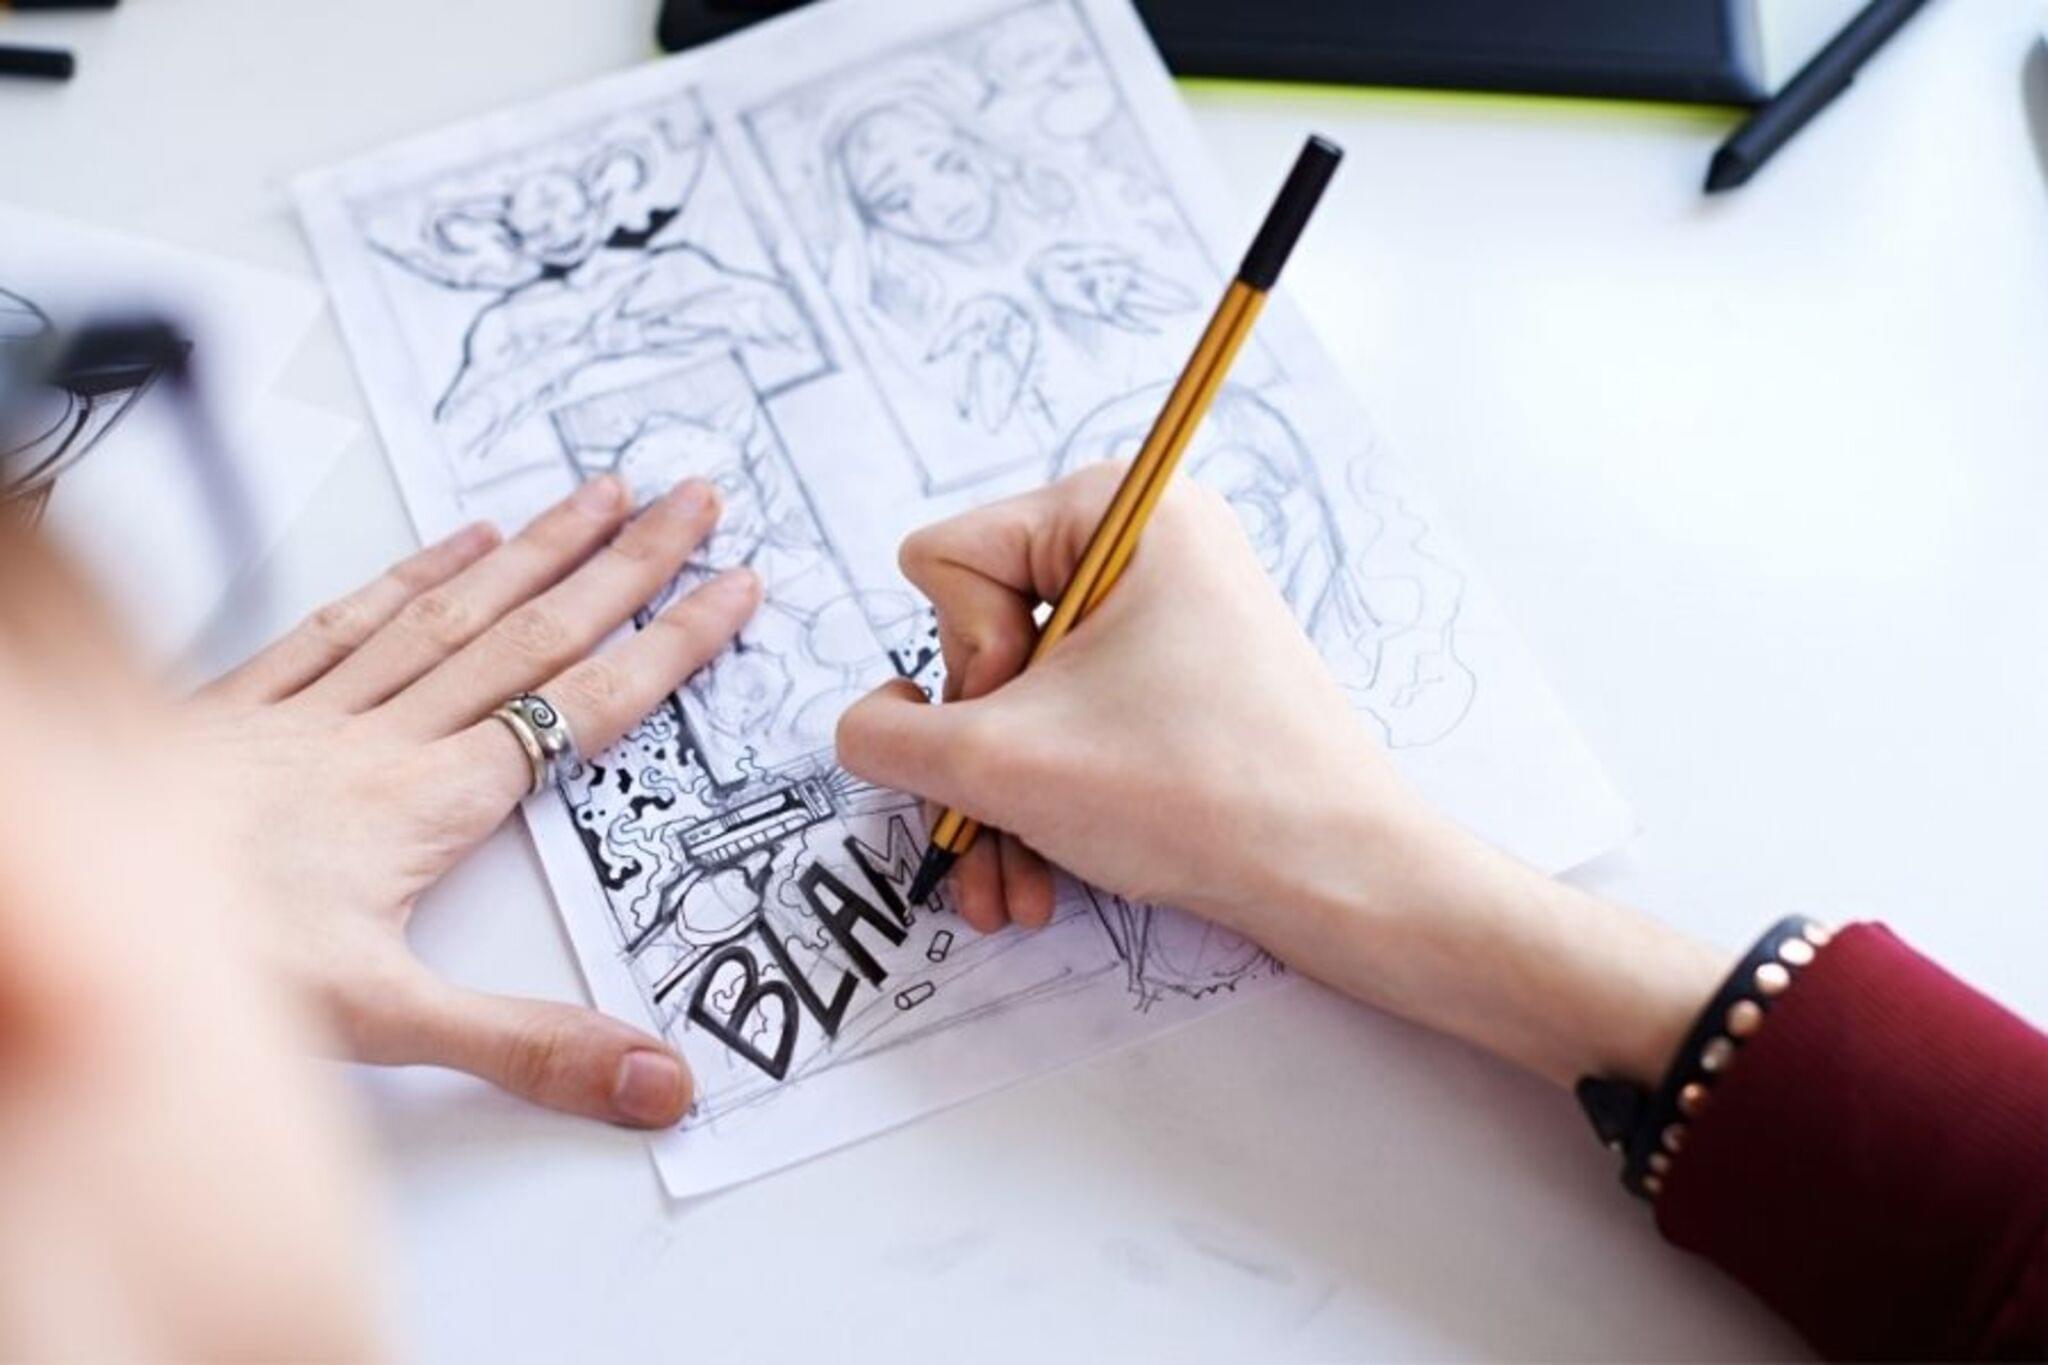
Lightly draw the panel boxes on your main paper with a pencil and ruler.
Step 4
Make tiny thumbnail sketches on scrap paper showing what happens in each panel to plan pacing.
Step 5
Draw rough stick-figure poses for the characters in each panel to plan action and placement.
Step 6
Sketch where speech bubbles will go and write short lines of dialogue inside them.
Step 7
Add action lines and motion marks in the panels to show movement and energy.
Step 8
Refine each character by turning stick figures into simple shapes with faces and expressions.
Step 9
Draw simple backgrounds and any props that help tell the story in each panel.
Step 10
Carefully trace the final pencil lines with a black marker to make the artwork bold.
Step 11
Wait until the ink is completely dry before touching the page.
Step 12
Erase any leftover pencil marks and add color to your panels with your colouring materials.
Step 13
Write sound-effect words and small captions to boost the mood and clarity of each panel.
Step 14
Share a photo or scan of your finished comic layout on DIY.org.
Help!?
If I don't have a black marker or a ruler, what can I use instead?
Use a fine-tip black gel pen or a Sharpie to trace final lines instead of a black marker, and use the straight edge of a hardcover book or the side of a cereal box as a ruler when lightly drawing panel boxes on your main paper.
My ink smudged and pencil marks didn't erase cleanly—how can I fix or avoid that?
Follow the step 'Wait until the ink is completely dry' before touching the page, try inking on heavier main paper or place scrap paper underneath to prevent bleed-through, and only erase leftover pencil marks after the ink is fully dry.
How can I adapt the activity for a younger child or an older child?
For a younger child, pick 3 panels, skip detailed thumbnail sketches, use big stick-figure poses and crayons from your colouring materials, while older kids can choose 5–6 panels, make thumbnail sketches, refine stick figures into shapes, ink with a black marker and add simple backgrounds before scanning to share.
How can we extend or personalize our comic layout after finishing the basic steps?
Try unusual panel shapes and varied pacing from your thumbnail sketches, add custom sound-effect words and small captions as in step 11, pick a specific color palette with your colouring materials, and scan or photograph multiple pages to create a longer story to upload to DIY.org.
Watch videos on how to sketch a comic layout
How I Make Mini Comics? (step by step) PART I
4 Videos
How I Make Mini Comics? (step by step) PART I
The MOST Important step in making COMICS: Thumbnails / Storyboards / Layouts process explanation

How to ACTUALLY make your First Comic?

How To Get Started Learning How To Draw Comics
Facts about comic art and storytelling for kids
🎨 Comics are built from sequences of images — Scott McCloud calls them 'juxtaposed pictorial and other images in deliberate sequence.'
🗯️ Speech balloons evolved from early cartoons and newspapers to show characters' words and thoughts directly on the page.
⏱️ Panel size and number control pacing: many small panels can speed up action, while a single large 'splash' panel can slow and emphasize a moment.
✏️ Storyboarding techniques (used in film and animation) are nearly identical to comic layouts for planning scenes, angles, and timing.
📚 'Understanding Comics' (1993) is a widely used guide that teaches how visual choices—like panel flow and gutters—shape storytelling.
How do you sketch a comic layout?
What materials do I need to sketch a comic layout?
What ages is comic layout sketching suitable for?
What are the benefits and fun variations of sketching comic layouts?
