Master 'Hockey Pockey'
Build and play 'Hockey Pockey', a tabletop puck-and-stick game, practicing passing, shooting, aiming, puck control, and sportsmanship through short timed matches.


Step-by-step guide to master Hockey Pockey
Step 1
Gather all the Materials Needed and bring them to a clear flat table.
Step 2
Place the baking tray or stiff cardboard flat on the table to make your playing surface.
Step 3
Put one small cup or eraser at each short end of the tray to be the goals.
Step 4
Choose two craft sticks or two straws and set them aside as your hockey sticks.
Step 5
Tear small strips of masking tape and stick a center line and short goal lines on the tray to mark the field.
Step 6
Place the bottle cap puck on the center line to start your game.
Step 7
Agree with your opponent on match rules and a match length (for example two minutes) and write them down on your paper.
Step 8
Practice puck control by using your stick to push the puck slowly across the center line for one minute.
Step 9
Practice passing by exchanging five gentle passes with your partner while staying behind the center line.
Step 10
Take five shots at the cups to practice aiming and shooting into the goals.
Step 11
Play a timed match using your agreed rules and keep score on the paper.
Step 12
Share your finished Hockey Pockey creation on DIY.org.
Help!?
What can we use if we don't have a baking tray, bottle cap, masking tape, or craft sticks?
Use a smooth hardcover book or a large piece of stiff cardboard as the playing surface, a coin or metal washer for the bottle cap puck, painter's tape or small stickers for the center and goal lines, and wooden spoon handles or tightly rolled paper tubes instead of craft sticks or straws (and a plastic lid or folded paper cup can stand in for the goal cup/eraser).
My puck isn't sliding well or the cup goals keep tipping over—how can I fix that?
Lay a sheet of wax paper or aluminum foil over the baking tray or stiff cardboard to improve glide, swap to a flatter coin puck for smoother movement, and secure each goal cup with a short strip of masking tape so they don't slide during the timed match.
How can I adapt the steps for younger or older kids?
For younger children shorten the practice and match lengths (try 30 seconds instead of one minute), use a larger, lightweight puck and let an adult place the cups for goals, and for older kids increase match length, require stricter passing drills (more than five passes) and add written penalties on the paper for more competitive play.
What are some ways to extend or personalize Hockey Pockey after we finish the basic game?
Decorate the baking tray with team colors using masking tape, build a clothespin goalie or add eraser obstacles to the field for new challenges, keep a tournament bracket and player stats on your paper, and then share photos of your customized Hockey Pockey on DIY.org.
Watch videos on how to master Hockey Pockey
Hockey Rules for Beginner | Rules of Hockey | Hockey Explained
3 Videos
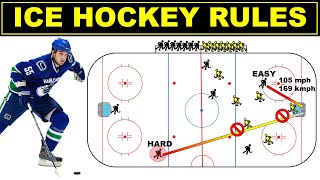
Hockey Rules for Beginner | Rules of Hockey | Hockey Explained
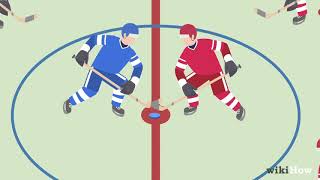
How to Play Hockey
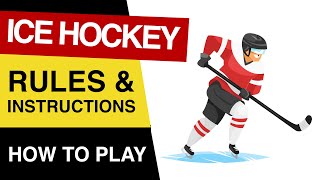
🏒 Rules Of Ice Hockey : How To PLAY Ice Hockey : Ice Hockey Rules For Beginners EXPLAINED
Facts about tabletop puck-and-stick games
🏒 The hardest recorded NHL slapshot was 108.8 mph by Zdeno Chara — a great example of power and precision!
🏆 Table hockey has organized tournaments and even world championships where players master super-fast passes and shots.
🎯 Air hockey uses a cushion of air to cut friction so the puck glides quickly — perfect for speedy aiming drills.
🧠 Short timed drills (like 30–90 seconds) are awesome for building hand‑eye coordination and faster reaction times.
🤝 Good sportsmanship—cheering great plays, taking turns, and shaking hands—makes every match more fun.
How do I build and play Hockey Pockey, the tabletop puck-and-stick game?
What materials do I need to make Hockey Pockey at home?
What ages is Hockey Pockey suitable for?
What are the benefits and safety tips for playing Hockey Pockey?
