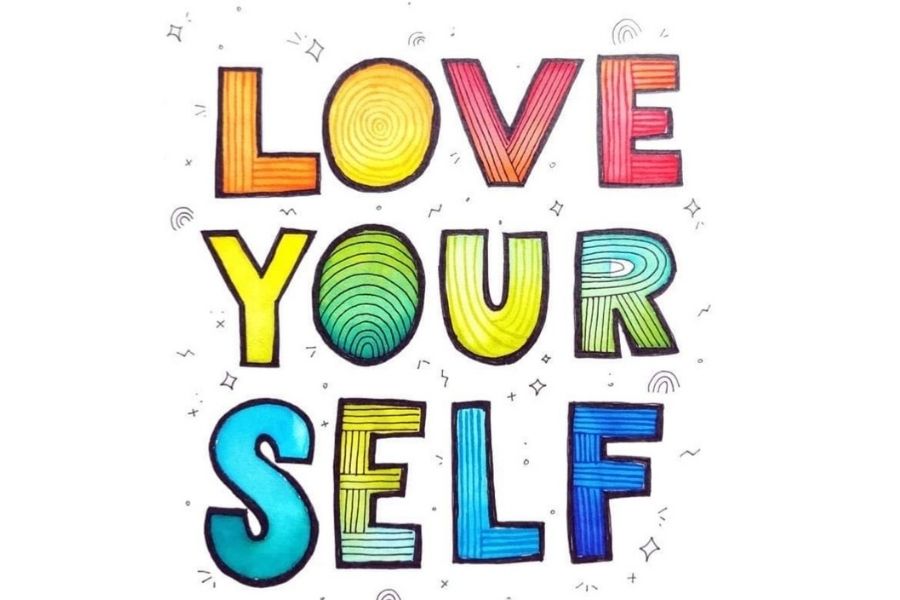
Fancy Lettering
Design and create fancy letters using pencils, markers, rulers, and stencils. Practice different lettering styles, spacing, and color to make a decorative name poster.


Step-by-step guide to design and create fancy letters
Step 1
Choose a name or word you want to make into a fancy decorative poster.
Step 2
Pick the paper size and whether you want the poster portrait or landscape.
Step 3
Use the ruler to draw light horizontal guidelines for the baseline and letter height.
Step 4
Decide on two or three lettering styles you want to mix on the poster.
Step 5
Lightly sketch each letter in pencil inside the guidelines using your chosen styles.
Step 6
Trace any tricky letter shapes with the stencils to make them neater.
Step 7
Add small pencil decorations to each letter like serifs shadows or swirls.
Step 8
Choose the marker and coloring colors you want to use for outlines fills and accents.
Step 9
Lightly mark with pencil where outlines shadows and fills will go on each letter.
Step 10
Carefully trace over your pencil letters with a fine-tip marker to make clean outlines.
Step 11
Fill in the letters with broad-tip markers or coloring materials for bold color.
Step 12
Add simple patterns or shadow lines inside or beside letters with fine-tip markers.
Step 13
Erase any remaining pencil guidelines and stray marks gently with your eraser.
Step 14
Draw a neat border around the poster with your ruler and add a few background decorations.
Step 15
Share your finished creation on DIY.org
Help!?
What can I use if I don't have a ruler or stencils?
Use a hardcover book or the edge of a credit card as a straightedge to draw your light horizontal guidelines and cut stencils from cereal-box cardboard or print free templates to trace tricky letter shapes, and swap colored pencils or watercolors if you don't have broad-tip markers for filling letters.
My letters look uneven or the marker smudges—what should I do?
To keep baselines straight, tape the ruler down when you draw the guidelines, practice tricky letter shapes on scrap paper before sketching them inside the guidelines, and let fine-tip marker outlines dry completely before erasing pencil marks to avoid smudges.
How can I change the activity for different age kids?
For younger children pre-draw wide letter outlines and provide chunky markers, stencils, and stickers to simplify filling and decorations, while older kids can mix two or three lettering styles, use fine-tip markers for shadows and patterns, and experiment with portrait or landscape layouts and precise ruler borders.
How can we make the poster more special or advanced?
Enhance your poster by adding metallic or gel pen accents to the fills, collage patterned paper inside letters, use washi tape or a ruler-drawn border with background decorations, or scan and share the finished creation on DIY.org for feedback.
Watch videos on how to design and create fancy letters
Handwriting Tutorial | Fancy Letters | Alphabet in colours for kids | DIY Crafts - Giulia's Art
4 Videos
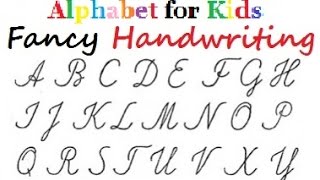
Handwriting Tutorial | Fancy Letters | Alphabet in colours for kids | DIY Crafts - Giulia's Art
Easy beginner art tutorial to create bubble, block and fancy letters - Art With Trista

How to Learn Hand Lettering in 2021: 7 Easy Steps for Hand Lettering Beginners
How to Write FANCY Bold Calligraphy Letters (Stylish & Easy) | Beginner's Hand Lettering Tutorial
Facts about hand lettering and typography
🖋️ The word "calligraphy" comes from Greek and literally means "beautiful writing."
✍️ Hand-lettering is more like drawing each letter as an artwork, while calligraphy focuses on pen strokes and flow.
🎨 Color, spacing, and style can totally change a poster's mood — the same word can feel playful or formal just by changing these.
📏 Rulers and stencils help keep letters even; professional sign painters and typographers use guides and grids too.
🔤 There are thousands of typefaces to explore — Google Fonts alone offers over 1,000 font families you can test on your poster.
How do you make a fancy lettering name poster?
What materials do I need for fancy lettering?
What ages is fancy lettering suitable for?
What are the benefits, safety tips, and variations for fancy lettering?
