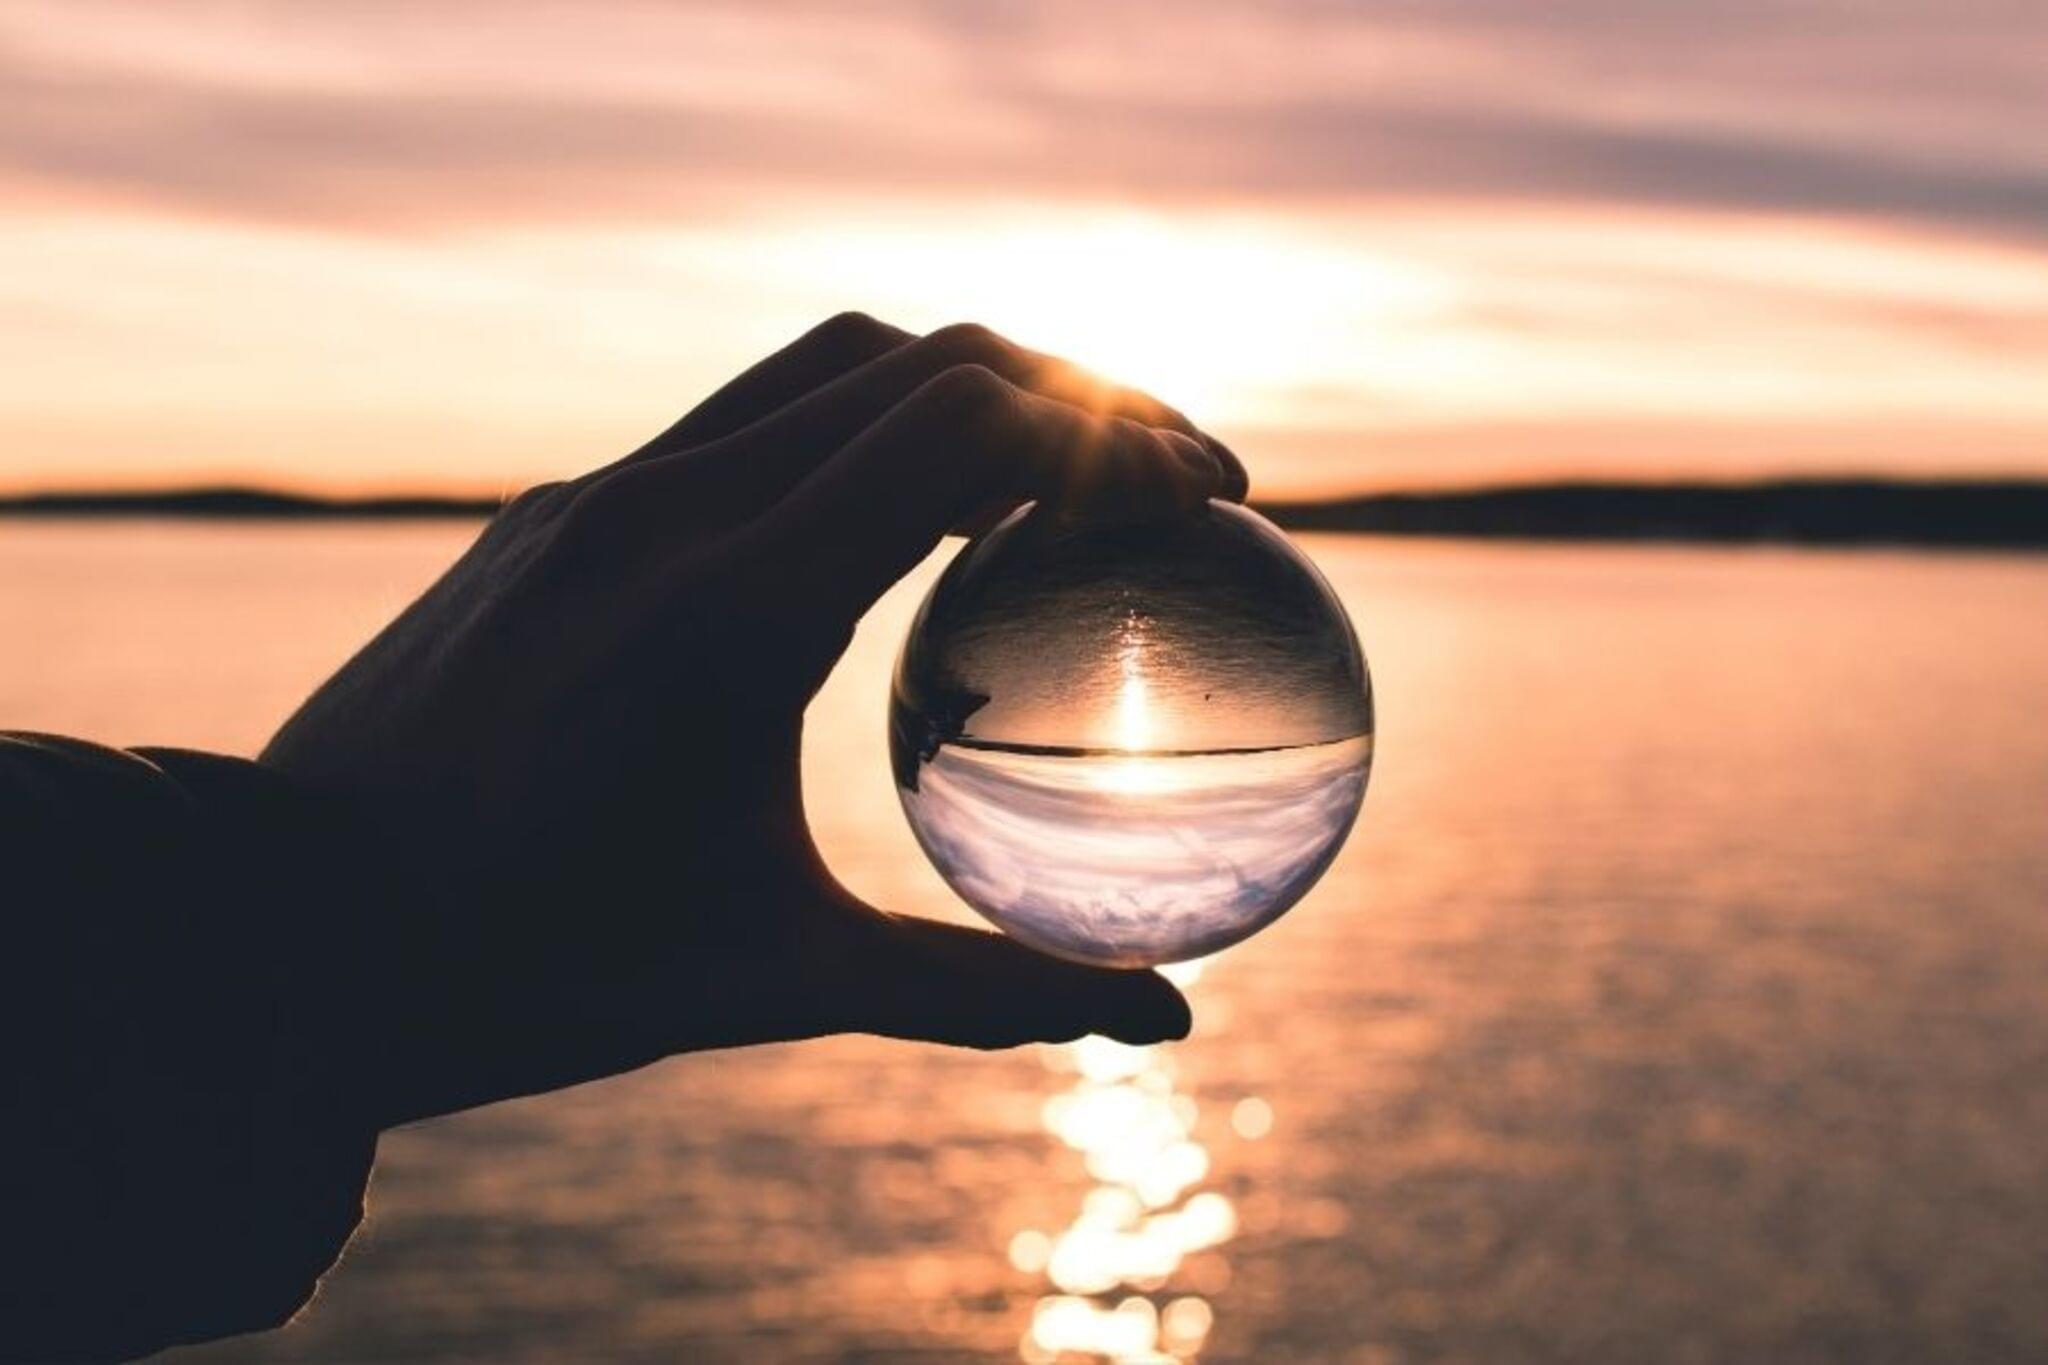
#PhotoFestival21 - Day 3 : Reflection
Make a mini photo project exploring reflections using mirrors, water, and shiny objects; experiment with angles, light, and symmetry to create striking images.


Step-by-step guide to #PhotoFestival21 - Day 3 : Reflection
Photosynthesis 🌷 | What is photosynthesis? | Step-by-step process
Step 1
Choose a flat workspace with room to spread out near a lamp or window.
Step 2
Lay the towel on the workspace to protect the surface.
Step 3
Place the colored paper or fabric on top of the towel as your background.
Step 4
Put the mirror on the background where you want reflections to appear.
Step 5
Prop the mirror at an angle using the roll of tape or small ball of clay so it stays tilted.
Step 6
Fill the shallow bowl or plate halfway with water and set it near the mirror.
Step 7
Arrange shiny objects on the mirror edge and in the water to make interesting reflections.
Step 8
Turn on the lamp or flashlight and aim the light toward the objects to create bright reflections.
Step 9
Slowly tilt the mirror and watch how the reflections change.
Step 10
Move the light or the shiny objects to try different angles and looks.
Step 11
Use your camera or phone to take several photos from different angles and distances.
Step 12
Pick your favorite photo and share your finished creation on DIY.org
Help!?
What can we use if we don't have a small mirror, shallow bowl, or roll of tape?
If you don't have a mirror, smooth aluminum foil onto stiff cardboard as a reflective surface, use a clear plastic container or a zip-top bag half-filled with water instead of a shallow bowl, and prop the mirror with crumpled paper or an eraser in place of tape or clay.
Why are my reflections dim or the mirror keeps slipping, and how can I fix that?
If reflections are dim, move the lamp closer or aim the flashlight directly at the shiny objects and reduce room light, and if the mirror slips secure it with more tape or a firmer prop (like a small book wedge) on the towel so it stays tilted while you photograph.
How can we adapt this activity for younger kids or make it more challenging for older kids?
For younger children, have an adult set up the lamp and mirror, use a plastic mirror and large, safe shiny objects with a very shallow or no-water tray, while older kids can experiment with colored paper backgrounds, two mirrors at different tilts, and varied camera distances for more creative photos.
What are easy ways to extend, improve, or personalize our reflection photos?
Personalize the project by adding colored cellophane over the lamp for colored reflections, sprinkling glitter or sequins in the bowl, arranging objects to tell a story, and editing your favorite shots into a collage before sharing on DIY.org.
Watch videos on how to #PhotoFestival21 - Day 3 : Reflection
Photosynthesis
4 Videos
Photosynthesis

Photosynthesis: Crash Course Biology #8
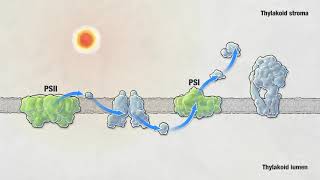
Photosynthesis | HHMI BioInteractive Video

Photosynthesis - Light Dependent Reactions and the Calvin Cycle
Facts about photography for kids
🪞 A mirror doesn't swap left and right — it flips front-to-back, which is why text appears reversed.
💧 Calm water can act like a near-perfect mirror; even a small puddle can create a clear reflected scene.
🔆 The law of reflection says the angle you hit a surface with light equals the angle it bounces away — great for planning shots.
📷 A polarizing filter on your camera can reduce or remove reflections from water and glass when you want to reveal what's underneath.
🎯 Using reflections can create perfect symmetry in photos, a composition trick that makes images feel balanced and striking.
How do I do the #PhotoFestival21 - Day 3 Reflection mini photo project?
What materials do I need for the reflection photo project?
What ages is this activity suitable for?
What safety tips should I follow for reflection photography?
