Do the Long Range Air Shot
Build and test a long range paper glider, adjusting wings and throwing technique to measure distance and learn basic aerodynamics through repeated flights.

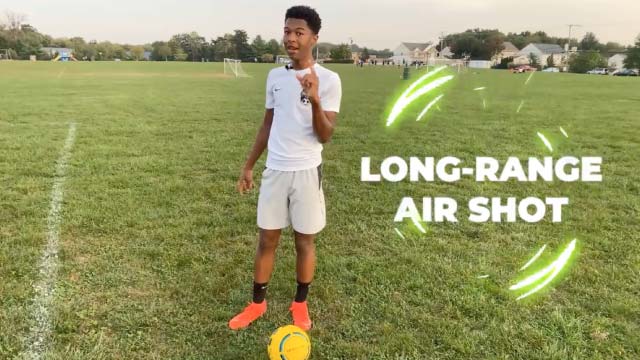

Step-by-step guide to Do the Long Range Air Shot
Step 1
Gather all materials on a flat table so everything is ready and easy to reach.
Step 2
Fold one sheet of paper lengthwise in half and press the crease firmly with your finger.
Step 3
Open the paper and fold the top two corners down to meet the center crease to make a point at the top.
Step 4
Fold the pointed tip down about 2 cm so the tip holds the folded corners in place.
Step 5
Fold the paper in half again along the first crease with the point on the outside.
Step 6
Fold one side down to make the first wing so the wing edge lines up with the bottom of the body.
Step 7
Fold the other side down the same distance so both wings match.
Step 8
Fold small 1 cm winglets up at the ends of each wing to help the glider stay stable.
Step 9
Attach one paper clip to the nose of the glider to add a little weight.
Step 10
Lay out the measuring tape on the ground straight and flat toward your test area.
Step 11
Mark the starting line at the zero end of the measuring tape with your marker or a small piece of tape.
Step 12
Stand at the starting line and launch your glider with a gentle palm toss aiming slightly upward.
Step 13
Measure the distance from the starting line to where the glider landed and write the number down.
Step 14
Make one change to your glider like moving the paper clip or bending the winglets then launch three times and record each distance.
Step 15
Share your finished long range paper glider and your flight results on DIY.org
Help!?
What can I use instead of a paper clip or measuring tape if I don’t have them?
If you don't have a paper clip, attach a small coin, washer, or a folded piece of tape to the nose of the glider, and if you don't have a measuring tape, lay a straight piece of string on the ground and mark the starting line at zero or use a ruler or smartphone measuring app to record the distance.
My glider keeps diving or won't fly straight — what should I check and adjust?
Check that the initial lengthwise crease and both wing folds are even, make sure the wings line up with the bottom of the body, try moving or adding the paper clip on the nose to change weight, and tweak the 1 cm winglets or launch angle with a gentle palm toss aimed slightly upward to correct diving or stalling.
How can I modify the steps for younger kids or make it more challenging for older kids?
For younger children, pre-fold the lengthwise crease and the 2 cm tip fold and help attach the paper clip and mark the starting line so they can focus on the gentle palm toss, while older kids can test different paper types, vary paper clip position, change winglet angles, and record three-launch results to analyze which changes increase distance.
What are some ways to improve or personalize our long range paper glider?
Decorate the paper, try heavier or lighter paper, add a small tail or extra nose weight, experiment with different 1 cm winglet angles and wing shapes, and compare distances using your measuring tape before sharing results on DIY.org.
Watch videos on how to Do the Long Range Air Shot
How To Score Long Range Goals | Increase Your Shooting Power & Accuracy
4 Videos

How To Score Long Range Goals | Increase Your Shooting Power & Accuracy
War Thunder Beginner's Guide to Flying / How to Fly / Air Combat Tutorial
HOW TO IMPROVE LONG SHOTS | Score 35m goals
Build a Shooting Game Using micro:bit
Facts about paper gliders and aerodynamics
✈️ The longest officially measured paper airplane flight is over 60 meters — perfect inspiration for a long-range challenge!
📏 Tweaking the wing's angle of attack by just 3–5° can make the glider climb, stall, or dive — small changes matter a lot.
🏆 There are organized paper airplane competitions and school contests where design and throwing technique win prizes.
🪶 Lightweight copier paper (around 70–80 gsm) often outperforms heavy cardstock because less weight keeps it airborne longer.
🔬 Repeated test flights are like mini wind-tunnel experiments: each throw helps you refine stability, balance, and distance.
How do I build and test a long range paper glider (Long Range Air Shot) with my child?
What materials do I need to build a long range paper glider for the Long Range Air Shot activity?
What ages is the Long Range Air Shot paper glider activity suitable for?
What are the benefits, safety tips, and fun variations for the Long Range Air Shot paper glider?
