Take a Spooky Halloween Photo
Create a spooky Halloween photo using costumes, props, safe lighting, and simple camera tricks; practice framing, composition, and basic editing skills.


Step-by-step guide to take a spooky Halloween photo
What Is Halloween? 🎃 History, Traditions & Fun for Kids👻 Smartie the Alpaca
Step 1
Gather all the materials from the list and bring them to your photo area.
Step 2
Hang the sheet or fabric flat on a wall using tape or clothespins to make a backdrop.
Step 3
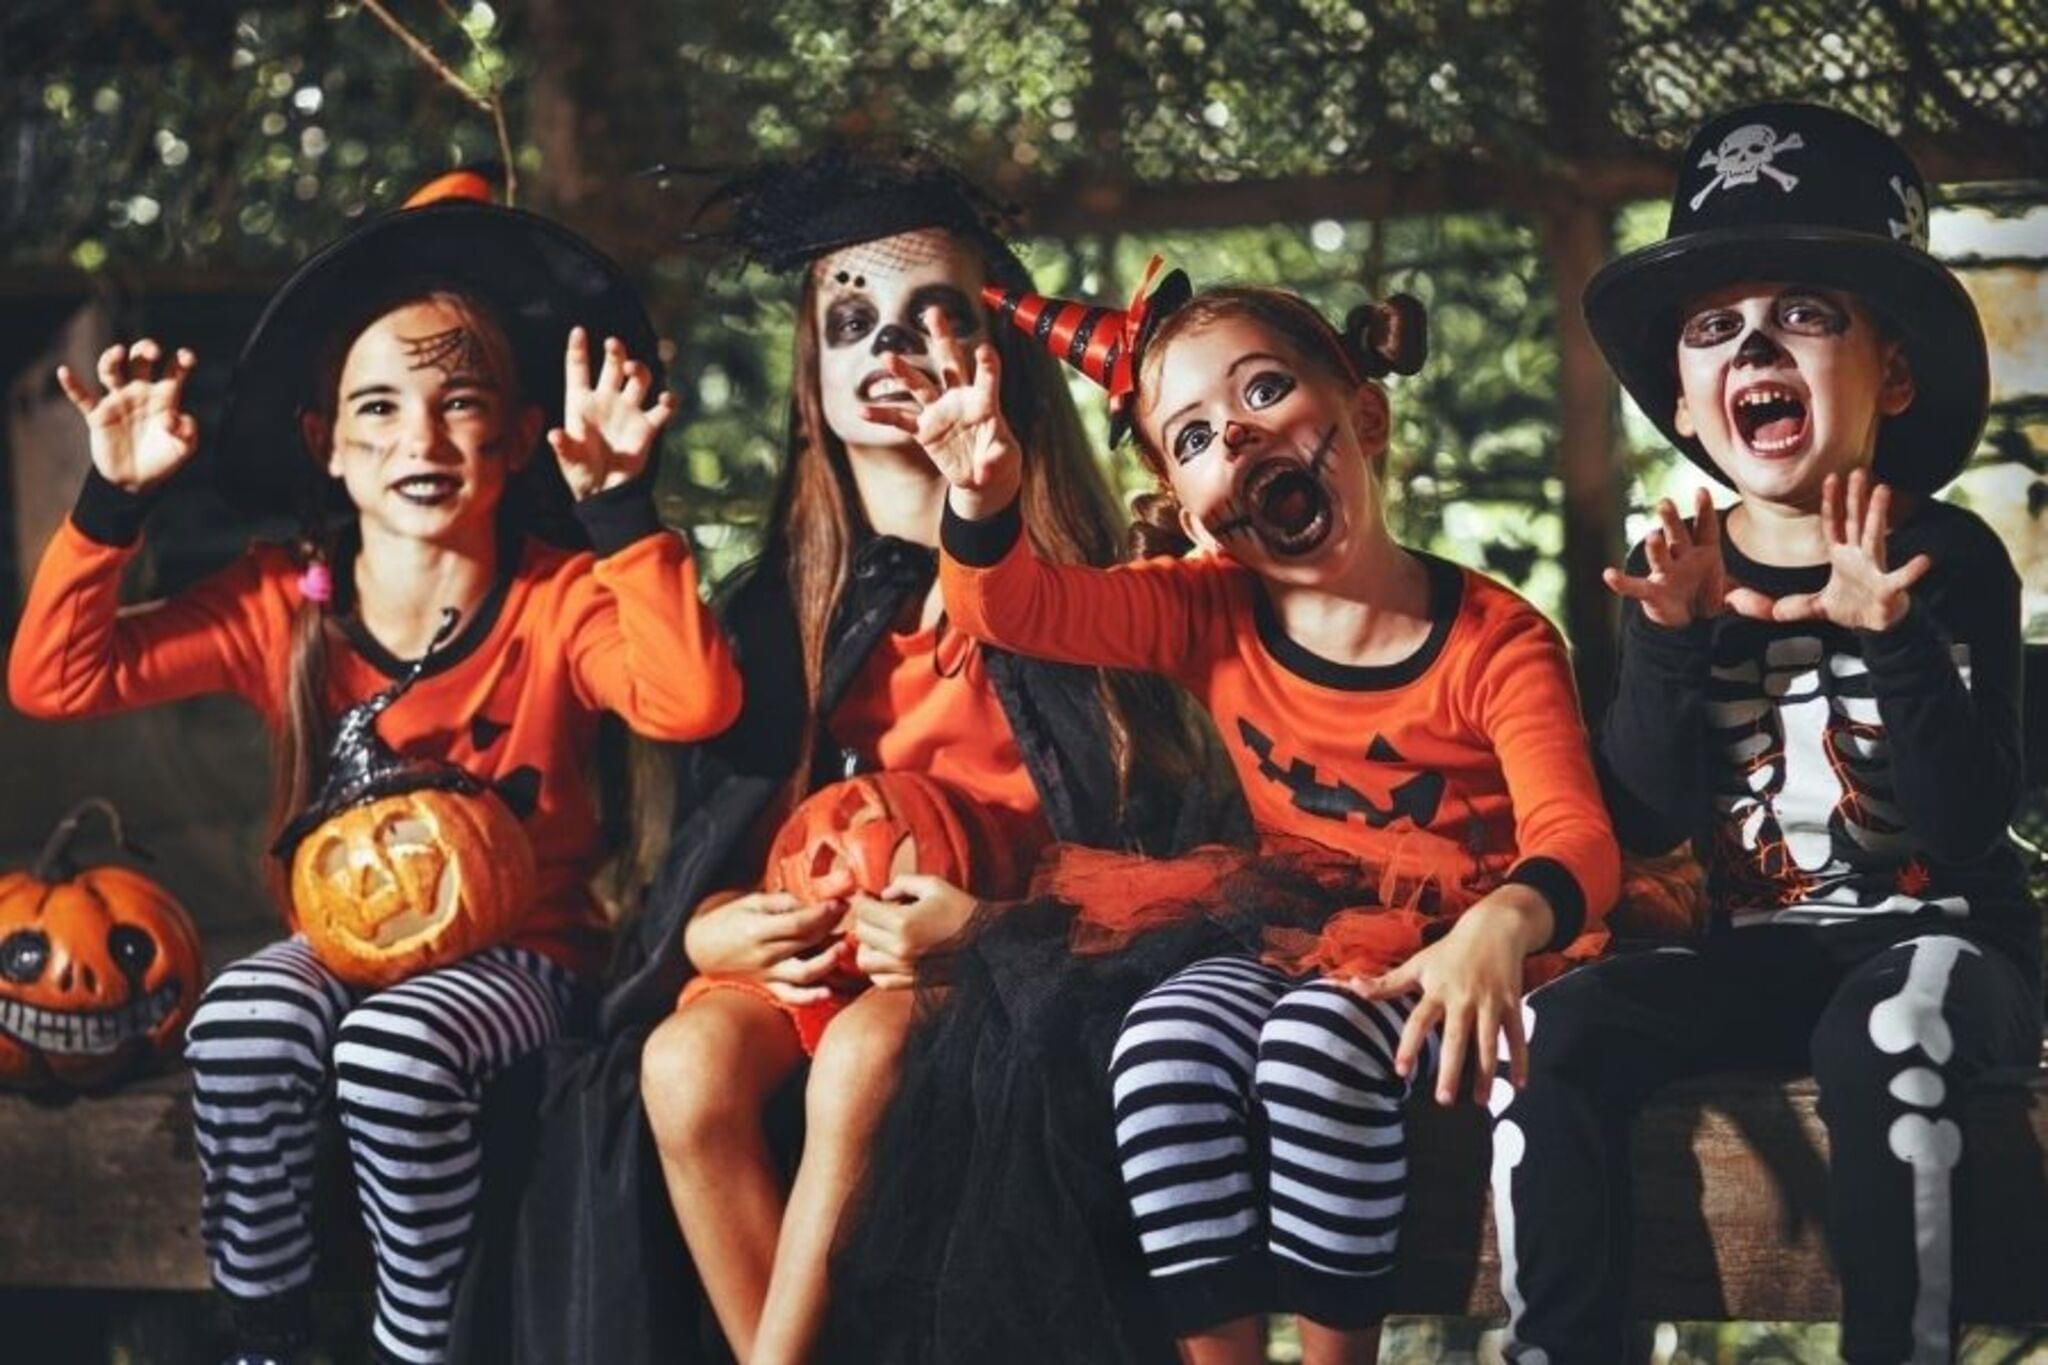
Put on your costume or spooky clothes so you are ready for the photo.
Step 4
Arrange your props around the backdrop where you want them to appear in the picture.
Step 5
Place the LED light or flashlight to the side or behind the scene to create spooky shadows.
Step 6
Move a chair or mark the spot where you will stand or sit in the scene.
Step 7
Set your camera or phone on a stable surface like stacked books so it does not move.
Step 8
Set the camera timer or ask a helper to press the shutter for you.
Step 9
Pick one camera angle by moving the camera lower higher or closer so you like the framing.
Step 10
Take one test photo to check the lighting and how the props look.
Step 11
Move the light or props to fix any bright spots or awkward shadows from the test photo.
Step 12
Take several final photos trying different spooky faces poses and small slow movements.
Step 13
Open your best photo in a simple editing app on your device.
Step 14
Increase the contrast a little to make shadows stronger and make the image spookier.
Step 15
Save your final photo and share your finished spooky Halloween creation on DIY.org.
Help!?
What can I use if I don't have a sheet or an LED light?
Use a dark bedsheet, shower curtain, or large poster as the backdrop and use a phone flashlight or desk lamp in place of the LED light.
My photos are too blurry or have weird shadows—what should I try?
If photos are blurry, place your camera or phone on a stable surface like stacked books and use the camera timer or ask a helper, and if there are weird shadows, move the LED light or flashlight to the side or behind the scene and adjust props as instructed.
How can I make this activity easier or harder for different ages?
For younger kids, have an adult hang the sheet, arrange props, and press the timer while the child sits on the marked chair and makes simple faces, and for older kids let them choose camera angles, try slow movements, and edit contrast in the app themselves.
How can we make our spooky photo more creative or personalized?
Personalize by adding small LED string lights or colored cellophane over the flashlight, creating a themed prop arrangement, trying different camera angles from the step 'Pick one camera angle', and finishing with extra edits like stickers or captions in the editing app.
Watch videos on how to take a spooky Halloween photo
Blippi's Trick-or-Treat Halloween Adventure 🎃🕷️ | Spooky Fun and Educational Videos for Kids
3 Videos

Blippi's Trick-or-Treat Halloween Adventure 🎃🕷️ | Spooky Fun and Educational Videos for Kids
Spooky Halloween Art Ideas To Do When Bored

What is Halloween? 🎃👻 | All About Halloween Explained for Kids
Facts about photography for kids
🎃 The word "Halloween" comes from "All Hallows' Eve" and its traditions trace back to the ancient Celtic festival Samhain.
📸 The oldest surviving camera photograph was made in the 1820s — early photos needed very long exposures (minutes to hours)!
🧙♀️ Wearing costumes started as a way to disguise or blend in with spirits — now it's the fun part of trick-or-treating.
💡 Shine a light from below (underlighting) to instantly make faces look spooky — a flashlight under the chin is a classic trick.
🖼️ Simple edits like boosting contrast, cooling color temperature, and adding a dark vignette can turn a normal photo into something eerie.
How do I take a spooky Halloween photo with my child?
What materials and props do I need for a spooky Halloween photo?
What ages is this spooky Halloween photo activity suitable for?
What safety tips should I follow when taking spooky Halloween photos?
