Take a Fall Photo
Go outside and take autumn photos using a camera or smartphone, composing scenes, experimenting with light, color, and perspective to capture fall details.

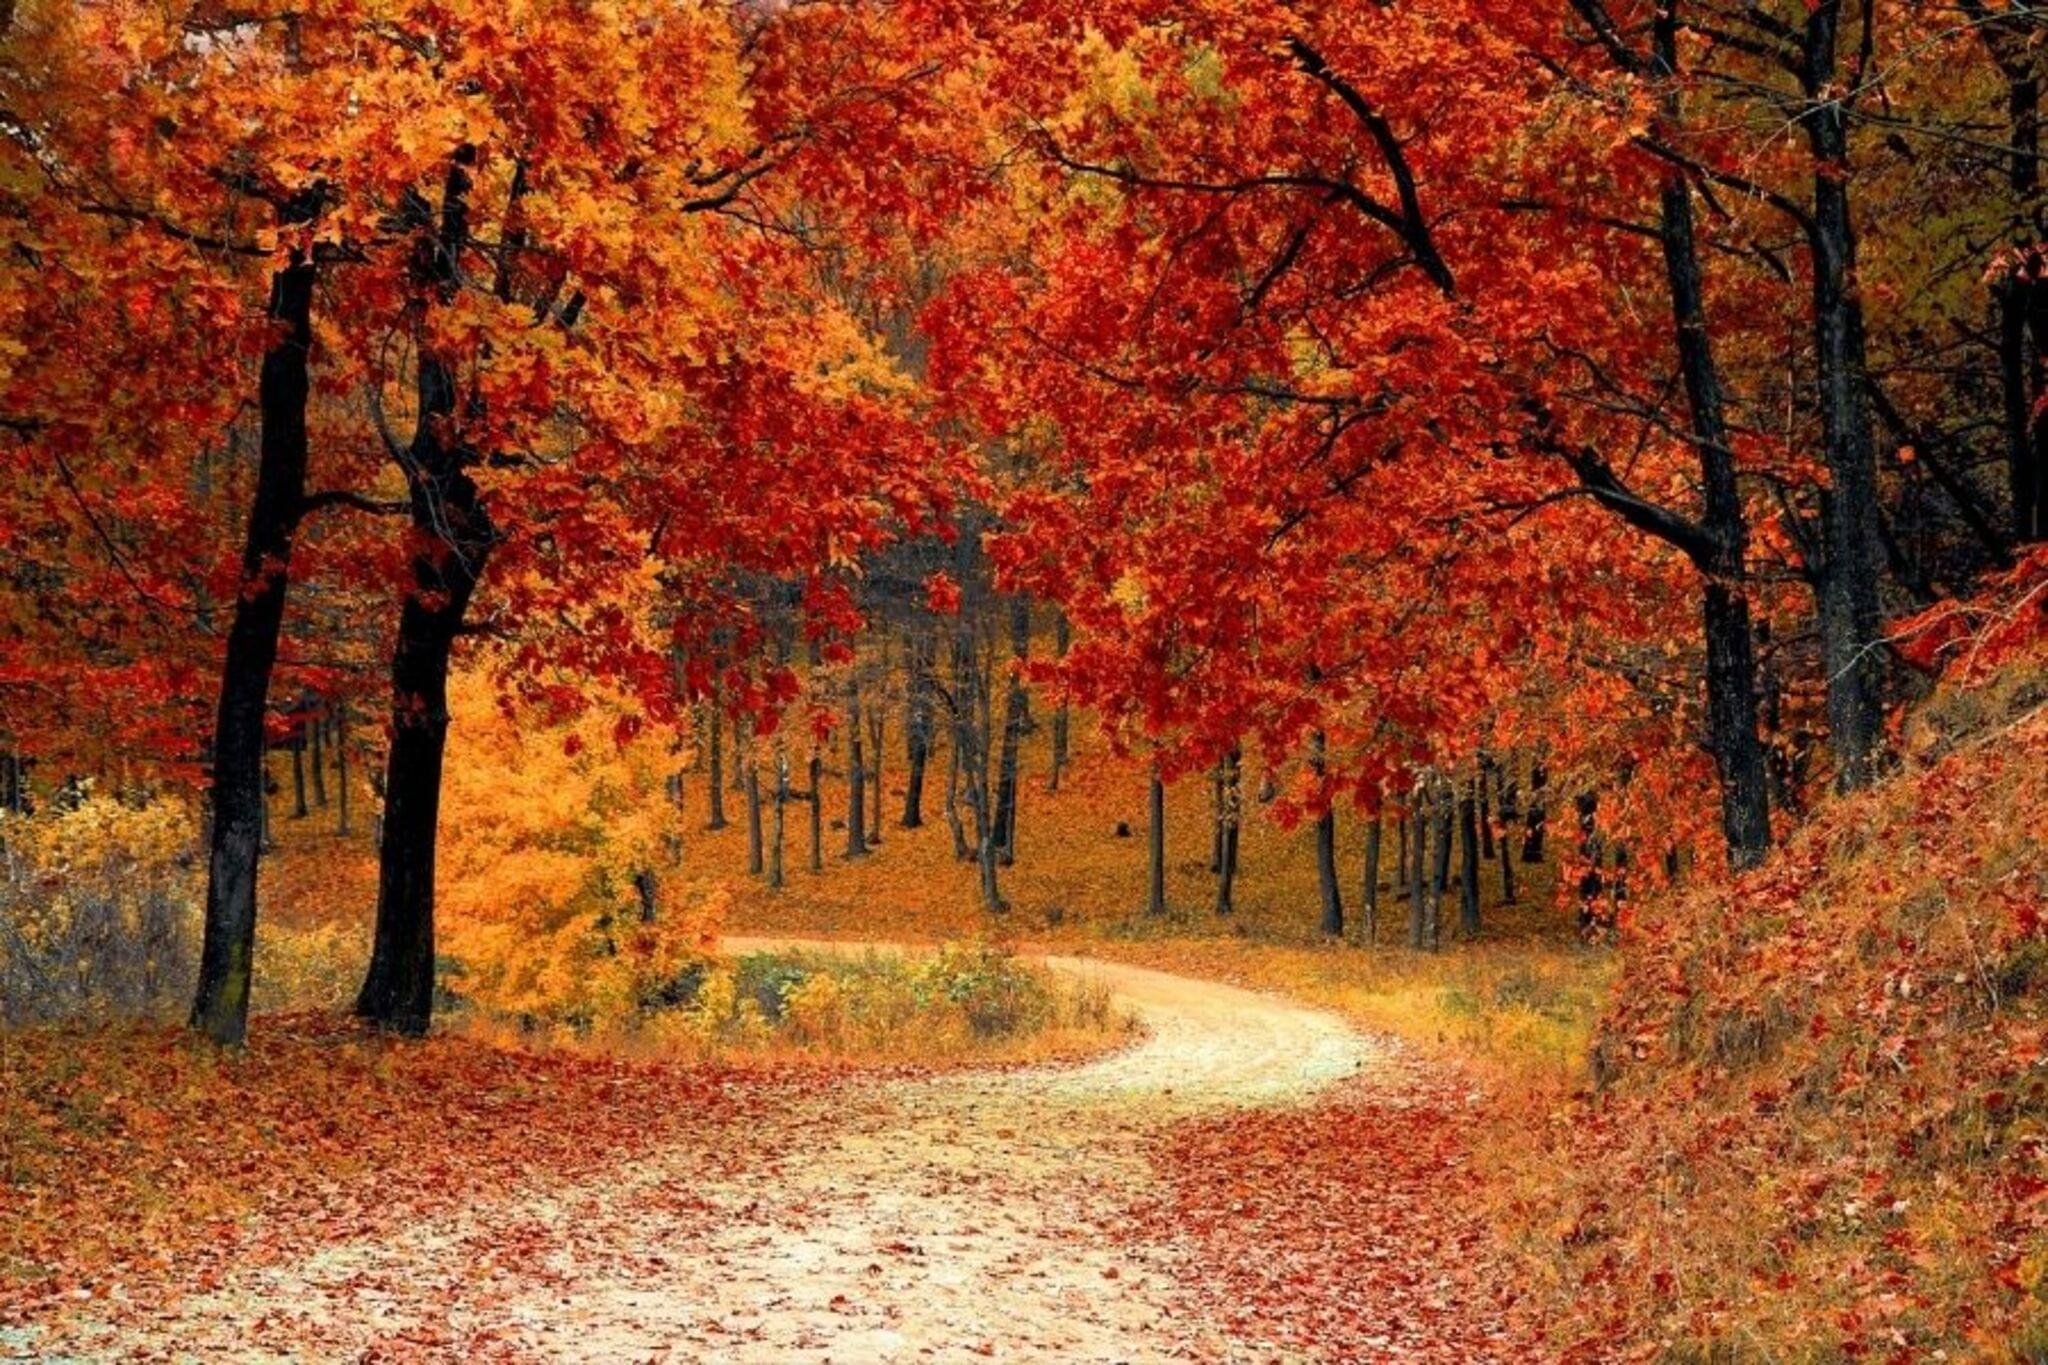

Step-by-step guide to take a fall photo
10 Autumn Photography Tips You Must Try This Season!
Step 1
Put on your comfortable shoes.
Step 2
Take your camera or smartphone and turn it on.
Step 3
Choose a nearby outdoor place to explore like a park yard or tree-lined street.
Step 4
Write three photo ideas in your notebook.
Step 5
Walk slowly through your spot and look for colorful leaves or interesting light.
Step 6
Take one wide shot that shows the whole fall scene.
Step 7
Take one close-up photo of a leaf texture or tiny fall detail.
Step 8
Try a low-angle shot by kneeling or lying down and take one photo.
Step 9
Take one backlit photo with the sun behind your subject to capture a glow or silhouette.
Step 10
Include a person or object for scale and take one photo that shows size.
Step 11
Take at least twenty photos while changing angles distances and light.
Step 12
Pick your three favorite photos and write a short title for each in your notebook.
Step 13
Share your finished photos on DIY.org
Help!?
What can we use if we don't have a camera, smartphone, or notebook?
If you don't have a camera or smartphone, borrow an adult's phone to 'turn it on' and 'take at least twenty photos', and use the phone's Notes app instead of a paper notebook to write your three photo ideas and titles.
My photos are coming out blurry or too dark—what should I try?
To fix blurry or dark pictures, follow the 'walk slowly' step, steady your camera on a bench or use the timer for the 'low-angle' or person-scale shots, and move to brighter light or increase exposure when attempting the 'backlit' photo while you 'change angles distances and light'.
How can I change this activity for younger or older kids?
For younger kids, cut the goal to six photos and have an adult help with kneeling for the low-angle and the backlit shots and writing titles, while older kids can use manual camera settings and try composition rules for the wide, close-up, and low-angle photos before sharing on DIY.org.
How can we make this activity more creative or keep the photos after sharing?
After you 'pick your three favorite photos and write a short title', print them or make a digital collage or seasonal photo book from your twenty-photo shoot to display or post on DIY.org as a themed story.
Watch videos on how to take a fall photo
Why do leaves change color? | The Science of Fall Leaves for Kids
4 Videos

Why do leaves change color? | The Science of Fall Leaves for Kids

10 Tips for Fall Landscape Photography

Why Do Leaves Change Colour in Autumn? | Autumn for Kids!

Why Do Leaves Change Colors in the Fall? | Biology for Kids | SciShow Kids
Facts about photography for kids
🍁 Many leaves turn red, orange, and yellow in fall because chlorophyll breaks down and hidden pigments (carotenoids and anthocyanins) appear.
📷 Modern smartphone cameras use HDR and computational tricks to balance bright skies and shadowed leaves—tap to lock focus/exposure for better shots.
🌅 The "golden hour" (just after sunrise or before sunset) gives warm, soft light that makes fall colors look extra vibrant.
☁️ Overcast skies are a photographer's friend for leaf detail—clouds act like a giant diffuser and reduce harsh shadows and glare.
🔎 Changing perspective (get low, shoot close, or try an overhead shot) reveals cool textures like leaf veins, bark, and acorns.
How do I teach my child to take great fall photos outside?
What materials do I need to take autumn photos with my child?
What ages is taking fall photos suitable for?
What are the benefits and safety tips for children taking fall photos?
