Crochet a witch's hat
Crochet a small witch's hat using yarn, a crochet hook, and basic stitches. Learn counting, following patterns, and finishing techniques.

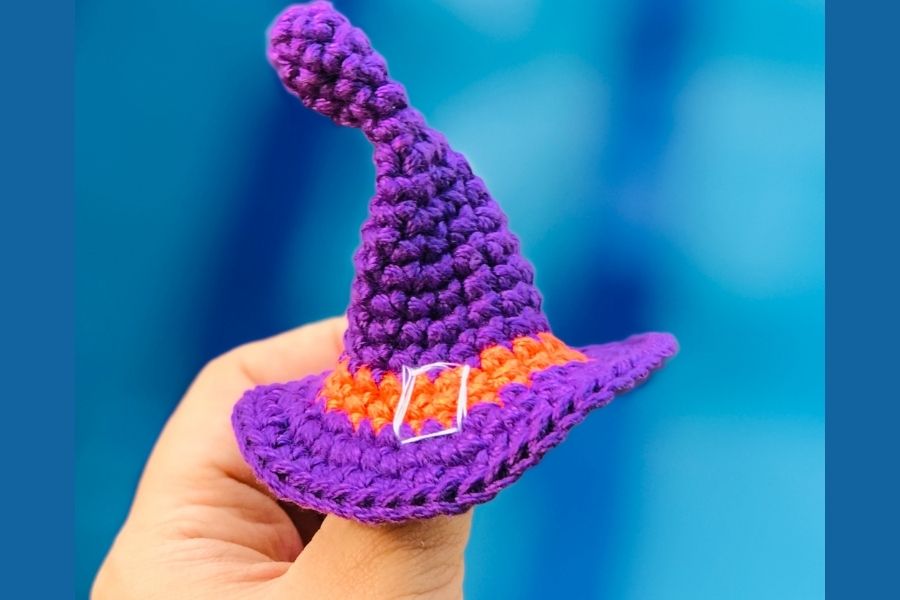

Step-by-step guide to crochet a witch's hat
Step 1
Gather your materials and find a comfy well-lit spot to crochet.
Step 2
Make a magic ring by wrapping the yarn and creating a loop to work into.
Step 3
Crochet 6 single crochets into the magic ring and pull the ring tight to close.
Step 4
Crochet 2 single crochets in each stitch around so you have 12 stitches total.
Step 5
Crochet [single crochet in next stitch then increase] around to make 18 stitches.
Step 6
Crochet [single crochet in next 2 stitches then increase] around to make 24 stitches.
Step 7
Crochet [single crochet in next 3 stitches then increase] around to make 30 stitches.
Step 8
Crochet [single crochet in next 4 stitches then increase] around to make 36 stitches.
Step 9
Crochet [single crochet in next 5 stitches then increase] around to make 42 stitches.
Step 10
Crochet 3 rounds of single crochet without increasing to build the hat height.
Step 11
Switch to double crochet and make one round of double crochet in each stitch around.
Step 12
Make a ruffle round by repeating [double crochet in next 2 stitches then 2 double crochets in the next stitch] around.
Step 13
Fasten off and leave a 15 cm tail to finish the hat.
Step 14
Thread the tail into your yarn needle and weave it inside the hat to hide and secure the end, then trim the extra yarn.
Step 15
Share your finished witch's hat on DIY.org
Help!?
What can we use if we don't have a yarn needle or the exact hook/yarn called for in the instructions?
If you don't have a yarn needle, use a blunt tapestry or darning needle (or a crochet hook to pull the tail) to thread the 15 cm tail through the hat, and if your exact hook or yarn isn't available choose a hook size that matches your yarn thickness so your stitch gauge matches the increase rounds.
My hat has a hole at the top or my stitch counts are off during increases—what can fix this?
If the magic ring won't close or your counts drift after making 6 single crochets into the ring, pull the initial tail tightly to close the ring, place a stitch marker at the start of each round, and recount after each increase round (for example after the 12, 18, 24 stitches steps) before continuing.
How can we adapt the project for different age groups or skill levels?
For preschoolers, skip the magic ring and start with a chain-2 loop and let them help with the 3 rounds of single crochet for hat height under supervision; for early-school kids have them work the increase pattern up to 42 stitches with counting help; and for teens let them follow all steps including the double crochet round, ruffle round, and weaving the 15 cm tail independently.
How can we personalize or enhance the witch's hat after finishing the basic pattern?
To personalize, change yarn color at the switch to double crochet for a contrasting brim, make the ruffle round in a sparkly yarn, add a pom‑pom to the tip, or sew felt stars and beads on after fastening off and weaving the 15 cm tail.
Watch videos on how to crochet a witch's hat
How to make a witch's hat for a witch costume
3 Videos
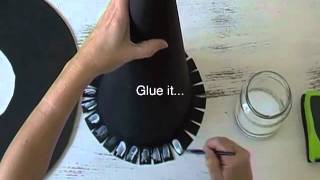
How to make a witch's hat for a witch costume
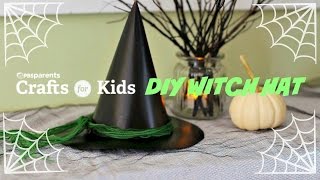
DIY Witch Hat | Halloween Crafts for Kids | PBS KIDS for Parents
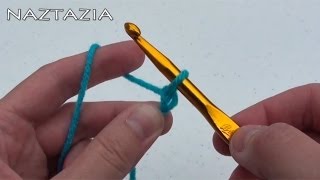
How to Crochet for Absolute Beginners, Right Hand Version, Easy and Simple Tutorial
Facts about crochet and yarn crafts for kids
🧶 Crochet uses a single hook to loop yarn into fabric—perfect for tiny hats and cozy toys!
🪝 Crochet hooks range from tiny steel sizes (under 2 mm) to jumbo hooks over 15 mm for chunky yarn.
🔢 Counting stitches and rounds is like secret crochet math—get it right and your hat keeps perfect shape!
🎃 The pointy witch’s hat became a Halloween icon in Victorian illustrations and storytelling.
✂️ Simple finishing—weave in ends and block the hat—makes your little witch’s hat look polished and last longer.
How do I crochet a small witch's hat step by step?
What materials do I need to crochet a small witch's hat?
What ages is crocheting a small witch's hat suitable for?
What are the benefits, safety tips, and variations for this witch's hat crochet activity?
