Make an Icecream Bunny with DIY Star KawaiiSilverWolf
Make a cute kawaii ice cream bunny craft using paper, foam, stickers, and safe glue; decorate with star shapes and learn simple crafting skills.

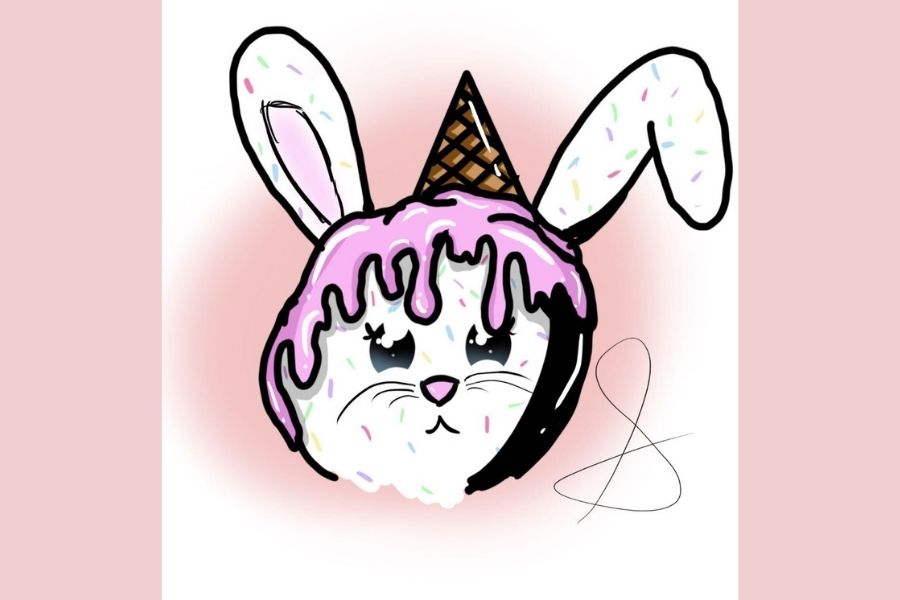

Step-by-step guide to make an Icecream Bunny with DIY Star KawaiiSilverWolf
Step 1
Lay out all your materials on a clean table so everything is easy to reach.
Step 2
Choose a foam color for the ice cream scoop and use your pencil to draw a big rounded scoop shape.
Step 3
Choose a different foam or paper color for the cone and use your pencil to draw a triangle with a slightly rounded top.
Step 4
Cut out the scoop and cone shapes carefully with scissors.
Step 5
Draw two long bunny ear shapes on scrap foam or paper with your pencil.
Step 6
Cut out the two bunny ear shapes with scissors.
Step 7
Glue the bunny ears to the back top edge of the scoop and press for a few seconds.
Step 8
Glue the scoop to the top of the cone and hold it until the glue sets.
Step 9
Draw a cute kawaii face on the scoop using the black marker (big eyes and a little smiling mouth).
Step 10
Use colouring materials to add rosy cheeks and color inside the ears.
Step 11
Stick star stickers onto the scoop and cone to decorate your ice cream bunny.
Step 12
Share a photo of your finished Icecream Bunny on DIY.org
Help!?
What can I use instead of foam if it's hard to find?
If foam isn't available, use construction paper, cardstock, or felt for the scoop, cone, and ears—layer two sheets for extra thickness and glue them together before cutting.
My ears or scoop keep slipping when I glue them; how can I fix that?
If the ears or scoop won't stay glued, press and hold each glued seam for about 30 seconds, switch to a stronger craft glue or double-sided tape, or ask an adult to use a small dab of hot glue to secure the pieces.
How can I adapt the steps for different ages?
For younger children, pre-cut the scoop, cone, and ears so they can glue and decorate with stickers and crayons, while older kids can cut their own shapes, add layered scoops, detailed kawaii faces, or sew felt pieces for texture.
What are some ways to personalize or extend the Icecream Bunny project?
Personalize it by mixing foam colors for layered scoops, adding googly eyes, glitter glue, or star stickers, writing the child's name on the cone, or making a set of bunnies to create a photo story to share on DIY.org.
Watch videos on how to make an Icecream Bunny with DIY Star KawaiiSilverWolf
Easy Paper Ice Cream Craft | At Home Summer Crafts for Kids | Twinkl
4 Videos
Easy Paper Ice Cream Craft | At Home Summer Crafts for Kids | Twinkl
5 Rabbit Projects - 5 cool ways to make DIY Bunny Crafts!
How to make paper ice cream cone | DIY ice cream | Cardboard ice cream
5 Awesome Popsicle Stick Crafts Ideas - DIY Ice Cream Stick Crafts
Facts about paper and foam crafts for kids
🍦 Ice cream has been enjoyed in many forms for over 2,000 years — ancient cultures made frozen milk-and-fruit treats!
🐰 Baby rabbits are called kits (or kittens) and bunnies are a classic cute character for kawaii crafts.
✨ 'Kawaii' literally means 'cute' in Japanese and became a major pop-culture style starting in the 1970s–80s.
✂️ Papercraft can transform a flat sheet into a 3D toy or decoration using cutting, folding, and a little glue.
🧴 School glue is usually non-toxic and water-based, which is why it's safe for most kids' crafts with grown-up supervision.
How do I make an Icecream Bunny (DIY Star KawaiiSilverWolf) craft?
What materials do I need for the Icecream Bunny craft?
What ages is the Icecream Bunny activity suitable for?
What are the benefits, safety tips, and variations for the Icecream Bunny craft?
