Make DIY Pop-It
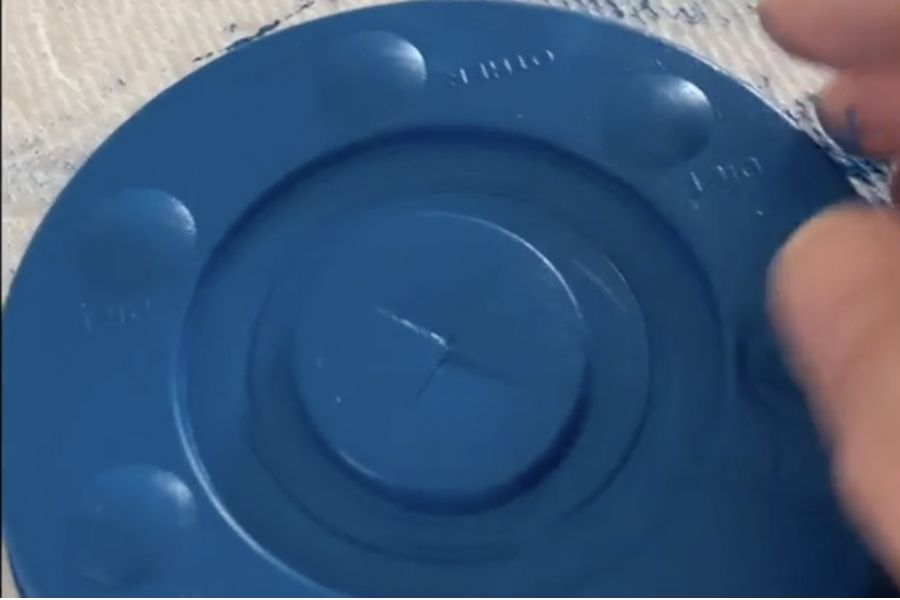
Make a DIY Pop-It using silicone cupcake liners glued into a cardboard base; decorate, then press the cups to flip and feel satisfying pops.


Step-by-step guide to make a DIY Pop-It
Step 1
Gather all the materials and put them on a clean flat table.
Step 2
Decide how big you want your Pop-It and draw a rectangle or circle on the cardboard with a pencil.
Step 3
Cut out the cardboard shape along your pencil line using scissors.
Step 4
Arrange the silicone cupcake liners on the cardboard until you like the pattern.
Step 5
Trace a small pencil mark inside each liner position so you know where to glue.
Step 6
Put a small dab of craft glue on each pencil mark.
Step 7
Press each silicone liner onto its glue dab and hold each one for about 10 seconds.
Step 8
Place a heavy book on top of the liners to keep them flat.
Step 9
Wait for the glue to dry for at least 30 minutes or follow the glue bottle directions.
Step 10
Remove the heavy book from your Pop-It once the glue is dry.
Step 11
Decorate the tops and the cardboard base with colouring materials and stickers.
Step 12
Let the decorations dry completely before playing.
Step 13
Press the cups to pop them and then share your finished Pop-It on DIY.org
Help!?
What can we use if silicone cupcake liners or craft glue are hard to find?
If you don't have silicone cupcake liners, substitute small plastic bottle caps or circles cut from craft foam and attach them to the cardboard at the pencil-marked spots (step 5) using double-sided tape or a stronger school glue in place of the craft glue (step 6).
What should we do if the liners won't stay glued or fall off after drying?
If liners come loose after drying, remove them, apply a stronger adhesive such as hot glue or heavy-duty craft glue to the pencil marks (step 5), press each liner for about 10 seconds (step 7), and replace the heavy book while you follow the glue's recommended drying time (step 9).
How can we adapt the steps for different ages of children?
For toddlers have an adult cut the cardboard (step 3) and place glue dabs (step 6) while the child arranges liners (step 4) and presses them (step 7); for school-age kids let them draw the shape (step 2) and cut (step 3) themselves; and for teens encourage more detailed decorating and stronger adhesives before sealing (steps 11–12).
How can we personalize or upgrade our finished Pop-It after it's dry?
After decorations dry (step 12), seal the surface with clear craft sealer, glue small magnets to the cardboard back to make it a fridge toy, or swap in colored silicone molds for different popping textures before pressing and sharing on DIY.org (step 13).
Watch videos on how to make a DIY Pop-It
How to Make a DIY Pop It Fidget Toy At Home - Easy and Fun!
4 Videos
How to Make a DIY Pop It Fidget Toy At Home - Easy and Fun!
DIY Pop It Fidget Toys (How To Make Viral TikTok Fidget Toy At Home) **EASY** | Txunamy
How to Build a Mini LEGO DIY Pop-It Fidget Toy!
EASY DIY "POP IT" FIDGET TOYS - HOW TO MAKE HOMEMADE FIDGETS-5 MINUTE FIDGET TOYS -PAPER TOY FIDGETS
Facts about DIY sensory toys for kids
🧠 Fidget toys like Pop-Its were created to give simple, repetitive tasks that can help some kids focus and calm down.
🫧 Silicone can bend and stretch millions of times without breaking, which is why it's great for squishy, reusable toys.
🧁 Silicone cupcake liners are oven-safe and washable, so they double as durable, food-safe fidget cups.
📦 Corrugated fiberboard (cardboard) is both lightweight and strong — it’s the same material used for shipping boxes and perfect for a sturdy Pop-It base.
🎯 Making your own Pop-It lets you pick colors and patterns while practicing fine motor skills and creativity.
How do I make a DIY Pop-It using silicone cupcake liners and cardboard?
What materials do I need to make a DIY Pop-It with cupcake liners?
What ages is a DIY Pop-It from cupcake liners suitable for?
What safety tips should I follow when making a DIY Pop-It?
