Make a Pumpkin for Halloween!
Create a Halloween pumpkin craft using paper, scissors, glue, and markers. Cut shapes, assemble layers, and decorate to learn design and fine-motor skills.


Step-by-step guide to make a pumpkin for Halloween
Step 1
Clear a flat space and lay out all your materials so you can reach them easily.
Step 2
Use the pencil to draw a big oval for the pumpkin on the orange paper.
Step 3
Draw three curved vertical lines inside the oval to make pumpkin sections.
Step 4
Cut out the pumpkin shape carefully along the pencil outline with scissors.
Step 5
Use a marker to draw and color a short stem at the top of your pumpkin.
Step 6
Draw two triangle eyes a triangle nose and a mouth shape on the black paper.
Step 7
Cut out the eyes nose and mouth shapes from the black paper with scissors.
Step 8
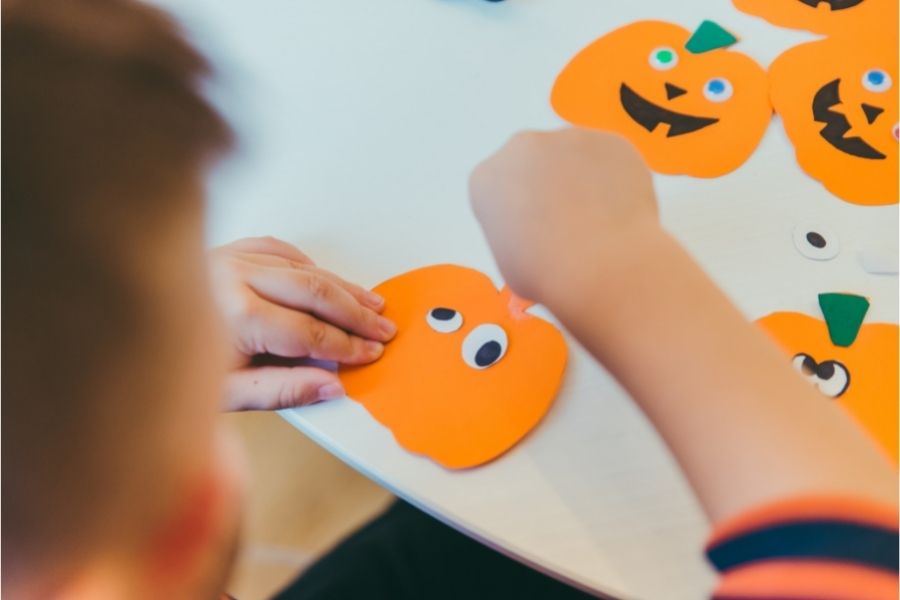
Put a little glue on the back of each black face piece.
Step 9
Press the black face pieces onto the pumpkin where you want them and hold for a few seconds.
Step 10
Let the glue dry for a few minutes so everything stays stuck.
Step 11
Add finishing details with markers like lines shadows or fun patterns to make your pumpkin unique.
Step 12
Share your finished pumpkin craft on DIY.org
Help!?
What can I use if I don't have orange paper or black paper?
If you don't have orange paper, color or paint white paper or use a painted paper plate for the pumpkin, and for black paper either use dark construction paper or draw the eyes, nose, and mouth directly with a black marker.
My scissors keep tearing the paper when I cut the pumpkin — what should I do?
To prevent tearing while you 'cut out the pumpkin shape', use sharper craft scissors, cut slowly along the pencil outline, or fold the paper and make small snips around curves for better control.
How can I adapt this activity for younger or older children?
For younger kids, pre-draw and pre-cut the big oval and the black face pieces so they can glue and add simple marker details, while older kids can freehand more curved vertical lines, add layered paper textures, and create intricate marker patterns before sharing on DIY.org.
How can we make the pumpkin more special or reusable?
After the glue dries, attach a rolled brown-paper stem and a ribbon loop with glue so it can be hung, and personalize it with glitter, googly eyes, or extra marker shadows and patterns from the finishing details step.
Watch videos on how to make a pumpkin for Halloween
DIY Halloween Pumpkin 🎃 Fun Halloween Craft for Kids
4 Videos
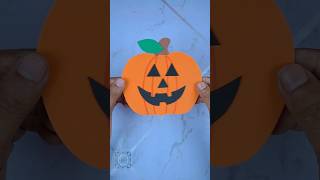
DIY Halloween Pumpkin 🎃 Fun Halloween Craft for Kids

Wobble Balloon Pumpkin 🎃 | Easy Halloween Craft for Kids
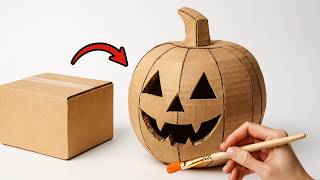
How to Make a Halloween Pumpkin from Cardboard 🎃 Easy DIY Craft

Most Amazing! 🎃 Easy Pumpkin Painting Ideas for Kids to DIY 2025 Halloween Decoration
Facts about paper crafts for kids
🎃 Jack-o'-lanterns were originally carved from turnips and beets in Ireland before pumpkins became popular in North America.
✂️ Paper cutting is a global art form — in Japan it's called kirigami and in China it dates back over 1,500 years.
🍂 Halloween evolved from the ancient Celtic festival Samhain, which people celebrated more than 2,000 years ago.
✋ Cutting, folding, and gluing paper help kids build fine-motor skills and hand–eye coordination.
🎨 Using layers, shapes, and contrasting colors in a paper pumpkin teaches simple design ideas like balance and symmetry.
How do I make a Halloween pumpkin craft with paper and markers?
What materials do I need to create a paper pumpkin for Halloween?
What ages is this Halloween pumpkin craft suitable for?
What are the benefits of making a Halloween pumpkin craft with my child?
