Make a Gacha Axolotl
Make a gacha-style axolotl figure from air-dry clay or paper, roll for random features, then decorate and learn about color and shape.


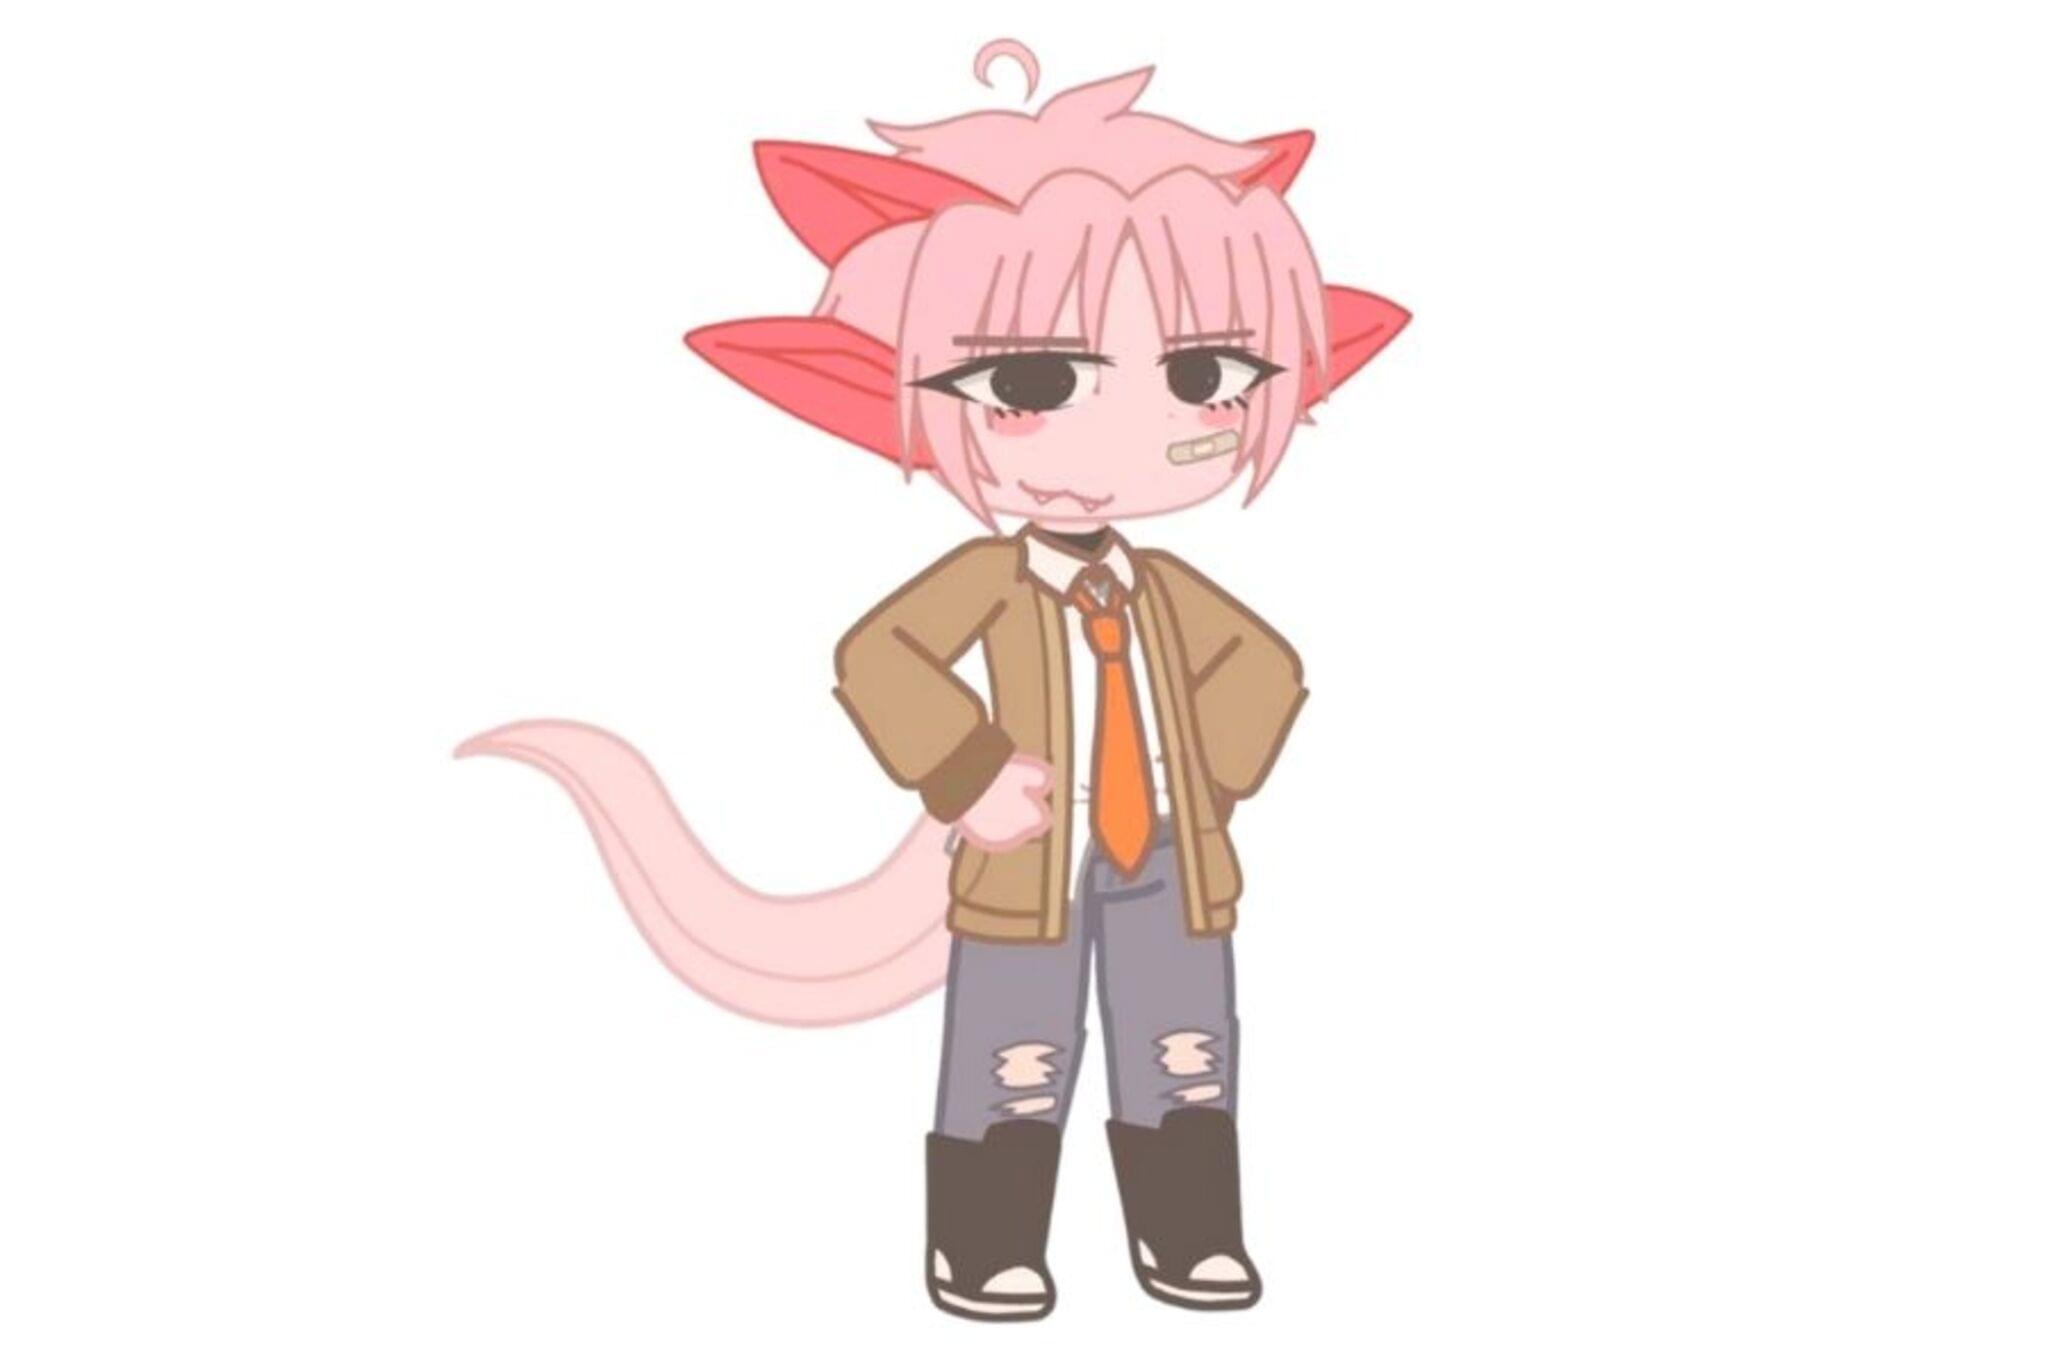

Step-by-step guide to make a Gacha Axolotl
How to create your own Gacha Character | Digital Art for kids | #doitwithdiy
Step 1
Clear a flat workspace on the mat and place all your materials where you can reach them.
Step 2
Choose whether you will make your axolotl from air-dry clay or from colored paper.
Step 3
Make the body base for your axolotl using your chosen material: if clay roll a fat oval; if paper cut an oval about the size of your palm.
Step 4
Roll the die once to pick a body color: 1-red 2-blue 3-yellow 4-green 5-purple 6-orange.
Step 5
Colour or paint the body using the color you rolled and let the paint sit for a moment.
Step 6
Say aloud whether the color you chose is a primary color or a secondary color.
Step 7
Roll the die once to pick a head shape: 1-round 2-pointy 3-flat-top 4-heart-shaped 5-wide 6-long.
Step 8
Shape the head to match the roll and attach it to the body with gentle pressing or glue.
Step 9
Roll the die once to pick gill style: 1-short frilly 2-long frilly 3-three thin fronds 4-two big fronds 5-looped fronds 6-spiral fronds.
Step 10
Make the gills to match your roll and attach them to the sides of the head.
Step 11
Roll the die three times now: first roll for tail length (1-very short 2-short 3-medium 4-long 5-very long 6-curly); second roll for body pattern (1-spots 2-stripes 3-splotches 4-gradient 5-stars 6-checker); third roll for eye style (1-small dots 2-big circles 3-closed crescent 4-winking 5-button beads 6-googly style drawn).
Step 12
Shape and attach the tail to match your tail roll.
Step 13
Decorate your axolotl with the pattern and eyes you rolled using markers paints beads or glued paper details.
Step 14
If you used clay leave your axolotl on the mat to dry for at least 24 hours before handling carefully.
Step 15
Share a photo of your finished gacha axolotl and what you learned about its colors and shapes on DIY.org.
Help!?
I can't find air-dry clay or colored paper—what can I use to make the body base (the fat oval or palm-sized cutout)?
If you don't have air-dry clay, use modeling dough or homemade salt dough to roll a fat oval for the body base, and if colored paper is missing, cut an oval from construction paper or craft foam about the size of your palm.
My head or gills keep falling off—how can I fix them so they stay attached while I add the tail and decorations?
If the clay head or gills won't stick, lightly score both attachment surfaces and press them together with a dab of water 'slip' (or use tacky craft glue for paper pieces), then hold or weigh gently until set so they don't detach during later steps.
How can I adapt the activity for younger children or make it more challenging for older kids during the die-roll steps and decorating?
For ages 3–5, have an adult pre-cut the palm-sized oval and pre-roll the body so the child can choose colors and attach foam or sticker gills, while ages 8+ should follow the full die-roll sequence for head, gills, tail, pattern, and eye style and use techniques like paint blending for gradients or beads for eyes.
What are some ways to extend or personalize the gacha axolotl after decorating and drying that also make a nicer photo for DIY.org?
Create a little paper-plate habitat background, varnish painted clay with a clear sealant for shine and durability, add a name tag and habitat props, and arrange a small family of axolotls to photograph and describe the color (primary/secondary) and shapes you learned for DIY.org.
Watch videos on how to make a Gacha Axolotl
How to Draw Mystical Characters | Drawing Tutorials for Kids | FREE on the DIY App
4 Videos
How to Draw Mystical Characters | Drawing Tutorials for Kids | FREE on the DIY App
How to Draw Kawaii Characters | Art For Beginners | Fun Activities For Kids
SAGO MINI Character Creator 👧🏻👦🏽| Self-Confidence for Kids | Sago Mini World Play Along
How to Make Dory⎪My 100th Tutorial
Facts about clay and paper crafts for kids
🐟 Axolotls keep their larval features into adulthood (a trait called neoteny) and breathe through feathery external gills.
🎰 Gashapon are Japanese capsule-toy machines that inspired modern gacha games — the name mimics the vending sound 'gasha' + 'pon'.
🎲 You can simulate gacha randomness with simple tools: a single six-sided die can be mapped to common/uncommon/rare features.
🎨 In traditional paint mixing, the primary colors (red, yellow, blue) combine to make secondary colors (red+blue = purple, etc.).
🧱 Air-dry clay hardens by evaporating water (no oven or kiln needed) and can be sanded and painted after it dries.
How do you make a Gacha Axolotl?
What materials do I need for a Gacha Axolotl?
What ages is this activity suitable for?
What are the benefits and safety tips for making a Gacha Axolotl?
