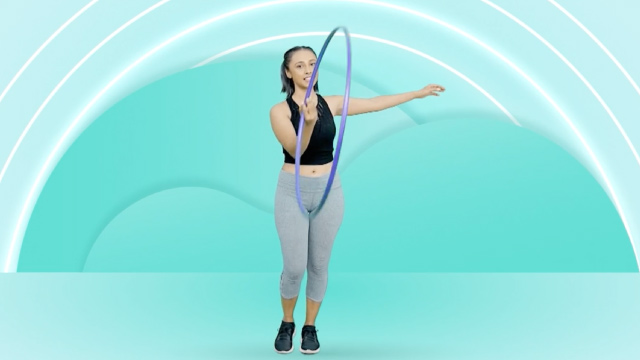
Weave the hoop
Weave yarn around a hoop to create a decorative wall hanging or dreamcatcher, learning patterns, knots, and color choices using child-safe tools.


Step-by-step guide to weave the hoop
Step 1
Gather all your materials and find a clear table or floor spot to work on.
Step 2
Pick 2 to 3 yarn colors you love and decide which color will wrap the hoop and which will make the web.
Step 3
Cut one long length of the wrap yarn about two to three times your arm span.
Step 4
Tie one end of the wrap yarn to the hoop with a secure double knot.
Step 5
Wrap the yarn tightly and evenly around the hoop until the hoop is fully covered.
Step 6
Tie the wrapped yarn end to the hoop with a knot to secure it.
Step 7
Cut a long length of web yarn for the inside web about two to three times your arm span.
Step 8
Tie the web yarn to the wrapped hoop to start your web with a small knot.
Step 9
Make the first round by looping the web yarn around the hoop at even spaces about one to two inches apart.
Step 10
Continue weaving inward by looping the yarn through the center of each previous loop to form the web until a small hole remains.
Step 11
Tie a small knot in the center of the web to finish and tuck or trim the tail.
Step 12
Cut three decoration strands of yarn about 12 to 18 inches long for the bottom hangings.
Step 13
Thread beads and attach feathers or ribbons to each decoration strand using the needle or by hand.
Step 14
Tie the decorated strands evenly to the bottom of the hoop and knot them securely.
Step 15
Share a photo of your finished hoop or dreamcatcher on DIY.org.
Help!?
What can I use instead of a craft hoop, feathers, or beads if those items are hard to find?
Use an embroidery hoop, a metal or sturdy cardboard ring for the hoop, and substitute feathers and beads with ribbon strips, fabric scraps, buttons, pasta beads, or tied yarn tassels when following the steps to wrap the hoop and thread decoration strands.
My wrapped yarn keeps slipping or the web looks loose — how can I fix these problems?
Make sure to start with a secure double knot as in step 4, wrap the yarn tightly and evenly around the hoop (step 5), keep steady tension while looping the web yarn at even 1–2 inch spaces (step 9), and finish knots with a small dab of craft glue or a tight overhand knot to stop slipping.
How can I adapt this project for different age groups?
For toddlers and preschoolers, pre-cut and pre-wrap the hoop and have them tie or glue the three decoration strands while an adult handles scissors and needles, for elementary kids follow all steps with supervision for knots and beads, and for teens increase difficulty by using thinner embroidery floss, closer loop spacing for the web, and more intricate bead patterns.
What are some ways to enhance or personalize the finished hoop beyond the basic instructions?
Personalize by painting the hoop before you wrap it, weaving LED fairy lights into the wrapped hoop or the web, create color patterns with your 2–3 chosen yarns in the web, add charms to the center before tying the final knot, or attach multiple decorated hoops together for a layered mobile before sharing a photo on DIY.org.
Watch videos on how to weave the hoop
Make a Weaving Loom for Easy Weaving Project | Kids Weaving Projects
4 Videos
Make a Weaving Loom for Easy Weaving Project | Kids Weaving Projects

SUPER EASY! Wire Wrapped Hoop Earrings | Beginners Beading Tutorial
These 8 Embroidery Hoop Crafts Are Perfect For the Weekend
How To Start Weaving Yarn Projects In The Classroom? - Your Crafty Classroom
Facts about weaving and yarn crafts for kids
🪶 Dreamcatchers originate from the Ojibwe people and were traditionally hung over cradles to protect babies from bad dreams.
🧶 Yarn comes in many fibers—wool, cotton, silk, and acrylic—and each fiber makes your weaving feel and hang differently.
🔁 The simplest weaving pattern is the plain weave (over one, under one), and repeating it creates tidy, repeating designs kids can master fast.
🎨 Using complementary colors (opposite on the color wheel) makes patterns pop, while analogous colors (next to each other) make softer blends.
✂️ Child-safe tools like blunt-tip scissors, plastic hoops, and washable glue keep craft time safe and stress-free.
How do I help my child weave a hoop to make a decorative wall hanging or dreamcatcher?
What materials and child-safe tools do I need to weave a hoop?
What ages is hoop weaving suitable for and how much adult help is needed?
What are the safety tips and simple variations for hoop weaving?
