Prepare A Feast With DIY Star OneLittleGeek
Make a star-themed mini feast using simple, safe recipes: star sandwiches, fruit skewers, and decorated cookies while learning measuring, cutting, and plating with adult help.


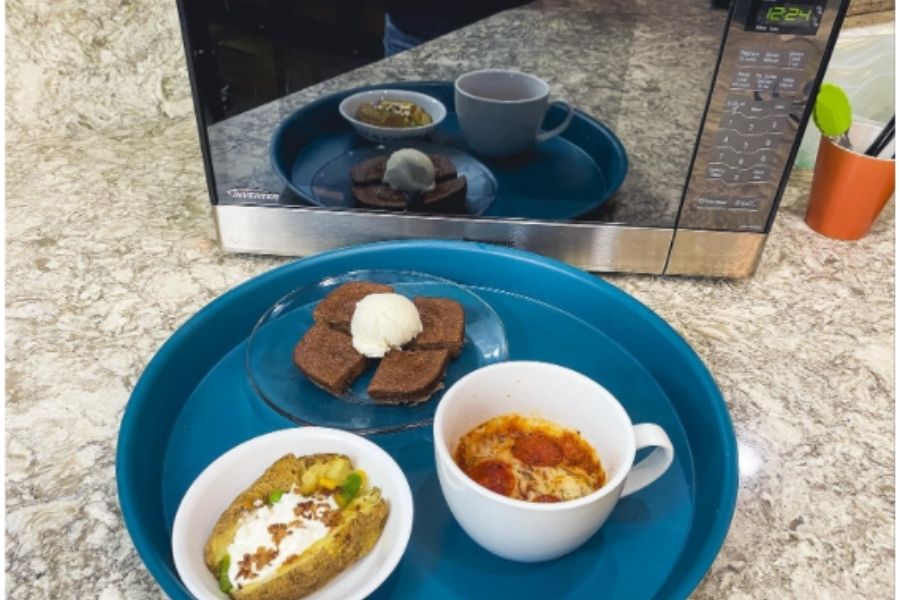

Step-by-step guide to Prepare A Feast With DIY Star OneLittleGeek
Step 1
Wash your hands with soap and dry them well.
Step 2
Set up your workspace by placing a small plate a napkin and the materials within reach.
Step 3
Lay two slices of bread flat on the cutting board.
Step 4
Press the star-shaped cookie cutter into each slice to cut out star-shaped bread pieces.
Step 5
Use a measuring spoon to scoop two teaspoons of your sandwich filling into a small bowl.
Step 6
Spread the measured filling evenly over one star-shaped bread piece with the plastic knife.
Step 7
Place a second star-shaped bread piece on top and press gently to make one star sandwich.
Step 8
Make more star sandwiches by repeating Steps 3 through 7 until you have the number you want.
Step 9
Rinse the fresh fruit under running water and pat it dry with a towel.
Step 10
Ask an adult to cut larger fruit into bite-size pieces safe for skewering.
Step 11
Thread the fruit pieces onto a skewer in a colorful pattern leaving one end free for holding.
Step 12
Place your star sandwiches fruit skewers and plain cookies on the plate to get ready for decorating.
Step 13
Squeeze a little icing onto each plain cookie and spread it with the knife.
Step 14
Sprinkle sprinkles or add small fruit pieces onto the icing while it is still wet.
Step 15
Share your finished star mini feast on DIY.org.
Help!?
What can we use if we don't have a star-shaped cookie cutter or a plastic knife?
If you don't have a star-shaped cookie cutter, press the rim of a clean small cup or carefully cut a star with a butter knife to make the star-shaped bread pieces in Step 4, and use a butter or blunt table knife to spread filling in Step 6.
What should we do if the bread tears or the filling keeps falling out of the mini sandwiches?
If the bread tears when cutting in Step 4 or the filling spills from Step 6, press the cutter straight down without twisting, chill the bread briefly to firm it up, and stick to the two teaspoons of filling measured in Step 5 so sandwiches hold together.
How can we adapt the activity for different ages?
For younger children, have an adult handle cutting larger fruit into bite-size pieces and threading skewers in Step 9–11 while letting them spread icing and add sprinkles in Steps 12–13, and for older kids let them measure fillings (Step 5), design colorful skewer patterns (Step 11), and decorate independently.
How can we make the star mini feast more creative or special?
To personalize and extend the activity, try different fillings and other cookie-cutter shapes for the bread pieces, use yogurt or colored icing when you squeeze icing onto cookies in Step 12, add themed fruit patterns on skewers in Step 11, and share your finished plate on DIY.org as the final step suggests.
Watch videos on how to Prepare A Feast With DIY Star OneLittleGeek
How to make simple & easy paper star | DIY Paper Craft Ideas, Videos & Tutorials.
4 Videos
How to make simple & easy paper star | DIY Paper Craft Ideas, Videos & Tutorials.
How to Make 3D Star for your Christmas Decoration | Paper Craft
How To Make Easy Paper Christmas Star For Kids / Nursery Craft Ideas / Paper Craft Easy/ KIDS crafts
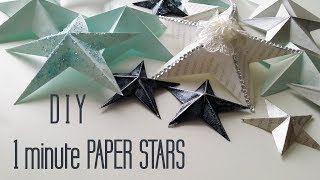
DIY One Minute Paper Star Christmas Ornaments
Facts about cooking and kitchen safety for kids
🍪 The chocolate chip cookie was invented in 1938 by Ruth Wakefield at the Toll House Inn.
🥪 The sandwich is named after John Montagu, 4th Earl of Sandwich, who liked eating without leaving his card table.
🍓 Many fruits are about 80–90% water, so fruit skewers are a tasty way to stay hydrated.
🥄 In cooking measurements, 1 teaspoon = 5 mL and 1 tablespoon = 15 mL—small changes matter in baking!
⭐ Star-shaped cutters are super versatile: use them for sandwiches, cheese, fruit, and cookies to make a mini feast look magical.
How do I prepare a star-themed mini feast with DIY Star OneLittleGeek?
What materials and ingredients do I need for a DIY star mini feast?
What ages is this star-themed cooking activity suitable for?
What are the benefits of making a star-themed mini feast with my child?
