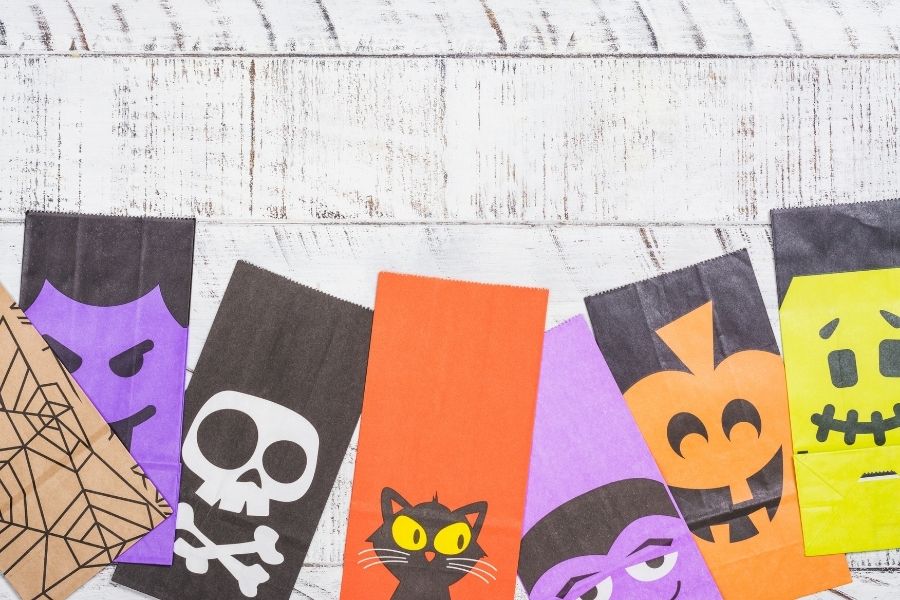
Make a paper bag for your Halloween candy
Make and decorate a Halloween paper bag to hold candy using paper, scissors, glue, and markers; practice folding, cutting safely, and creative design.


Step-by-step guide to make a paper bag for your Halloween candy
Step 1
Clear a clean workspace and lay out your materials where you can reach them.
Step 2
Choose one sheet of paper for your bag size and place it flat in front of you.
Step 3
Fold the paper in half lengthwise so the long edges meet and press a sharp crease.
Step 4
Apply a line of glue along one inside long edge of the folded paper.
Step 5
Press the glued edge down to seal the paper into a tube and hold for a few seconds.
Step 6
Fold the bottom edge of the tube up about 3 cm and press a firm crease to make the base flap.
Step 7
Open the folded bottom flap so the tube lies flat and you can see two corner points.
Step 8
Pinch both bottom corner points toward the center to make two triangle shapes and crease them.
Step 9
Fold one triangle flap across the bottom and put glue on it to start the base.
Step 10
Fold the other triangle flap over the glued flap and press to seal the bag bottom.
Step 11
With adult supervision use scissors to cut a strip of extra paper to make a handle.
Step 12
Put glue on both ends of the paper handle strip.
Step 13
Press each glued handle end inside the top edges of the bag and hold until the glue sticks.
Step 14
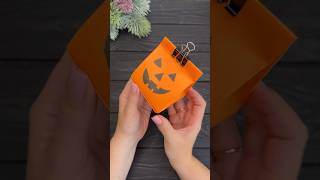
Decorate the bag with markers and colouring materials using Halloween drawings or cut shapes.
Step 15
Share your finished Halloween candy bag on DIY.org.
Help!?
What can I use instead of glue if I don't have any?
Use double-sided tape or clear packing tape along the inside long edge and across the bottom flaps to seal the tube and base instead of liquid glue.
My bag bottom keeps opening—what did I do wrong and how do I fix it?
If the bottom opens, lift the two triangle flaps, reapply glue or tape to the overlapping flap edges, press the sealed bag bottom firmly for 30 seconds, and optionally tape across the outside for extra strength.
How can I adapt this activity for different ages?
For younger kids have an adult pre-fold the lengthwise crease and cut the handle strip so the child can glue and decorate, while older kids can choose a larger sheet of paper and reinforce the handle with tape or ribbon.
How can we make the bag more special or longer-lasting?
Personalize and strengthen the bag by gluing a ribbon handle to the top edges, pasting cut-out Halloween shapes before sealing the bottom, or lining the inside with wax paper so candy doesn't stick.
Watch videos on how to make a paper bag for your Halloween candy
Halloween Treat Bag | Easy DIY for Tons of Candy
4 Videos
Halloween Treat Bag | Easy DIY for Tons of Candy
DIY Halloween Paper Baskets: How to make a paper bag in Minutes!
DIY Halloween paper bags | DIY Halloween party favors
Let's make Candy Bags for Halloween! 🎃 It's that Easy!
Facts about paper crafts for kids
🎃 Halloween traces back to the ancient Celtic festival Samhain, where people lit bonfires and dressed up to confuse spirits.
🍬 Millions of children go trick-or-treating each year, making Halloween one of the biggest nights for sharing candy.
✂️ Kid-safe scissors have rounded tips and blunter blades so kids can practice cutting paper more safely.
📦 A machine invented in the mid-1800s made paper bags cheap and common, which helped everyday use of bags explode.
🧩 'Origami' means 'paper folding' in Japanese — simple folding tricks can turn a sheet into a bag without glue.
How do I make a paper bag for Halloween candy?
What materials do I need to make a Halloween paper candy bag?
What ages is making a Halloween paper bag suitable for?
What safety tips and variations should I consider for this Halloween craft?
