Hoop Around Your Neck
Make a wearable beaded hoop necklace using craft wire, beads, and a clasp; practice measuring, patterning, and safe cutting with supervision.


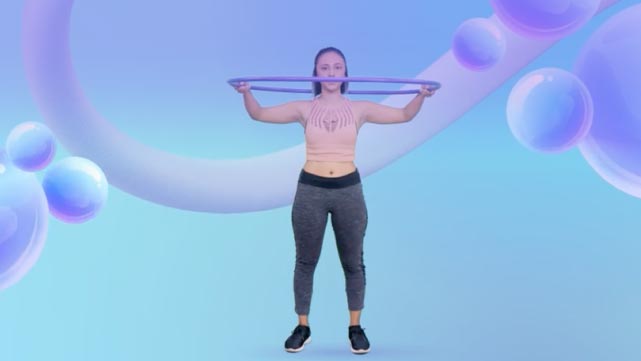

Step-by-step guide to Hoop Around Your Neck
Step 1
Gather all your materials and spread them out on a clean flat table so you can see everything.
Step 2
Measure around your neck with the measuring tape for a comfortable fit and say the number out loud.
Step 3
Use the ruler to measure that number plus one inch on the wire and mark the spot with the marker.
Step 4
Ask an adult to help and cut the wire at the mark using the wire cutters.
Step 5
Use the round-nose pliers to make a small closed loop at one end of the wire so beads will not slide off.
Step 6
Lay out a repeating bead pattern on the dish for the whole length you want your necklace to be.
Step 7
Thread the beads onto the wire following the pattern until about one inch of wire is left free.
Step 8
Use the round-nose pliers to bend the free end of the wire into a small loop.
Step 9
Hook the clasp onto the loop you just made.
Step 10
Wrap the short tail of wire around the base of the loop once or twice with the pliers to secure the clasp.
Step 11
Ask an adult to help trim any extra wire tail with the wire cutters so nothing pokes out.
Step 12
Press any open loop closed with the pliers and check that all beads sit snugly.
Step 13
Try on your beaded hoop necklace and slide beads so it feels comfortable and balanced.
Step 14
Take a photo and share your finished creation on DIY.org
Help!?
What can I use if I don't have wire cutters or round-nose pliers?
If you don't have wire cutters or round-nose pliers, substitute a strong elastic beading cord for the wire and follow the instructions from 'Lay out a repeating bead pattern' through 'Try on', tying a secure double knot instead of making loops and attaching a clasp.
My beads keep sliding off or the loop won't stay closed—how do I fix that?
If beads slide or the loop opens, use the round-nose pliers to tighten the small loop at the wire end (step 7), wrap the short tail around the loop base once or twice as directed in step 10, and ask an adult to trim any extra tail in step 11 so nothing pokes out.
How can I adapt the activity for younger children or make it more challenging for older kids?
For younger children use large plastic beads on pre-cut elastic cord and have an adult do the cutting and trimming in steps 3 and 11, while older kids can try thinner gauge jewelry wire, add crimp beads, or practice decorative wire-wrapping when making loops in steps 6–10.
What are simple ways to personalize or extend the beaded hoop necklace?
Personalize by adding letter or charm beads into the repeating pattern on the dish (step 5), mixing bead sizes, creating a double-strand hoop, or painting wooden beads before threading and then take the photo for DIY.org as in the final step.
Watch videos on how to Hoop Around Your Neck
Day 14: 'Neck To waist' hooping Tutorial
4 Videos
Day 14: 'Neck To waist' hooping Tutorial
Learn How To Hula Hoop ! Easy!!Kids !!
How to do the Hula Hoop Tutorial | Kids Fitness
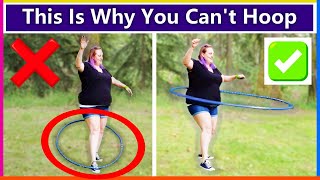
I Taught a Total Beginner How To Hula Hoop Around the Waist First Time
Facts about jewelry making for kids
📿 Archaeologists have found bead necklaces made from shells and bones dated to over 100,000 years ago — necklaces are one of the oldest personal decorations.
🧵 Craft wire is sold by gauge: larger gauge numbers mean thinner wire (for example, 30 gauge is very thin while 16 gauge is much thicker and stiffer).
📏 Standard necklace lengths help fitting: choker 14–16 in (35–41 cm), princess 17–19 in (43–48 cm), matinee 20–24 in (50–60 cm).
🔒 Common clasps are lobster-claw and spring-ring; picking an easy-to-use clasp can make a necklace safer and simpler for kids to wear.
🎲 Repeating bead patterns (like ABAB or ABCBA) create rhythm and balance — designers often mirror patterns so a necklace looks even on both sides.
How do I make a wearable beaded hoop necklace (Hoop Around Your Neck) step by step?
What materials do I need for the Hoop Around Your Neck beaded hoop necklace?
What ages is the Hoop Around Your Neck activity suitable for?
What are the benefits, safety tips, and variations for Hoop Around Your Neck?
