Make a Message Envelope
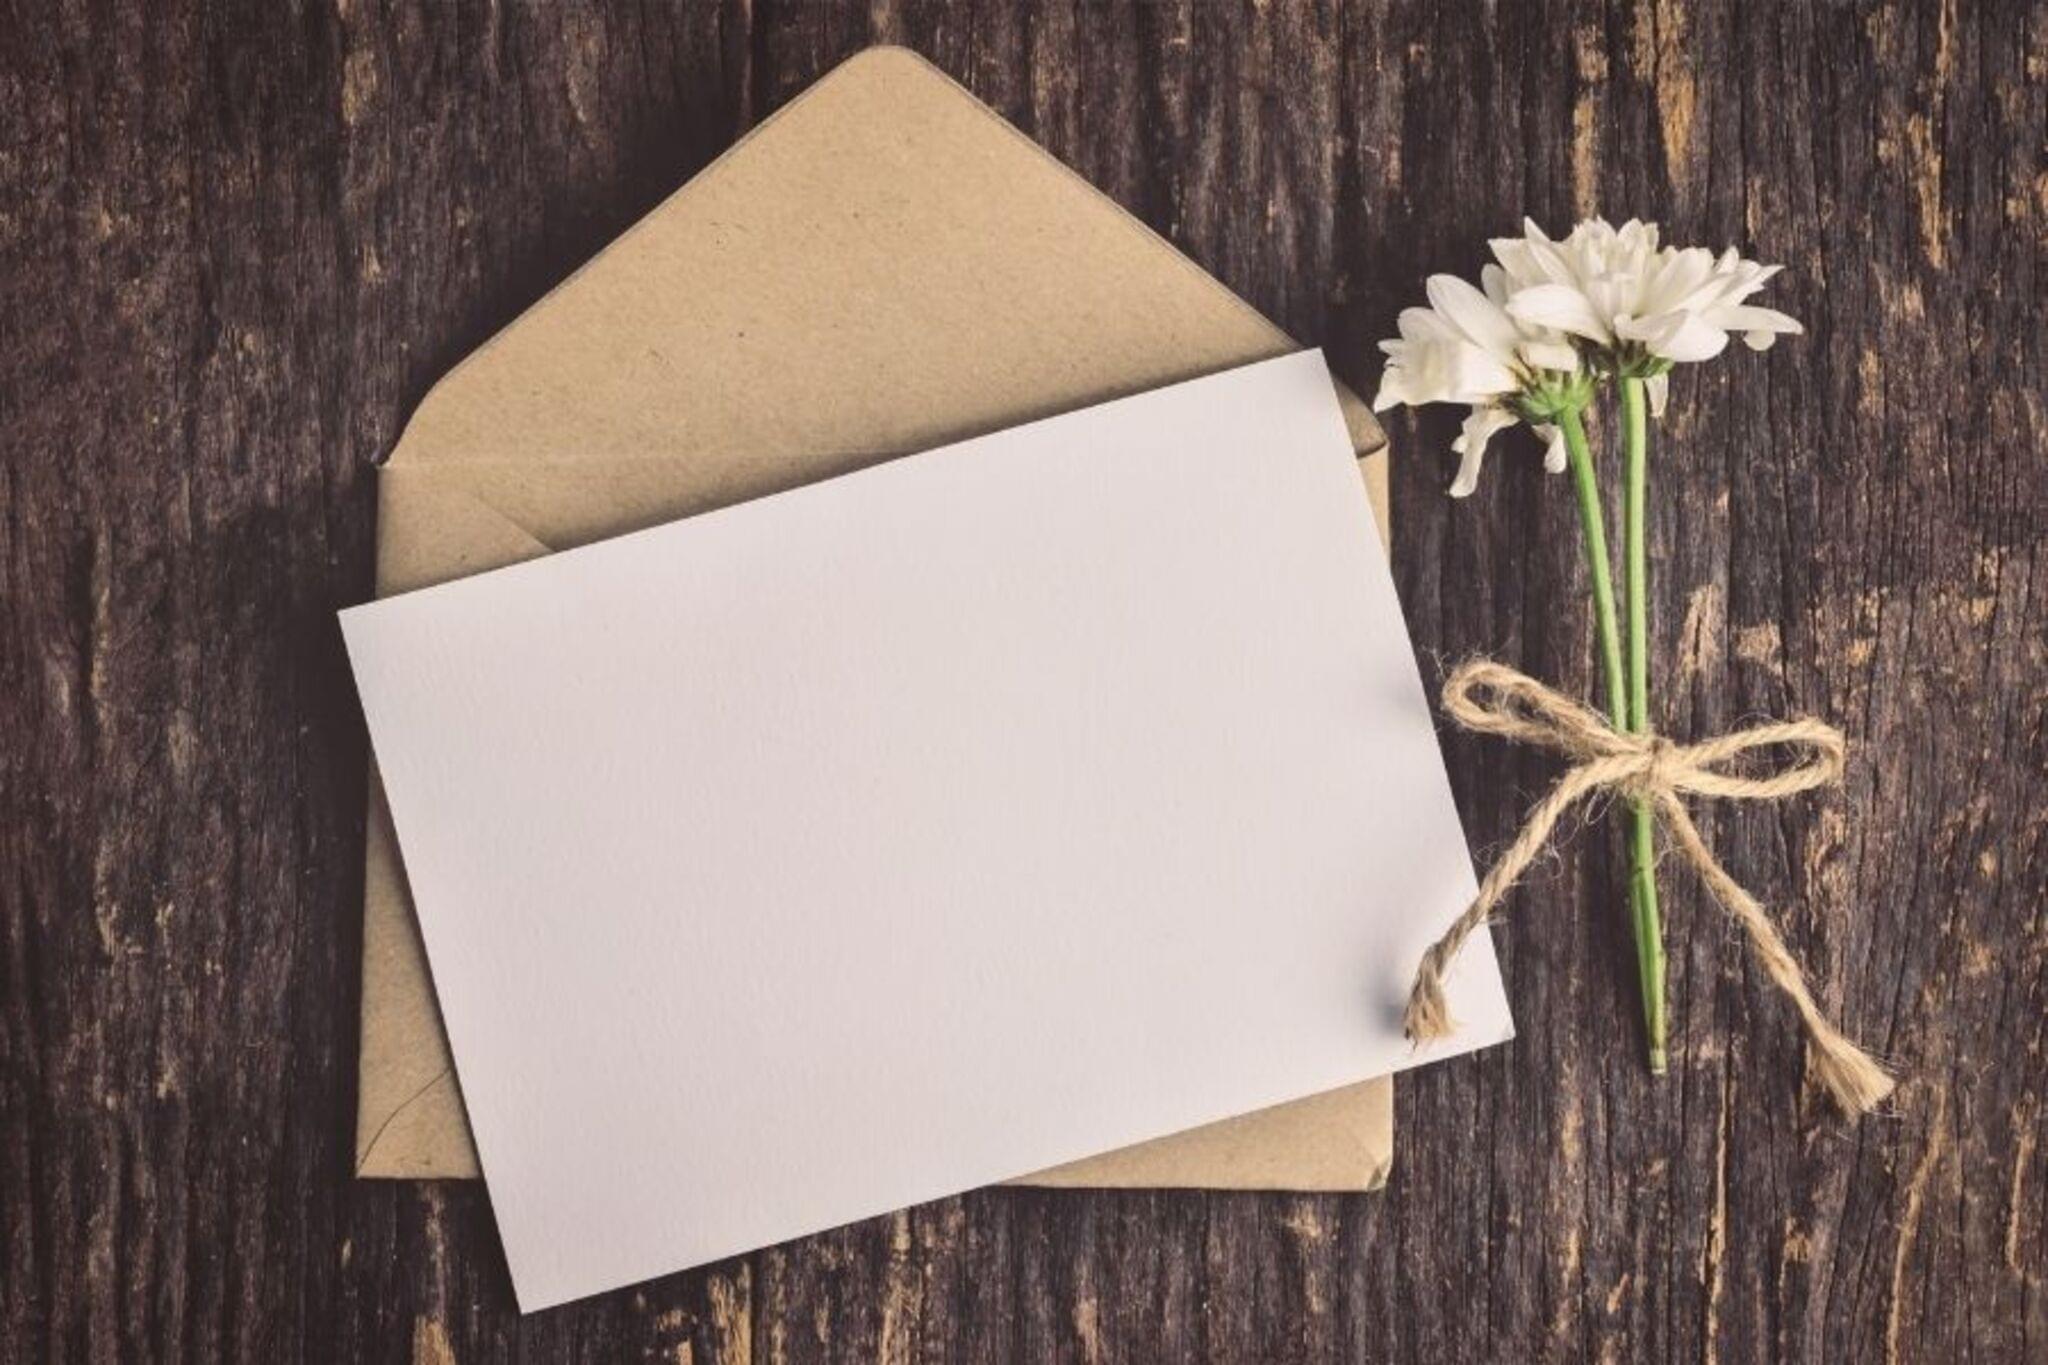
Fold and decorate a homemade envelope to hold a secret message using paper, scissors, glue, and stickers while practicing measuring and neat folding.


Step-by-step guide to make a message envelope
Super Easy Origami Envelope Tutorial - DIY - Paper Kawaii
Step 1
Gather all Materials Needed.
Step 2
Fold a rectangular sheet of paper in half lengthwise to check the envelope size.
Step 3
Use a ruler and pencil to draw two vertical lines 2 cm from each short edge to mark the side flaps.
Step 4
Fold each short edge inward along the pencil lines to form two neat side flaps.
Step 5
Fold the bottom edge up about two-thirds of the paper height to form the pocket base.
Step 6
Fold the top edge down about 3 cm to create the closing flap.
Step 7
Use scissors to cut a small triangle from each bottom corner where the side flaps meet the pocket base.
Step 8
Apply a thin line of glue along the outer edge of the bottom flap.
Step 9
Fold the side flaps over the glued edges so they sit on top of the bottom flap.
Step 10
Press the side flaps down firmly to seal the pocket.
Step 11
Decorate the outside of your envelope with coloring materials and stickers using neat strokes.
Step 12
Write a secret message on a small piece of paper.
Step 13
Fold the message neatly until it is small enough to fit inside the pocket.
Step 14
Slide the folded message into the envelope and tuck the top flap closed.
Step 15
Share your finished Message Envelope and secret message on DIY.org.
Help!?
What can we use instead of hard-to-find materials like glue, a ruler, or stickers?
If you don't have glue, use clear tape folded over the outer edge where step 9 calls for glue; substitute a straight book edge for the ruler in step 3 and cut shapes from magazines as stickers for decorating in step 12.
My envelope sides won't stay sealed—what should I check or do?
If the side flaps won't stick when folded over the glued bottom flap in steps 9–11, press them down firmly for 30 seconds, add a small strip of tape along the seam, or trim the corner triangles cut in step 8 so the flaps sit flat.
How can I adapt this activity for different ages?
For toddlers, pre-fold the paper and pre-cut the corner triangles in step 8 and let them decorate and insert a short note, while older children can precisely measure the 2 cm side flaps in step 3, design patterned flaps, or add a button-and-string closure to the top flap made in step 6.
How can we make the Message Envelope fancier or turn it into a longer project?
To enhance the envelope, use colored cardstock for the rectangular sheet in step 1, cut a small plastic window before folding the bottom flap in step 5, add a sticker or wax seal to the top flap in step 6, and include a coded message inside to create a treasure-hunt game.
Watch videos on how to make a message envelope
DIY Paper SURPRISE MESSAGE CARD | Pull-Tab Origami Envelope
4 Videos
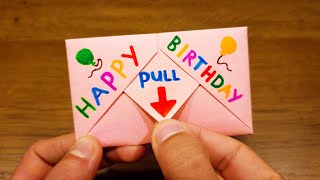
DIY Paper SURPRISE MESSAGE CARD | Pull-Tab Origami Envelope

Easy Origami Envelope Tutorial | How to Make Paper Envelopes
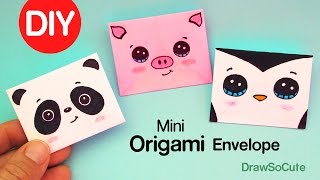
How to Make a Mini Origami Envelope Super Easy

EASY ORIGAMI CHICK NOTE 💌 | CUTE DIY PAPER ENVELOPE FOR MESSAGES & GIFTS | PAPER CRAFT FOR KIDS
Facts about paper crafts
✉️ Ancient Mesopotamians used clay envelopes and tokens around 3500 BCE to protect messages and goods — people have been enclosing secrets for a long time!
📐 The common US #10 envelope is 4 1/8 × 9 1/2 inches and is designed to hold a standard letter folded into thirds — measurement matters!
📄 When you fold paper in half the thickness doubles, which is why most papers can only be folded by hand about 7–8 times.
✂️ Scissors-like tools date back thousands of years — early metal shears were used in the Bronze Age for cutting cloth and paper.
🏷️ The first modern self-adhesive labels (like stickers) were developed in the 1930s, making quick decorating and sealing even easier for crafts.
How do you make a message envelope?
What materials do I need to make a homemade message envelope?
What ages is the message envelope activity suitable for?
What are the benefits of making a message envelope?
