Make a Cute Bookmark
Make a cute bookmark using paper, stickers, ribbon, and simple tools; decorate and personalize while practicing measuring, cutting, and creative design skills.


Step-by-step guide to make a cute bookmark
Step 1
Gather all your materials and put them on a clear workspace.
Step 2
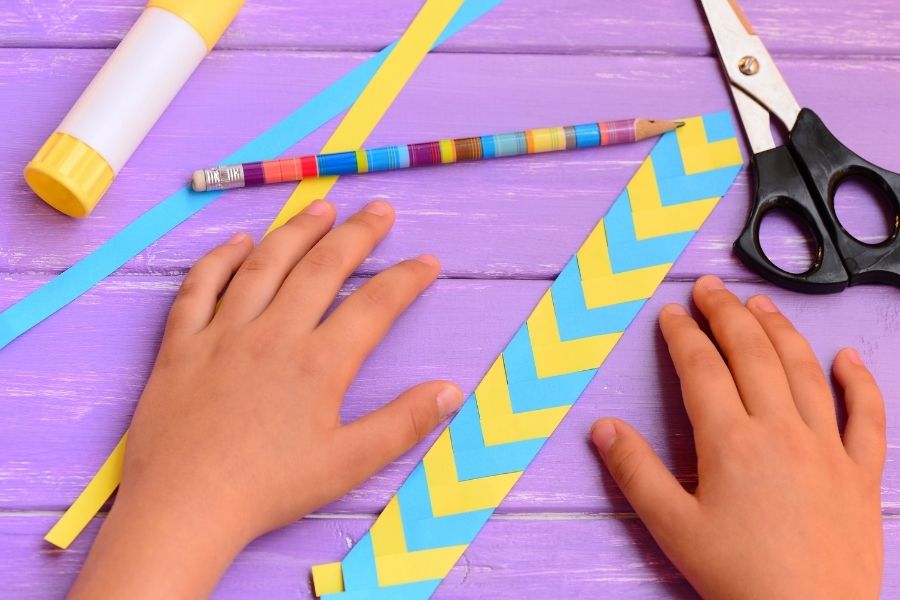
Lay one sheet of cardstock vertically and use the ruler and pencil to mark a rectangle 6 inches by 2 inches (15 cm by 5 cm).
Step 3
Cut out the rectangle carefully along the pencil lines with scissors.
Step 4
Use the scissors to round the four corners of the rectangle for a smooth bookmark shape.
Step 5
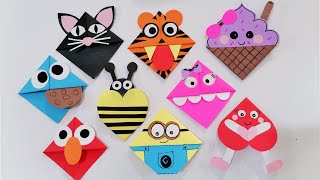
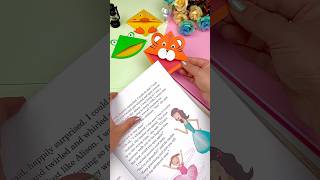
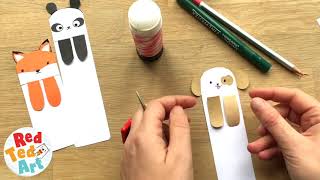
Stick fun stickers onto the front of the bookmark to start your design.
Step 6
Use colouring materials to draw patterns or pictures on the bookmark.
Step 7
Write your name or a short message at the bottom of the bookmark.
Step 8
Cut a second rectangle the same size from another piece of cardstock for extra strength.
Step 9
Cover the back of your decorated rectangle with glue using the glue stick.
Step 10
Place the second rectangle onto the glued back and press firmly so both pieces stick together.
Step 11
Use the hole punch to make a hole centered about 1 cm from the top edge.
Step 12
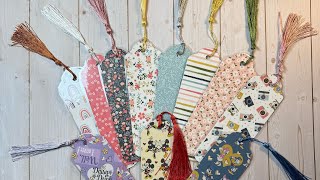
Thread a ribbon through the hole and tie a knot or bow to finish.
Step 13
Share a photo of your finished bookmark on DIY.org.
Help!?
I don't have cardstock—what can I use instead?
Use a clean cereal box or thin cardboard cut to the 6 inches by 2 inches rectangle, or glue two sheets of construction paper together before cutting for extra strength.
My two pieces won't stick together with the glue stick—what should I do?
Apply glue stick to both the back of your decorated rectangle and the front of the second rectangle, press firmly, then place under a heavy book for 10–15 minutes to ensure the glued pieces bond.
How can I adapt this for younger or older children?
For preschoolers, have an adult pre-cut the 6x2 inch rectangles, round the corners, and punch the hole so they can focus on stickers and colouring with washable markers, while older kids can measure with the ruler and pencil, use scissors to cut, add intricate drawings, and tie their own ribbon tassel.
How can we personalize or improve the bookmark beyond the basic steps?
Laminate the finished bookmark, add washi tape borders, thread beads onto the ribbon before tying, or write a longer message and share a photo of your finished bookmark on DIY.org.
Watch videos on how to make a cute bookmark
Easy DIY Bookmarks | Cute Bookmarks For Kids | Paper Craft
4 Videos
Easy DIY Bookmarks | Cute Bookmarks For Kids | Paper Craft
Easy and Adorable Bookmark Tutorial! Easy craft! Perfect for gifts, craft fairs, classroom
How to Make Beautiful Bookmark With Paper | DIY Craft for School | DIY Easy Cute Origami bookmarks
5 BEST Bookmarks EVER! 5 ways to make Paper Bookmarks at Home - Easy, Fun, TOP Crafts
Facts about paper crafts for kids
📚 Bookmarks have been used for centuries to save your place without folding pages.
✂️ Measuring and cutting practice builds fine motor skills and early math sense — tiny engineering for kids!
🎨 Stickers are an instant design tool that let you personalize a bookmark in seconds.
🎗️ Ribbons come in many textures like satin and grosgrain and make great tassels or bows for bookmarks.
⏱️ You can create a simple, cute bookmark in about 10 minutes using paper, stickers, and ribbon.
How do you make a cute bookmark?
What materials do I need to make a cute bookmark?
What ages is this bookmark activity suitable for?
What are the benefits of making a cute bookmark?
