Why flow art?
Create a small flow art painting using safe acrylic paints and pouring techniques; explore color mixing, patterns, and how liquids move.




Step-by-step guide to create a small flow art painting
Step 1
Cover your table with the protective cover and place the tray on top.
Step 2
Put on disposable gloves.
Step 3
Squeeze a small amount of each paint color into separate cups.
Step 4
Add pouring medium or a little water to each cup.
Step 5
Stir each cup until the paint flows smoothly.
Step 6
Add 2–3 drops of silicone oil to some cups if you want cells.
Step 7
Pour small amounts of each prepared color, one at a time, into an empty cup to layer them.
Step 8
Place the canvas face down on top of the layered cup.
Step 9
Flip the cup and canvas together so the cup is upside down on the canvas.
Step 10
Lift the cup straight up to release the layered paint onto the canvas.
Step 11
Tilt the canvas slowly to let the paint flow and form patterns.
Step 12
Remove your gloves and clean up the cups and sticks.
Step 13
Let the painting sit on the tray undisturbed until it is completely dry (this can take 24 hours or more).
Step 14
Share your finished flow art painting on DIY.org.
Help!?
What can we use if we don't have pouring medium or silicone oil?
If you don't have pouring medium for step 4, thin acrylic paint with a little PVA glue (Elmer's) or Floetrol to help it flow, and if you have no silicone oil for step 5 try a few drops of baby oil in a test cup to create cells.
My paint won't spread or I don't see any cells—how can I fix that?
If paint is too thick to pour, add more pouring medium or a little water and stir each cup until smooth as in step 4, and if cells aren't forming follow step 5 and add 2–3 drops of silicone oil to some cups before layering.
How can I adapt the activity for younger children or older kids?
For younger kids have an adult do the pouring, cup flip and lifting steps (steps 6–8) while they pick colors and tilt the canvas, and for older kids use larger canvases, more colors or metallics and experiment with different amounts of silicone in step 5 to create complex cells.
What are simple ways to personalize or improve our finished flow art?
Mix metallic or pearlescent paint into some cups at step 3, add stickers or stencils to the canvas before pouring for negative-space shapes, and after the painting dries (step 11) seal it with varnish and share it on DIY.org as suggested.
Watch videos on how to create a small flow art painting
Fluid Art | Acrylic Pouring | Top Techniques For Beginners🌈
4 Videos

Fluid Art | Acrylic Pouring | Top Techniques For Beginners🌈
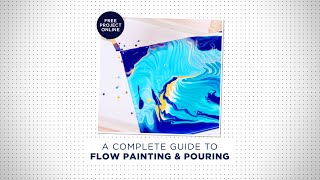
A Complete Guide to Flow Painting & Pouring | Fluid Painting | Spotlight Stores
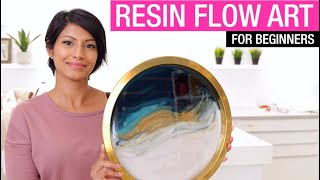
Resin Flow Art For Beginners - Your Resin Art Guide
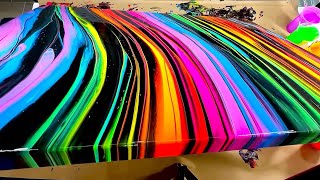
Vibrant and Colorful Fluid Art Tutorial: Scoop and Fold Technique
Facts about fluid art and paint pouring
🎨 Acrylic paint became widely popular with artists in the 1950s because it dries fast and works with many mediums.
🌈 Mix two complementary colors (like red + green) and you'll often get brown—handy for making muted tones in pours.
💧 Tiny 'cells' in pour paintings often appear when surface tension is changed—artists add a drop of silicone to encourage them.
🔬 Viscosity is key: a proper pouring medium thins acrylics so they flow; too thin can make colors muddy, too thick won't spread.
🌀 The same paints can make very different patterns depending on technique—dirty pour, flip cup, and swipe each create unique looks.
How do I create a small flow art painting with pouring techniques?
What materials do I need for a child-safe acrylic pour flow art project?
What ages is flow art suitable for and how much supervision is needed?
What are the benefits, safety tips, and variations for kids doing flow art?
