Make An Awesome Bird
Make a colorful paper and feathers bird with movable wings using simple materials, learn about bird anatomy and balance while decorating and assembling safely.

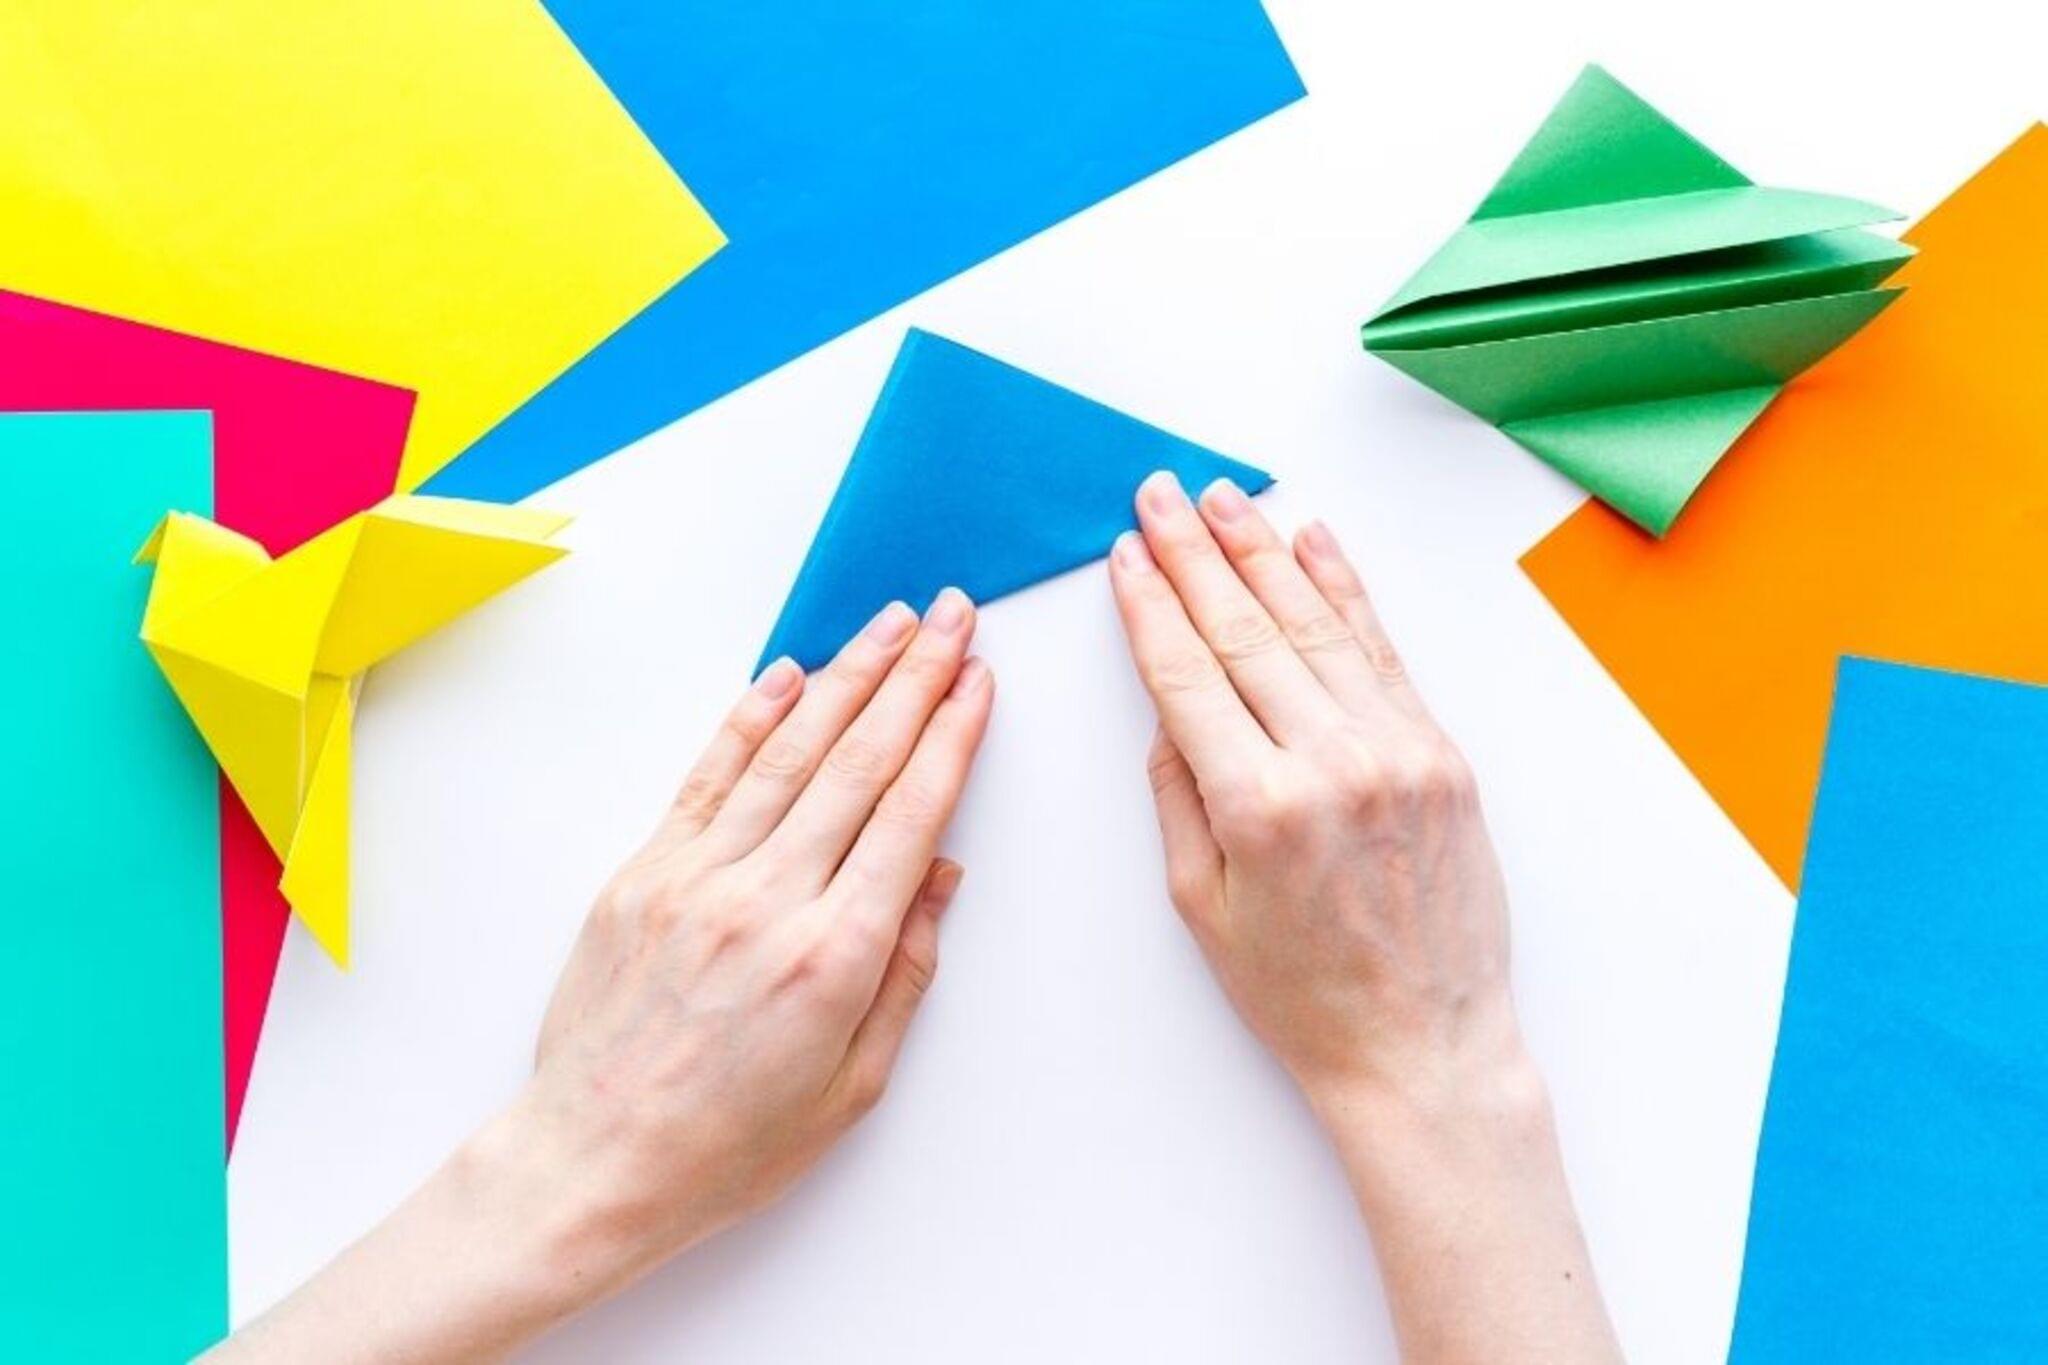

Step-by-step guide to make an awesome bird
20 Amazing Birds for Kids | Learn Bird Names & Fun Facts!
Step 1
Gather all the Materials Needed and set them on a clean flat surface.
Step 2
Cut a teardrop body shape from a sheet of colored paper.
Step 3
Roll the cutout into a cone with the point as the tail end.
Step 4
Glue the overlapping edge to hold the cone body closed.
Step 5
Cut two wing shapes from another sheet of colored paper.
Step 6
Cut a tail shape from colored paper.
Step 7
Make a small hole at the base of each wing and matching holes on both sides of the body.
Step 8
Attach each wing to the side of the body using a paper fastener so the wings can move.
Step 9
Glue the tail to the back of the bird body.
Step 10
Glue craft feathers onto the wings and tail for bright color.
Step 11
Draw eyes and a beak on the front with your colouring materials.
Step 12
Place a popsicle stick under the bird to act as a perch.
Step 13
Slide the bird along the popsicle stick until it sits balanced so you can learn about center of gravity.
Step 14
Share your finished colorful bird with movable wings on DIY.org.
Help!?
What can I use instead of craft feathers or colored paper if I can't find them?
If you don't have craft feathers or colored paper, cut strips or fringes from tissue paper, crepe paper, fabric scraps, or old magazine pages and glue them to the wings and tail in the same step where the instructions say to glue craft feathers.
My cone body keeps unrolling or the wings won't move—how do I fix that?
If the cone unrolls, reinforce the glued overlapping edge with a strip of clear tape or add a dab of stronger craft glue and hold until set, and if the wings don't move after attaching with paper fasteners, slightly enlarge the holes and loosen the fastener backs so the wings can rotate freely.
How can I adapt this bird activity for different age groups?
For ages 3–5 have an adult cut the teardrop body and pre-punch holes so the child can glue feathers and draw eyes, for 6–9 let them cut shapes and insert paper fasteners themselves, and for 10+ encourage adding small weights inside the cone and experimenting with sliding the bird on the popsicle stick to study center of gravity.
What are some fun ways to extend or personalize the finished bird?
Personalize the cone body with markers, stickers, or patterned paper, swap drawn eyes for googly eyes, attach a loop of string to the tail to hang as a mobile, or make several birds and compare how their balance changes on different-length popsicle sticks to extend the center-of-gravity lesson.
Watch videos on how to make an awesome bird
Birds for Kids | Learn all about Birds in this fun introduction to these great animals
4 Videos
Birds for Kids | Learn all about Birds in this fun introduction to these great animals
BIRDS for Kids 🐦🦜🐧🦆 Characteristics and Fun Facts
🐤 20 Types of Birds | Learn Birds Name & Birds Singing for Kids 🎵
What Are the Common Birds in the UK? | All About British Birds for Kids
Facts about bird anatomy and balance
🐦 Birds are living dinosaurs — they evolved from theropod dinosaurs millions of years ago!
🪶 Feathers are made of keratin, the same material found in our hair and fingernails.
🎨 Bright bird colors can come from pigments or tiny feather structures that scatter light into dazzling shades.
⚖️ Many birds have a tendon in their legs that locks their toes so they can perch and sleep without falling.
🧷 You can make movable wings with simple hinges like brads, paper fasteners, straws, or folded paper joints.
How do I make an awesome bird with movable wings?
What materials do I need to make a colorful paper and feathers bird?
What ages is this paper and feather bird craft suitable for?
What are the benefits, safety tips, and fun variations for this bird craft?
