Add final voices to an animatic you've created
Record and add final character voices to an animatic using simple recording tools, timing lines to frames, and refining performances for a polished result.


Step-by-step guide to add final voices to an animatic
Recording a VOICEOVER for ANIMATION | Cartoon Tutorial Series
Step 1
Read your script once to learn who says what.
Step 2
Underline each character’s lines on the script with your pencil.
Step 3
Play the animatic and write a small time mark next to each line showing when it starts.
Step 4
Decide the voice and emotion for each character and write a short note by their lines.
Step 5
Do a quick vocal warm-up for one minute like humming and lip trills.
Step 6
Open your recording app and make a short test recording to check the sound level.
Step 7
Record each character’s lines one character at a time and make at least two takes of each line.
Step 8
Listen back to your takes and mark the best take for every line on your script.
Step 9
Import the chosen takes into your editing app and place them on the animatic timeline.
Step 10
Trim the audio clips so each line starts and ends neatly with the matching frame.
Step 11
Adjust volume and add light effects like a little EQ or reverb so voices sound clear.
Step 12
Play the whole animatic and write down any lines that need a better performance or tighter timing.
Step 13
Re-record the marked lines and replace them in the timeline.
Step 14
Export the finished animatic file.
Step 15
Share your finished animatic on DIY.org
Help!?
What can I use if I don't have a recording app or a dedicated microphone?
Use your smartphone's Voice Memos or a tablet and the earbuds' built-in mic to follow the step 'Open your recording app and make a short test recording to check the sound level' and record the takes.
My recordings sound too quiet or have background noise—what should I try?
Follow the 'Do a quick vocal warm-up' and 'Open your recording app and make a short test recording' steps, move closer to the mic, record in a closet or behind blankets to reduce echo, then use your editing app's noise reduction and adjust volume/EQ before trimming clips.
How can I change this activity for younger or older kids?
For younger kids, have a parent read lines and limit to one or two takes with the parent marking the best take on the script, while older kids should follow all steps including writing emotion notes, making multiple takes, trimming on the animatic timeline, and adding EQ/reverb.
What are simple ways to enhance or personalize the finished animatic before sharing?
When you 'Import the chosen takes into your editing app', add a light music bed or sound effects, tailor reverb per character, include captions or a custom thumbnail, then export the finished animatic file to share on DIY.org.
Watch videos on how to add final voices to an animatic
How to Create Animated Educational Video for Kids - Full Tutorial 🎨📚
4 Videos
How to Create Animated Educational Video for Kids - Full Tutorial 🎨📚
How to Create an Animated Children's Book with Audio Narration
"How to Create Fun Kids' Animation Videos with Canva (Easy & Free!)"
How to create speaking animated characters using Adobe Animate your audio and SadTalker
Facts about voice acting and audio production for kids
🎙️ Many professional voice actors record their lines alone in a booth — editors then stitch the voices together like a puzzle!
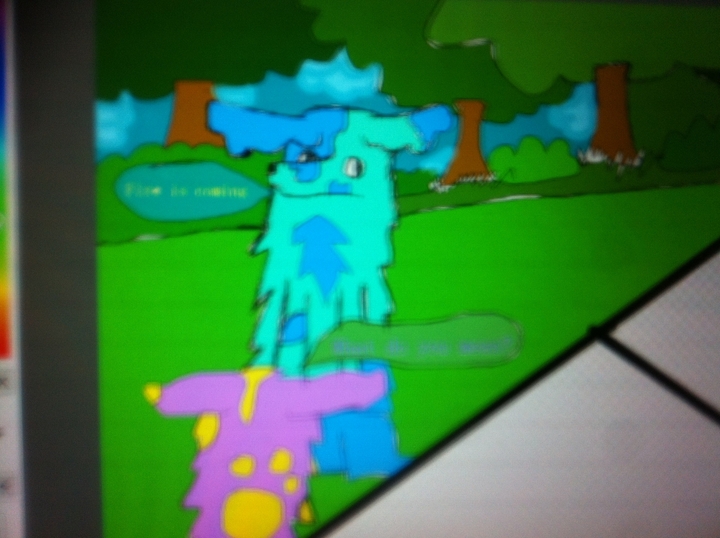
🎬 An animatic is a moving storyboard that helps filmmakers check timing and dialogue before making final animation.
⏱️ Most films and traditional animation use 24 frames per second, so 1 second of screen time equals 24 frames to match your lines to.
🎧 A simple pop filter can stop loud 'P' and 'B' sounds (plosives) from ruining a great take.
🧩 ADR (Automated Dialogue Replacement) lets creators replace or clean up recorded dialogue after the original shoot or recording.
How do you record and add final character voices to an animatic?
What materials do I need to add final voices to an animatic?
What ages is this activity suitable for?
What are the benefits of adding final voices to an animatic?
