Draw Pikachu in Different Poses with DIY Star UnaPooky
Draw Pikachu in different poses using simple shapes, practice sketching and shading, then create and attach a DIY Star UnaPooky accessory to each drawing.

Drawing Apps
Step-by-step guide to Draw Pikachu in Different Poses with DIY Star UnaPooky
Step 1
Gather all your materials and put them on a clean flat table so you can reach everything easily.
Step 2
Lightly draw three small boxes or circles spaced across your paper to use as guides for three different Pikachu drawings.
Step 3
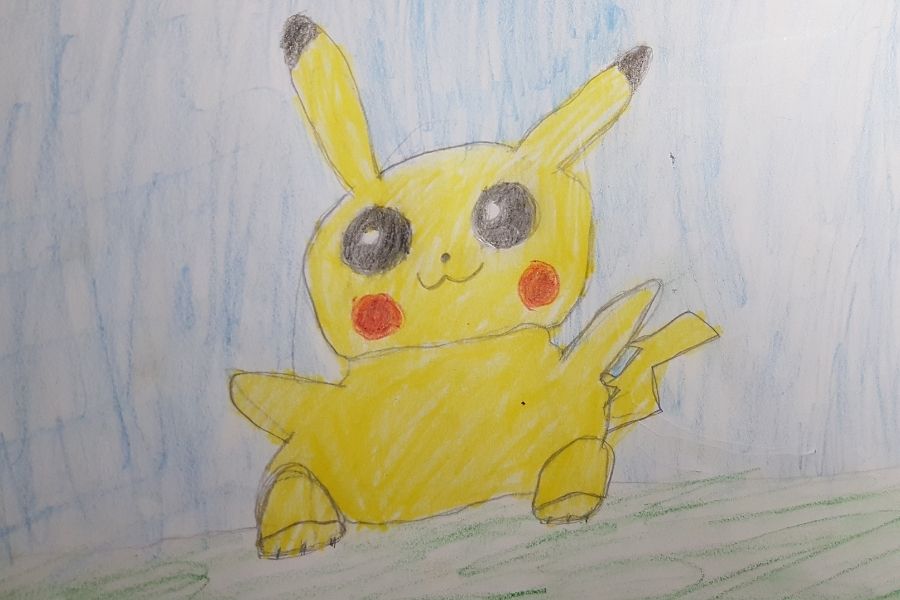
In the first guide sketch a standing Pikachu using simple shapes like a circle for the head and an oval for the body.
Step 4
In the second guide sketch a jumping Pikachu using simple shapes to show movement and a tilted body.
Step 5
In the third guide sketch a sitting Pikachu using simple shapes to show a relaxed pose.
Step 6
Trace cleaner outlines over each sketch to form Pikachu’s ears cheeks tail and body shape.
Step 7
Add facial features stripes on the back and little toes to each Pikachu so they look characterful.
Step 8
Lightly shade under the belly and along the tail base on each drawing to practice shading and add depth.
Step 9
Color each Pikachu with your colouring materials using smooth strokes and bright yellows and reds for the cheeks.
Step 10
Trace and cut out three star shapes from the cardboard or thick paper to make your DIY Star UnaPooky accessories.
Step 11
Decorate each cardboard star with foil stickers markers or other decorations to make them sparkly and unique.
Step 12
Attach one decorated star to each Pikachu drawing using a small piece of tape glue or a short ribbon so the star looks like an accessory.
Step 13
Take a photo of your finished Pikachu drawings with their UnaPooky stars and share your creation on DIY.org.
Help!?
What can I use instead of cardboard, foil stickers, or ribbon if I can’t find them?
Use folded cereal-box cardboard or heavy scrap paper for the stars, replace foil stickers with crumpled aluminum foil or torn magazine glitter, and use yarn, a paper strip, or a stapled ribbon substitute to attach the star when following the step to trace and cut out three star shapes and attach them to each Pikachu.
My jumping Pikachu looks stiff and my shading is messy — how can I fix those steps?
Start the jumping Pikachu with a quick gesture line and tilted guide circle to show movement, then lightly shade under the belly and along the tail base with a tissue or blending stump and erase gently to soften edges as you trace cleaner outlines.
How can I change this activity for younger or older kids?
For younger children pre-draw the three small boxes or circles and pre-cut the stars and give thick crayons for coloring, while older kids can add more dynamic poses, tighter anatomy details, advanced shading with pencils or watercolors, and more intricate star decorations from the decorate each cardboard star step.
How can we make the final Pikachu drawings and UnaPooky stars more special or shareable?
Create backgrounds for each pose, laminate or add glitter and LED sticker accents to the decorated cardboard stars, or take multiple photos to make a flipbook or collage to post on DIY.org after attaching each star to a Pikachu drawing.
Watch videos on how to Draw Pikachu in Different Poses with DIY Star UnaPooky
How To Draw Pikachu | Pokemon (for BEGINNERS)
4 Videos
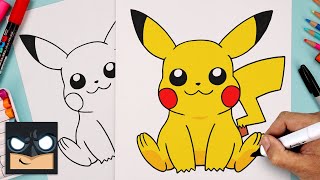
How To Draw Pikachu | Pokemon (for BEGINNERS)

How to Draw Pikachu with Colors | Easy Pokémon Drawing Tutorial for Kids USA | Pikachu Drawing Art |
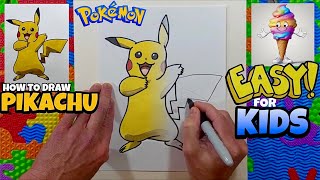
How to Draw Pikachu Step by Step | Easy Drawing Tutorial for Beginners
How to Draw PIKACHU | POKÉMON | Easy Art Lesson for Kids & Beginners
Facts about cartoon character drawing and craft accessories for kids
⚡ Pikachu is the official mascot of Pokémon and first appeared in the 1996 games Pokémon Red and Green.
🎨 Ken Sugimori created the original artwork for many of the first 151 Pokémon, helping shape their iconic looks.
✏️ Gesture drawing uses very quick sketches (often 30–60 seconds) to capture the action and flow of a pose.
🌟 You can fold a tiny origami star from a single strip of paper—perfect for making little UnaPooky accessories.
🖌️ Shading tricks like hatching and blending can make simple cartoon drawings look three-dimensional without losing their charm.
How do I draw Pikachu in different poses with a Star UnaPooky?
What materials do I need to draw Pikachu and make a DIY Star UnaPooky?
What ages is this drawing and craft activity suitable for?
What are the benefits and safety tips for drawing Pikachu and making Star UnaPooky?
