Flying Responsibly
Make and decorate a paper glider, then test safe launches outdoors while practicing pre-flight checks, using open space, and respecting people and wildlife.


Step-by-step guide to Flying Responsibly
Step 1
Gather all the materials on a clear table so everything is ready.
Step 2
Fold the paper in half lengthwise and press a firm crease down the middle.
Step 3
Unfold the paper so the center crease is visible.
Step 4
Fold the top two corners down to meet the center crease to make a pointed nose.
Step 5
Fold the paper in half again along the center crease with the pointed nose tucked inside.
Step 6
Fold each long side down to create wings so the top edges line up with the bottom edge.
Step 7
Attach a paperclip to the nose and secure it with a small piece of tape to add weight.
Step 8
Decorate the wings and body with bright colors and designs using the coloring materials.
Step 9
Go outside to find a wide open space away from trees roads and places where people gather.
Step 10
Look around and make sure there are no people pets or wildlife in the area before you start.
Step 11
Check the wind by tossing a small leaf or blade of grass and watch which way it moves.
Step 12
Stand facing into the wind hold the glider at its center and launch it gently with a smooth underhand throw.
Step 13
Pick up any scraps and leave the area neat and safe after you finish flying.
Step 14
Share a photo of your finished paper glider and what you learned on DIY.org.
Help!?
What can I use instead of a paperclip or tape if I don't have them?
If you don't have a paperclip or tape for 'Attach a paperclip to the nose and secure it with a small piece of tape,' use a small coin, a folded piece of aluminum foil, or a tiny binder clip for weight and a sticker or a dab of glue to hold it in place.
My glider spirals or crashes quickly—what should I check and fix?
If it spirals or dives, re-press the center crease from 'Fold the paper in half lengthwise and press a firm crease,' make sure the top edges line up with the bottom edge when you 'Fold each long side down to create wings,' and fine-tune the paperclip position or tape weight on the nose.
How can I adapt this activity for younger children or older kids?
For younger children, an adult can pre-fold the center crease and the pointed nose (steps 2–5) and supervise outdoor throws while the child decorates, whereas older kids can try different paper types, vary the paperclip weight, and measure flight distances to compare outcomes.
How can we make the glider fly farther or personalize it before sharing the photo?
To extend and personalize the activity, add small tail flaps by folding the wing trailing edges after creating the wings, tweak the paperclip placement to balance lift and drag, and decorate the wings and body boldly before sharing a photo and your flight results on DIY.org.
Watch videos on how to fly responsibly
Prepare your Child for their First Flight🛩 Kids' First Plane Ride🌎 First Airplane Ride for Kids
3 Videos
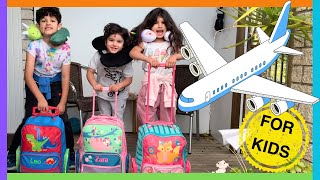
Prepare your Child for their First Flight🛩 Kids' First Plane Ride🌎 First Airplane Ride for Kids
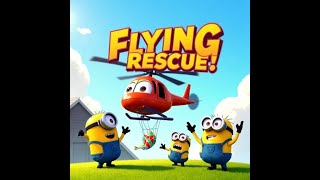
Minions & Hiro the Helicopter 🚁 | Flying Rescue Adventure + Safety Song for Kids!
Our top tips for flying with toddlers!
Facts about paper gliders and outdoor safety
✈️ The farthest recorded paper airplane flight is over 60 meters (more than 200 feet) in competition!
🧭 Engineers and students often use paper gliders to explore basic aerodynamics like lift, drag, and stability.
🌬️ Tiny tweaks — a paperclip weight, a bent tail, or small winglets — can make a glider fly much straighter or farther.
🦉 Wildlife are easily startled by sudden movements and noise; quiet, distant launches help protect animals.
🌳 Leave No Trace tips apply to flying toys too: use open fields, avoid crowds or gardens, and take all scraps home.
How do I make and safely launch a paper glider for the Flying Responsibly activity?
What materials do I need for the Flying Responsibly paper glider activity?
What ages is the Flying Responsibly glider activity suitable for?
What are the benefits and safety tips for Flying Responsibly with paper gliders?
