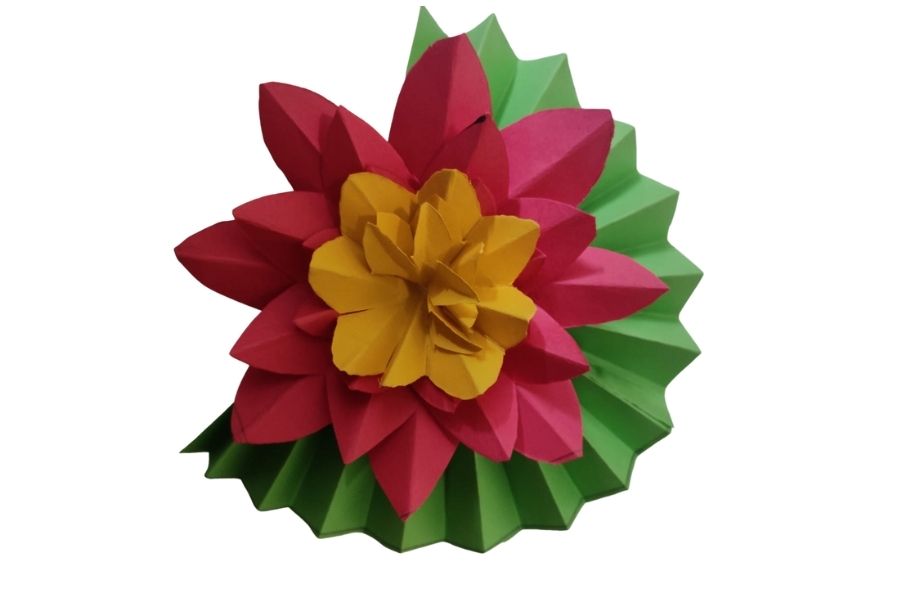
Make Floating Paper Flower
Make a floating paper flower using tissue paper, wire, and a shallow water tray; test buoyancy and decorate petals while observing surface tension.


Step-by-step guide to make a floating paper flower
Step 1
Gather all your materials on a flat table with an adult nearby.
Step 2
Cut six palm-sized squares from the tissue paper using scissors.
Step 3
Cut each square into a rounded petal shape by trimming one edge.
Step 4
Use coloring materials to draw bright designs on each petal.
Step 5
Slightly scrunch the base of each petal between your fingers to thicken the center.
Step 6
Make a small loop at one end of the craft wire using your fingers or pliers with adult help.
Step 7
Slide the scrunched bases of the petals onto the looped end of the wire so they overlap.
Step 8
Twist the wire below the petals once to lock the petals in place.
Step 9
Fill the shallow tray with water until the water is about 1 centimeter from the rim.
Step 10
Hold the flower gently by the wire stem over the tray.
Step 11
Lower the petals onto the water so the petals touch the surface first and settle softly.
Step 12
Watch how the water surface holds the petals and notice whether the surface bends or stays flat.
Step 13
If the flower sinks gently spread the petals flatter to trap more air at the edges.
Step 14
Place the flower back on the water to see if it floats after you adjust the petals.
Step 15
Share their finished creation on DIY.org
Help!?
What can we use if we don't have tissue paper or craft wire?
If you can't find tissue paper, use coffee filters or thin paper napkins cut into palm-sized squares (step 2), and swap craft wire for a pipe cleaner or a sturdy twist tie to make the looped stem in step 6.
Why does my flower sink and how do I fix it?
If the flower sinks after you place it on the water (step 11), spread the petals flatter to trap more air (step 13), re-scrunch the bases (step 5), and twist the wire more firmly below the petals (step 7) to keep them sealed.
How can I change this activity for younger or older kids?
For younger children the adult can pre-cut the six palm-sized squares and make the wire loop (steps 2 and 6) while older kids can add detailed designs with coloring materials (step 4) and experiment with layering extra petals for larger blooms.
How can we make the floating flower more creative or scientific?
Extend the activity by making several flowers (repeat steps 2–11) to compare how different petal sizes or paper types (step 2) float, or add a drop of dish soap to the water to show how surface tension changes the result observed in step 11.
Watch videos on how to make a floating paper flower
🌸 Easy Paper Flower Making | Step-by-Step Paper Flower Craft Tutorial 🌸
4 Videos

🌸 Easy Paper Flower Making | Step-by-Step Paper Flower Craft Tutorial 🌸
How to Make Flower with Colored Paper | Making Paper Flowers Step by Step
How to Make Paper Flowers | Easy Paper Flower Tutorial for Kids | DIY Easy Paper Crafts For Kids
DIY Lotus Flower Making Idea | DIY Paper Water Lily
Facts about buoyancy and surface tension
🪄 Surface tension lets tiny insects like water striders walk on water because the top layer of water behaves like a stretchy skin.
⚖️ Buoyancy (Archimedes' principle) means an object will float if it pushes aside enough water to equal its weight — that’s why even heavy ships can float.
🧻 Tissue paper soaks up water very fast; layering petals or adding a light seal can help them stay afloat longer.
🪡 Thin wire can be shaped into a hidden frame or ring to spread weight across the flower so it floats more stably.
🧼 A single drop of dish soap breaks surface tension locally and can make nearby floating petals suddenly move or sink — a dramatic demo!
How do you make a floating paper flower?
What materials do I need to make a floating paper flower?
What ages is this floating paper flower activity suitable for?
What are the benefits of making floating paper flowers?
