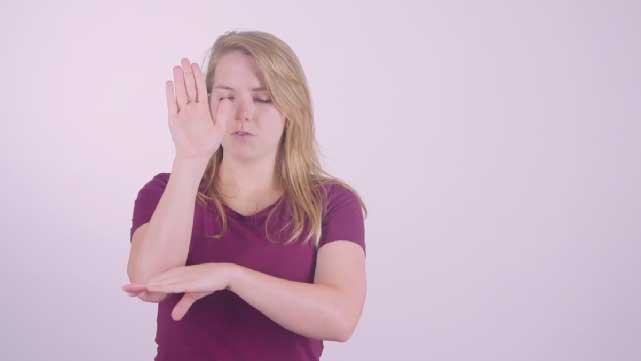
Tell Us Where You Were Born Using ASL
Learn and practice American Sign Language signs to say where you were born, fingerspell your city, and present your birthplace to classmates.

Step-by-step guide to Tell Us Where You Were Born Using ASL
Step 1
Decide you will sign the sentence "I was born in [your city]" and that you will fingerspell your city name.
Step 2
Use a computer or tablet to find a trusted ASL video dictionary and open the video for the sign "I."
Step 3
Watch the "I" sign video three times while looking closely at the handshape and movement.
Step 4
Open the video for the ASL sign "born" in the same ASL dictionary.
Step 5
Watch the "born" sign video three times while noticing where the hands move on the body.
Step 6
Open an ASL alphabet video and watch it one time to see all the letter shapes.
Step 7
Write your city's name clearly on your paper so you can follow the letters while you practice.
Step 8
Practice fingerspelling each letter of your city's name in the mirror, one letter at a time and slowly.
Step 9
Put the whole sentence together by signing "I" then "born" then fingerspelling your city while watching yourself in the mirror.
Step 10
Draw a small picture or simple map of your city on paper and color it to use as a prop.
Step 11
Practice your full presentation twice while holding your prop and doing your signs and fingerspelling.
Step 12
Present to your classmates using your signs "I" and "born" then fingerspelling your city while showing your prop.
Step 13
Share your finished creation on DIY.org.
Help!?
What can we use if we don't have a computer or tablet to open an ASL video dictionary?
If you don't have a computer or tablet to open an ASL video dictionary, use a smartphone to play the same videos or print an ASL alphabet chart and use a classroom or handheld mirror to practice the 'I' and 'born' signs and fingerspelling.
I'm having trouble getting the handshape and placement right—what should I do?
If your fingerspelling or the 'born' hand placement looks off in the mirror, slow down, re-watch the 'I' and 'born' videos and the ASL alphabet, and practice each letter one at a time from the city name you wrote on paper while watching yourself.
How can I change the activity for younger or older kids?
For younger children, simplify by choosing a one- or two-syllable city name written in large letters and practicing with an adult holding the mirror and prop, while older students can add a short map sketch, increase fingerspelling speed, and complete the practice and presentation steps to share on DIY.org.
How can we make the presentation more creative or personal?
To personalize and extend the activity, add labeled ASL fingershapes next to each letter on your paper map prop, record a video of your two practice runs to self-check your signs and fingerspelling, and include a short written or spoken fact about your city when you share it on DIY.org.
Watch videos on how to Tell Us Where You Were Born Using ASL
Where Were You Born?
3 Videos
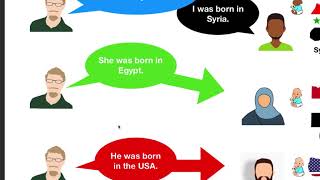
Where Were You Born?
Was/were born- Dates in English

Street Interview Where were you born? Unit 14 Top Notch Fundamentals
Facts about American Sign Language for kids
🤟 American Sign Language (ASL) is a full natural language used by Deaf communities in the U.S. and parts of Canada — it’s not just signed English.
🔤 Fingerspelling uses a manual alphabet to spell names and places, and many kids learn it first to share their own name or city.
🗣️ In ASL, facial expressions and body movement are part of the grammar, so your face can change the meaning of a sign!
🌍 Some place signs are iconic (they show a shape or activity tied to the place), which makes signing where you’re from extra visual and fun.
🧠 Learning ASL can improve visual memory and attention — and it’s a friendly way to include classmates who use sign language.
How do I teach a child to say where they were born using ASL?
What materials do I need to teach children to say where they were born with ASL?
What ages is the ASL 'where you were born' activity suitable for?
What are the benefits of teaching children to say where they were born in ASL?
