Plant Seeds from Something You've Eaten
Collect seeds from fruit or vegetables you’ve eaten, clean and dry them, plant in soil, water, and observe sprouting over time.

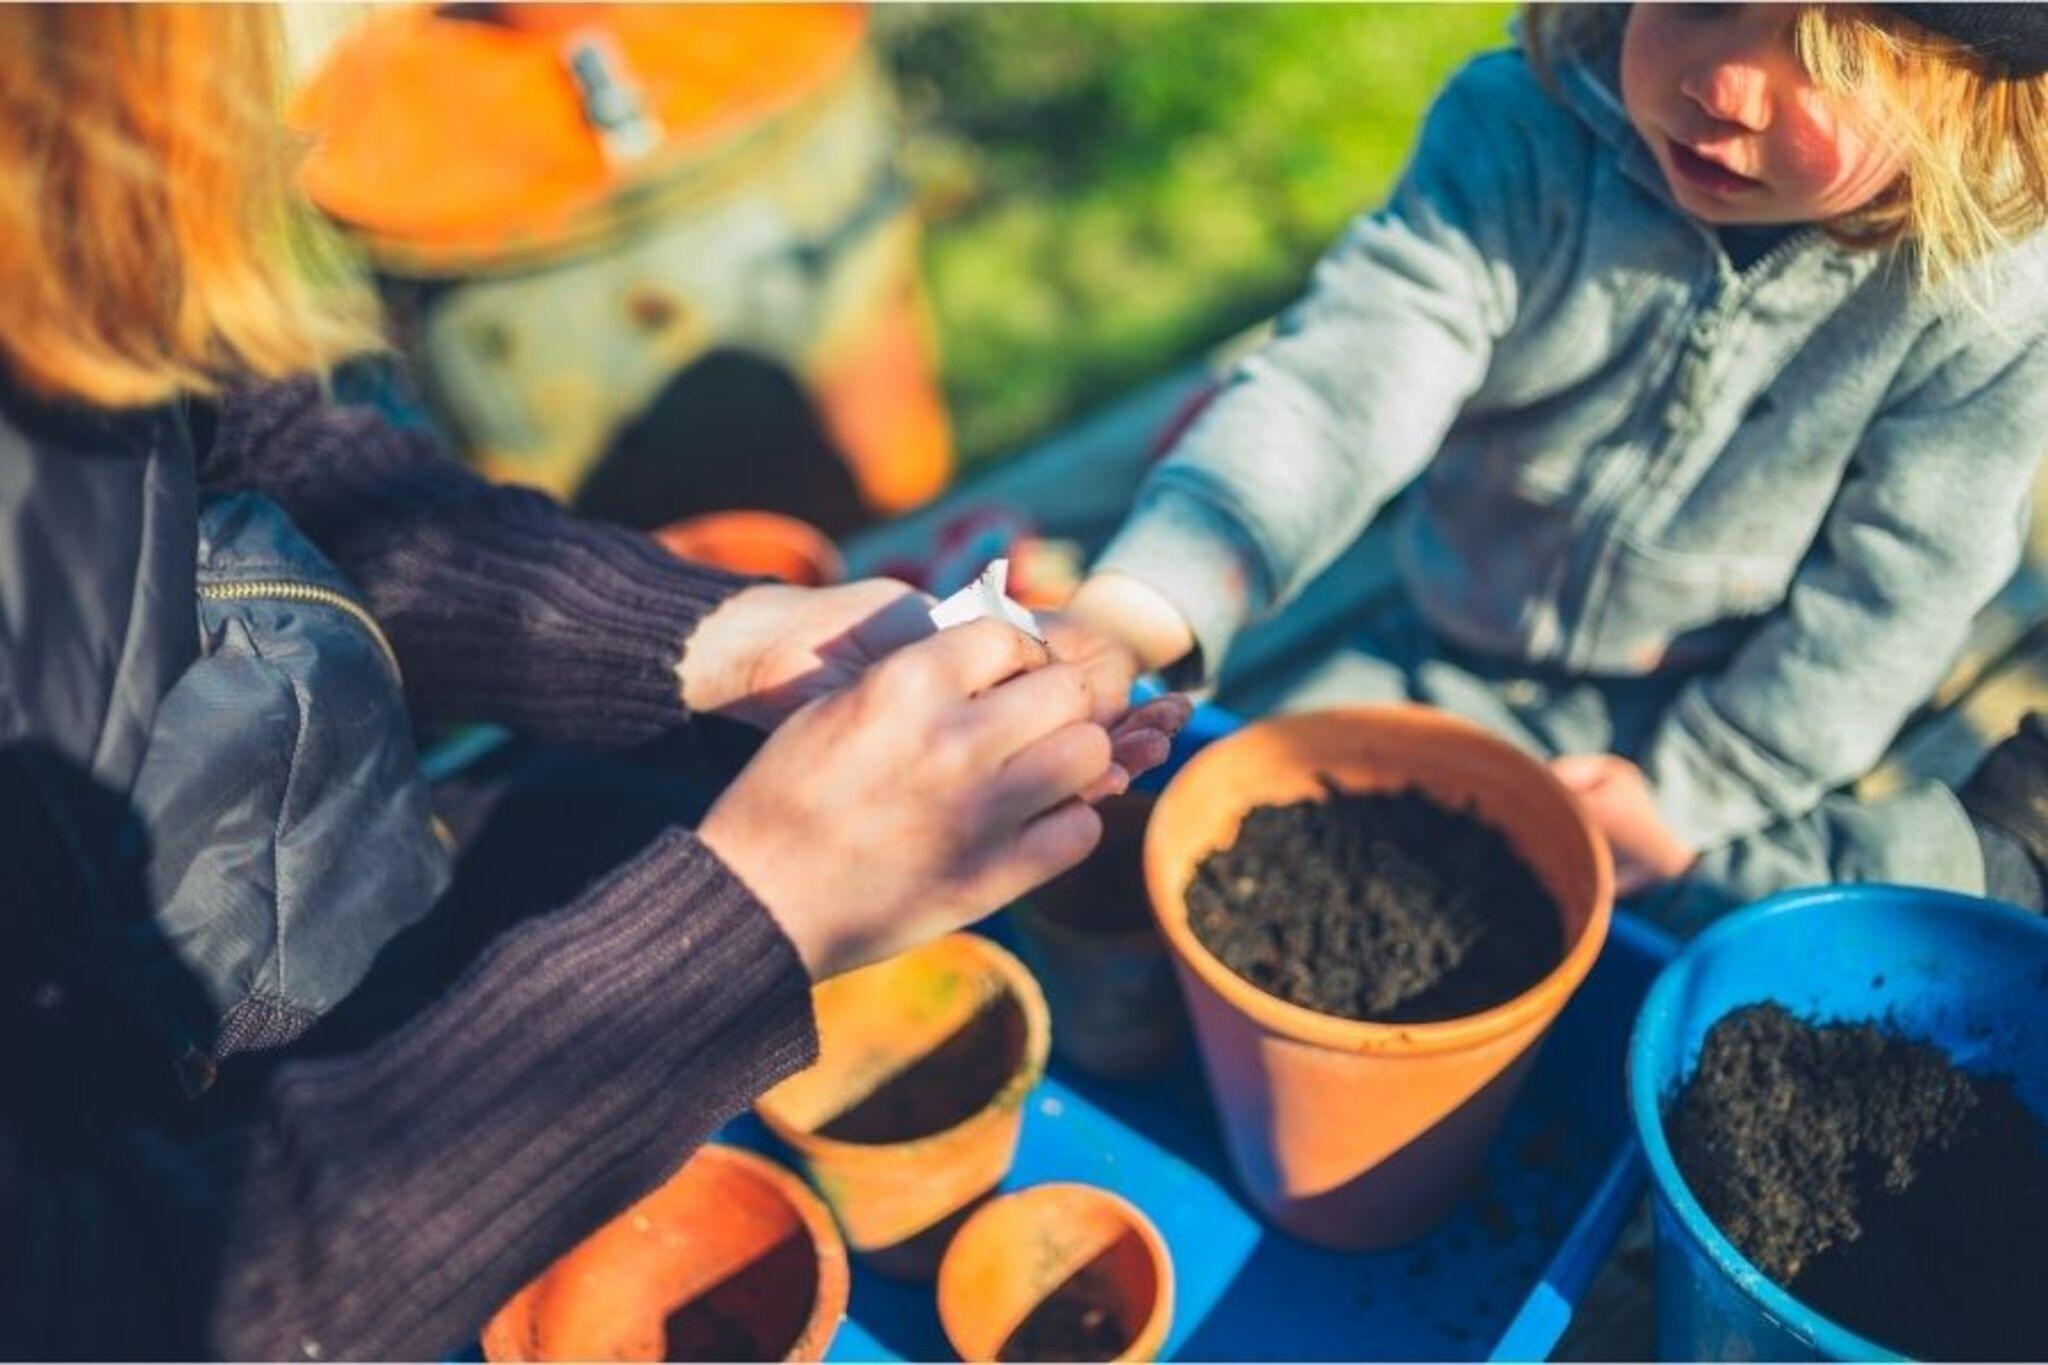

Step-by-step guide to plant seeds from something you've eaten
Foodwise Kids: What Plant Parts Do We Eat?
Step 1
Gather the seeds from the fruit or vegetable you ate and put them into the small bowl.
Step 2
Remove any remaining bits of fruit or pulp from the seeds using your fingers or the small spoon.
Step 3
Rinse the seeds gently in the bowl with cool water to wash off sticky bits.
Step 4
Lay the seeds in a single layer on a paper towel and pat them dry with another paper towel.
Step 5
Leave the seeds to air dry on the towel for 1 to 3 days until they feel dry to the touch.
Step 6
Fill your pot or small container with potting soil leaving about 1 centimeter from the rim.
Step 7
Use your finger or the spoon to make a small hole about 1 to 2 centimeters deep in the soil for each seed.
Step 8
Put one dried seed into each hole and cover it gently with soil.
Step 9
Water the soil gently so it becomes evenly moist but not soggy.
Step 10
Write the seed type and the planting date on the pot with your marker or tape.
Step 11
Place the pot in a warm bright spot where it will get light.
Step 12
Check the soil every day and water lightly when the top feels dry.
Step 13
Share your finished creation on DIY.org
Help!?
I don't have a small bowl or small spoon — what can I use instead?
Use a clean cup or yogurt container instead of the small bowl and a teaspoon or butter knife in place of the small spoon to remove pulp and rinse seeds.
My seeds got moldy or didn't dry—what went wrong and how can we fix it?
If seeds stay sticky or grow mold, re-rinse them (step 3), pat them dry on paper towels (steps 4–5) and let them air dry the full 1–3 days before planting so they don't rot in the soil.
How can I change this activity for younger or older kids?
For younger children, have an adult make shallow 1 cm holes and let them press seeds in and water lightly, while older kids can measure 1–2 cm depths, label pots with marker and keep a germination log.
How can we extend or personalize the project after planting?
Decorate and label the pot with your marker or tape (step 10), compare different sunny spots for germination, keep a plant growth diary, and share photos on DIY.org as suggested.
Watch videos on how to plant seeds from something you've eaten
How do SEEDS Grow? Seed Germination For Kids | Facts For Kids
4 Videos

How do SEEDS Grow? Seed Germination For Kids | Facts For Kids

Plant Life Cycle Stages From Seed To Fruit | Primary School Science Animation
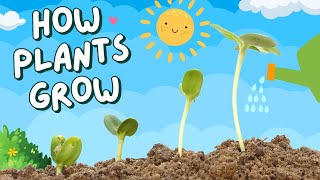
How Plants Grow: A Fun And Educational Video For Kids

How Does A Seed Become A Plant? | Backyard Science | SciShow Kids
Facts about gardening for kids
🌱 Tomato seeds often sprout in 5–10 days—great for quick experiments!
🥑 An avocado pit can grow into a tree, but it might take weeks or even months to start sprouting.
🍅 One tomato can contain dozens to hundreds of seeds—perfect for sharing and planting!
🍊 Citrus seeds (like orange or lemon) usually germinate easily and make sweet-smelling seedlings.
💧 Seeds need three things to wake up: water, air and a cozy warm spot in the soil.
How do I plant seeds from fruit or vegetables I've eaten?
What materials do I need to plant seeds from food I've eaten?
What ages is planting seeds from food suitable for?
What are the benefits and safety tips for planting seeds from things you've eaten?
