Make Ghost Crafts with DIY Start PikaPotato
Create friendly ghost crafts using paper, tissue, markers, and recycled containers with DIY PikaPotato tips; decorate, hang, and learn simple crafting skills.


Step-by-step guide to make ghost crafts with DIY Start PikaPotato
You'll NEVER Guess What This Spooky Ghost is Made Of! 👻🧵 Easy DIY Halloween Craft for Kids!
Step 1
Gather your materials and pick one recycled container to turn into a friendly ghost.
Step 2
Ask an adult to help you wash and dry the container if it is dirty.
Step 3
Hold a sheet of paper next to the container and mark the top and bottom to match the container height.
Step 4
Cut the rectangle of paper or tissue along your marks so it will wrap around the container.
Step 5
Wrap the paper or tissue around the container and secure the ends with tape or glue.
Step 6
Trim the bottom edge into a wavy ghost skirt by making small U-shaped snips along the edge.
Step 7
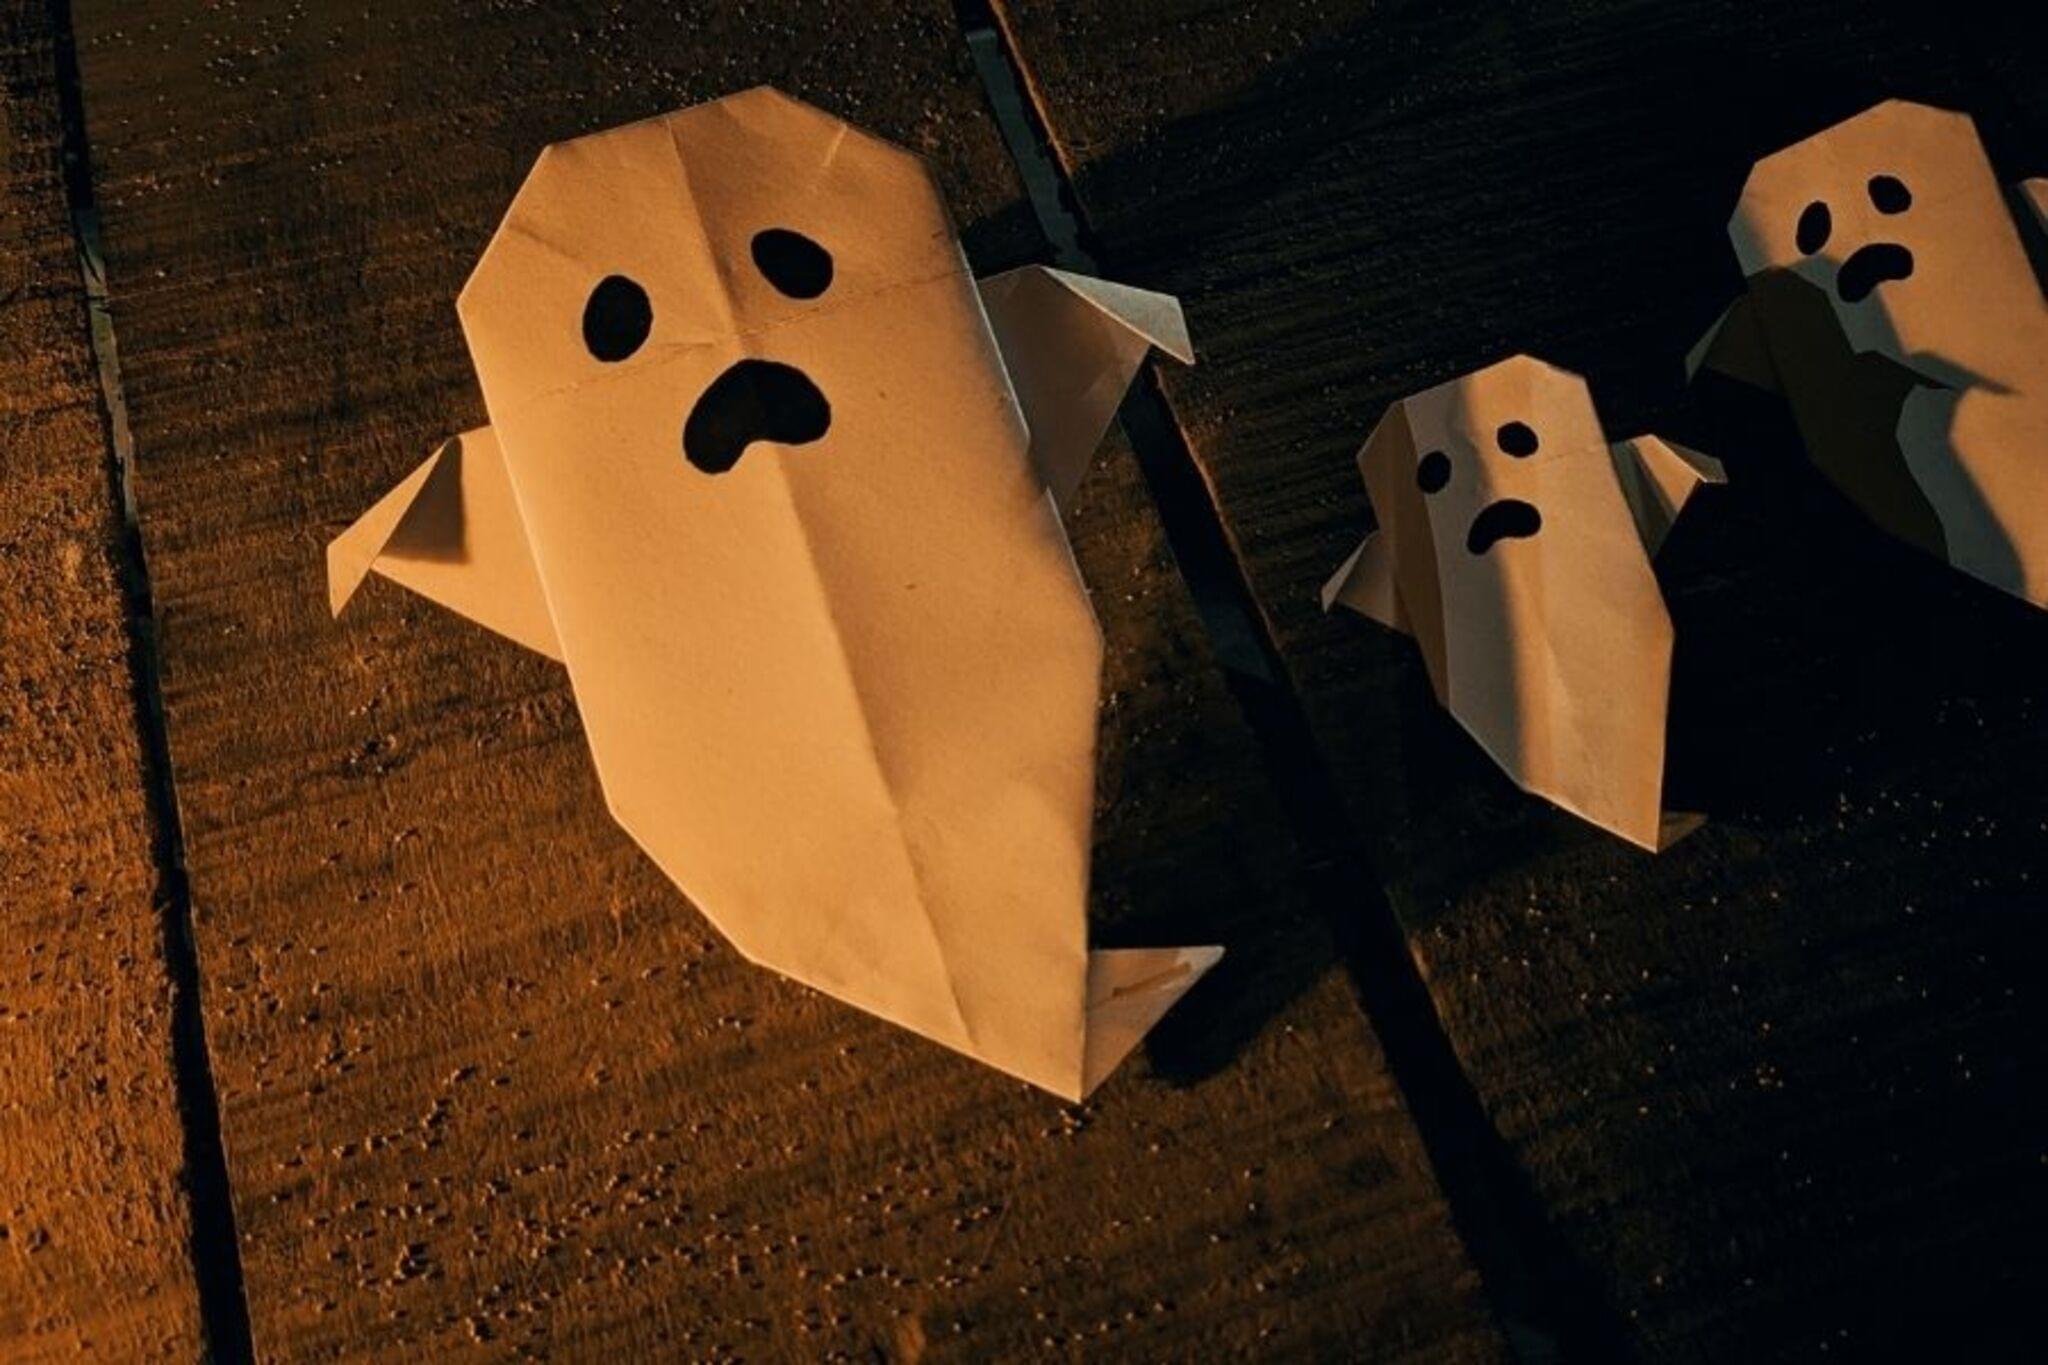
Draw a friendly ghost face with markers using big eyes and a smiling mouth.
Step 8
Glue on googly eyes or stick stickers to add extra character to your ghost.
Step 9
DIY PikaPotato tip: Glue a thin layer of tissue paper lightly over the outside for a wispy ghost look.
Step 10
Ask an adult to help you make a small hole near the top of the container for hanging.
Step 11
Thread a piece of string through the hole and tie a knot to make a hanging loop.
Step 12
Hang your ghost where it can float and gently sway and then share your finished ghost craft on DIY.org
Help!?
What can I use if I don't have tissue paper or googly eyes?
Use white printer paper, coffee filters, or a paper towel to wrap the recycled container instead of tissue paper, and draw the face with markers or use stickers in place of googly eyes while following the 'wrap...secure with tape or glue' and 'glue on googly eyes' steps.
The paper keeps slipping or tears when I cut the wavy skirt—what should I do?
Prevent slipping by adding a strip of tape along the seam or a dab of glue inside the wrap before trimming, and practice smaller U-shaped snips on scrap paper so the 'trim the bottom edge into a wavy ghost skirt' step doesn't tear the paper.
How can I change the activity for different age groups?
For toddlers, have an adult wash and pre-cut the paper and let them stick on stickers or help draw the face, while older kids can cut the wavy skirt themselves, layer the thin tissue per the DIY PikaPotato tip, and make the small hanging hole with supervision.
How can we enhance or personalize the ghost craft after the basic steps?
Customize by painting the recycled container first, adding the thin tissue layer from the DIY PikaPotato tip for a wispy look, gluing on extra stickers or glitter for personality, and placing a battery tealight inside or grouping several ghosts into a mobile before threading the hanging string through the top hole.
Watch videos on how to make ghost crafts with DIY Start PikaPotato
Easy DIY Balloon Ghost Decoration 🎃 | Halloween Craft for Kids
3 Videos
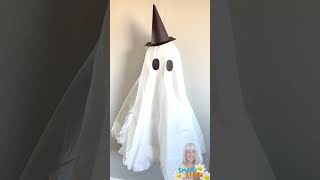
Easy DIY Balloon Ghost Decoration 🎃 | Halloween Craft for Kids
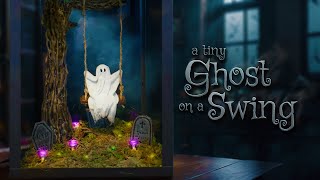
Make a Spooky Cute Tiny Ghost on a Swing Diorama: Fun and Whimsical Tutorial!
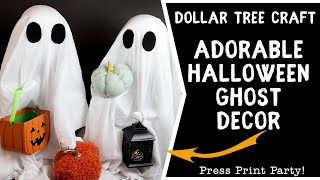
Easy DIY Ghost Halloween Craft with Dollar Tree Supplies | Cute & Budget-Friendly!
Facts about paper and recycled crafts for kids
👻 The classic 'ghost' costume (a sheet with eye holes) became popular because it's the easiest DIY costume using items at home.
🎃 Pumpkins are the modern symbol of Halloween, but in parts of Europe people originally carved turnips and beets into lanterns.
✂️ Papercrafting can turn simple paper and tissue into puppets, lanterns, and decorations—origami is the branch that uses no glue.
♻️ Reusing jars, boxes, and other recycled containers for crafts lets kids create while keeping materials out of the landfill.
🖍️ Many kid-safe markers are water-based and labeled 'washable' so they come off skin and most fabrics with soap and water.
How do I make ghost crafts with DIY Start PikaPotato?
What materials do I need for DIY Start PikaPotato ghost crafts?
What ages are DIY Start PikaPotato ghost crafts suitable for?
What safety tips should I follow for DIY Start PikaPotato ghost crafts?
