Gacha Edit with DIY Star Chloescapes
Make DIY star-themed chloescapes from paper, paint, and glitter, pose Gacha characters, then photograph and assemble a playful edited collage.


Step-by-step guide to Gacha Edit with DIY Star Chloescapes
Step 1
Clear a flat workspace and lay out all your materials where you can reach them easily.
Step 2
Pick a color theme for your chloescape such as midnight blue and silver or pastel sunset.
Step 3
Lightly sketch the background layout on one sheet of paper with your pencil so you know where things will go.
Step 4
Paint the background on your sketched paper to match your theme and let it dry completely.
Step 5
Trace star shapes onto another sheet of paper using your pencil and ruler or a simple star template.
Step 6
Cut out the traced star shapes carefully with your scissors.
Step 7
Decorate each star using paints or colouring materials to match your colour theme.
Step 8
Apply small amounts of glue to the decorated stars and sprinkle glitter or press on sequins for sparkle.
Step 9
Arrange the dried background and all your decorated stars and stickers on the table until you like the scene layout.
Step 10
Glue the stars and any stickers down onto the painted background to build your chloescape.
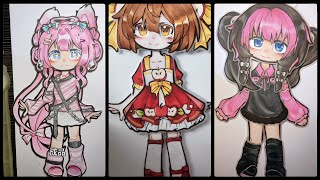
Step 11
Place your printed Gacha character pictures or small Gacha figures into the scene and adjust their poses.
Step 12
Take several photos of your finished chloescape from different angles and distances.
Step 13
Use a photo editor on your device to crop combine and add fun stickers or text to make a playful collage.
Step 14
Share your finished star-themed chloescape collage on DIY.org.
Help!?
What can I use if I don't have glitter, sequins, or printed Gacha characters?
If you don't have glitter or sequins for step 7–8, use small torn pieces of shiny foil (like candy wrappers) or tiny bits of colored paper glued to the stars, and if you don't have printed Gacha characters for step 11, cut out screenshots from your device or draw small character cutouts by hand.
My paint keeps smudging and the stars make the paper warp—what should I try?
If the painted background from step 4 is smudging or the glue in step 10 warps the paper, make sure the background is completely dry (use a hair dryer on low), apply glue sparingly with a glue stick or double-sided tape to reduce warping, and press gently until set.
How can I adapt this activity for younger or older kids?
For younger children, simplify steps 5–7 by using pre-cut foam or sticker stars and washable markers instead of scissors and paint, while older kids can use a ruler and star template in step 5, try layered paint techniques in step 4, and do advanced digital collage editing in step 13.
How can I personalize or extend my chloescape to make it more special?
Personalize your chloescape by adding textured elements like cotton or tissue clouds in step 10, elevating some stars with foam tape in step 10 for 3D depth, and making a short stop-motion animation from multiple photos in step 12–13 to share on DIY.org.
Watch videos on how to Gacha Edit with DIY Star Chloescapes
HOW TO MAKE PAPER DOLL GACHA LIFE | DIY | Draw so easy Anime
4 Videos
HOW TO MAKE PAPER DOLL GACHA LIFE | DIY | Draw so easy Anime
HOW TO MAKE PAPER DOLL GACHA CLUB | DIY | Draw so easy Anime
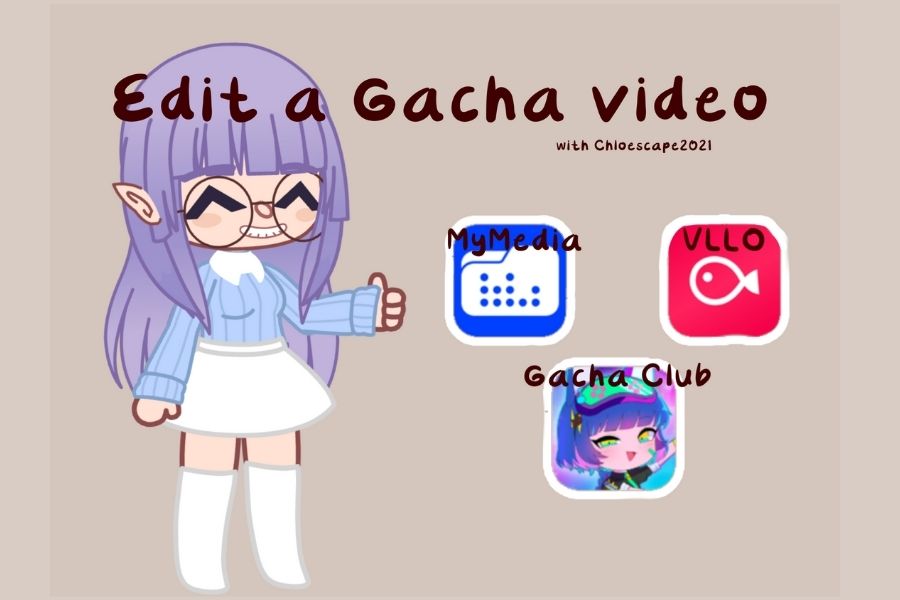
Gacha Tutorial 1: How to Make a Gacha Video || Gacha Club
How to make movable paper dolls Gacha - OC | DIY | Draw so easy Anime
Facts about papercrafts and photo editing for kids
🎰 The word "gacha" comes from Japan's "gachapon" capsule toy machines — it's all about surprise pulls and collectible characters!
🖼️ Collage was popularized by artists like Pablo Picasso and Georges Braque in the 1910s, who glued paper and fabric into paintings.
✨ Before plastic glitter, shiny decoration sometimes used ground mica, glass, or even beetle wings — modern glitter grew after plastic versions arrived.
📸 A tiny change in camera angle or the direction of light can totally change a photo's mood — try side light for drama or soft front light for gentle looks.
🖍️ Mixed-media collages that combine handmade paper art and digital edits are super popular — creators often photograph crafts and add digital sparkle and stickers.
How do I make a Gacha Edit with DIY star Chloescapes?
What materials do I need for star Chloescapes and a Gacha collage?
What ages are suitable for making DIY star Chloescapes and Gacha edits?
What are the benefits and safety tips for doing Gacha star Chloescapes?
