Go Horseback Riding
Go horseback riding at a supervised stable, wearing a helmet; learn grooming, mounting, and safe riding techniques while observing horse behavior and following an instructor.

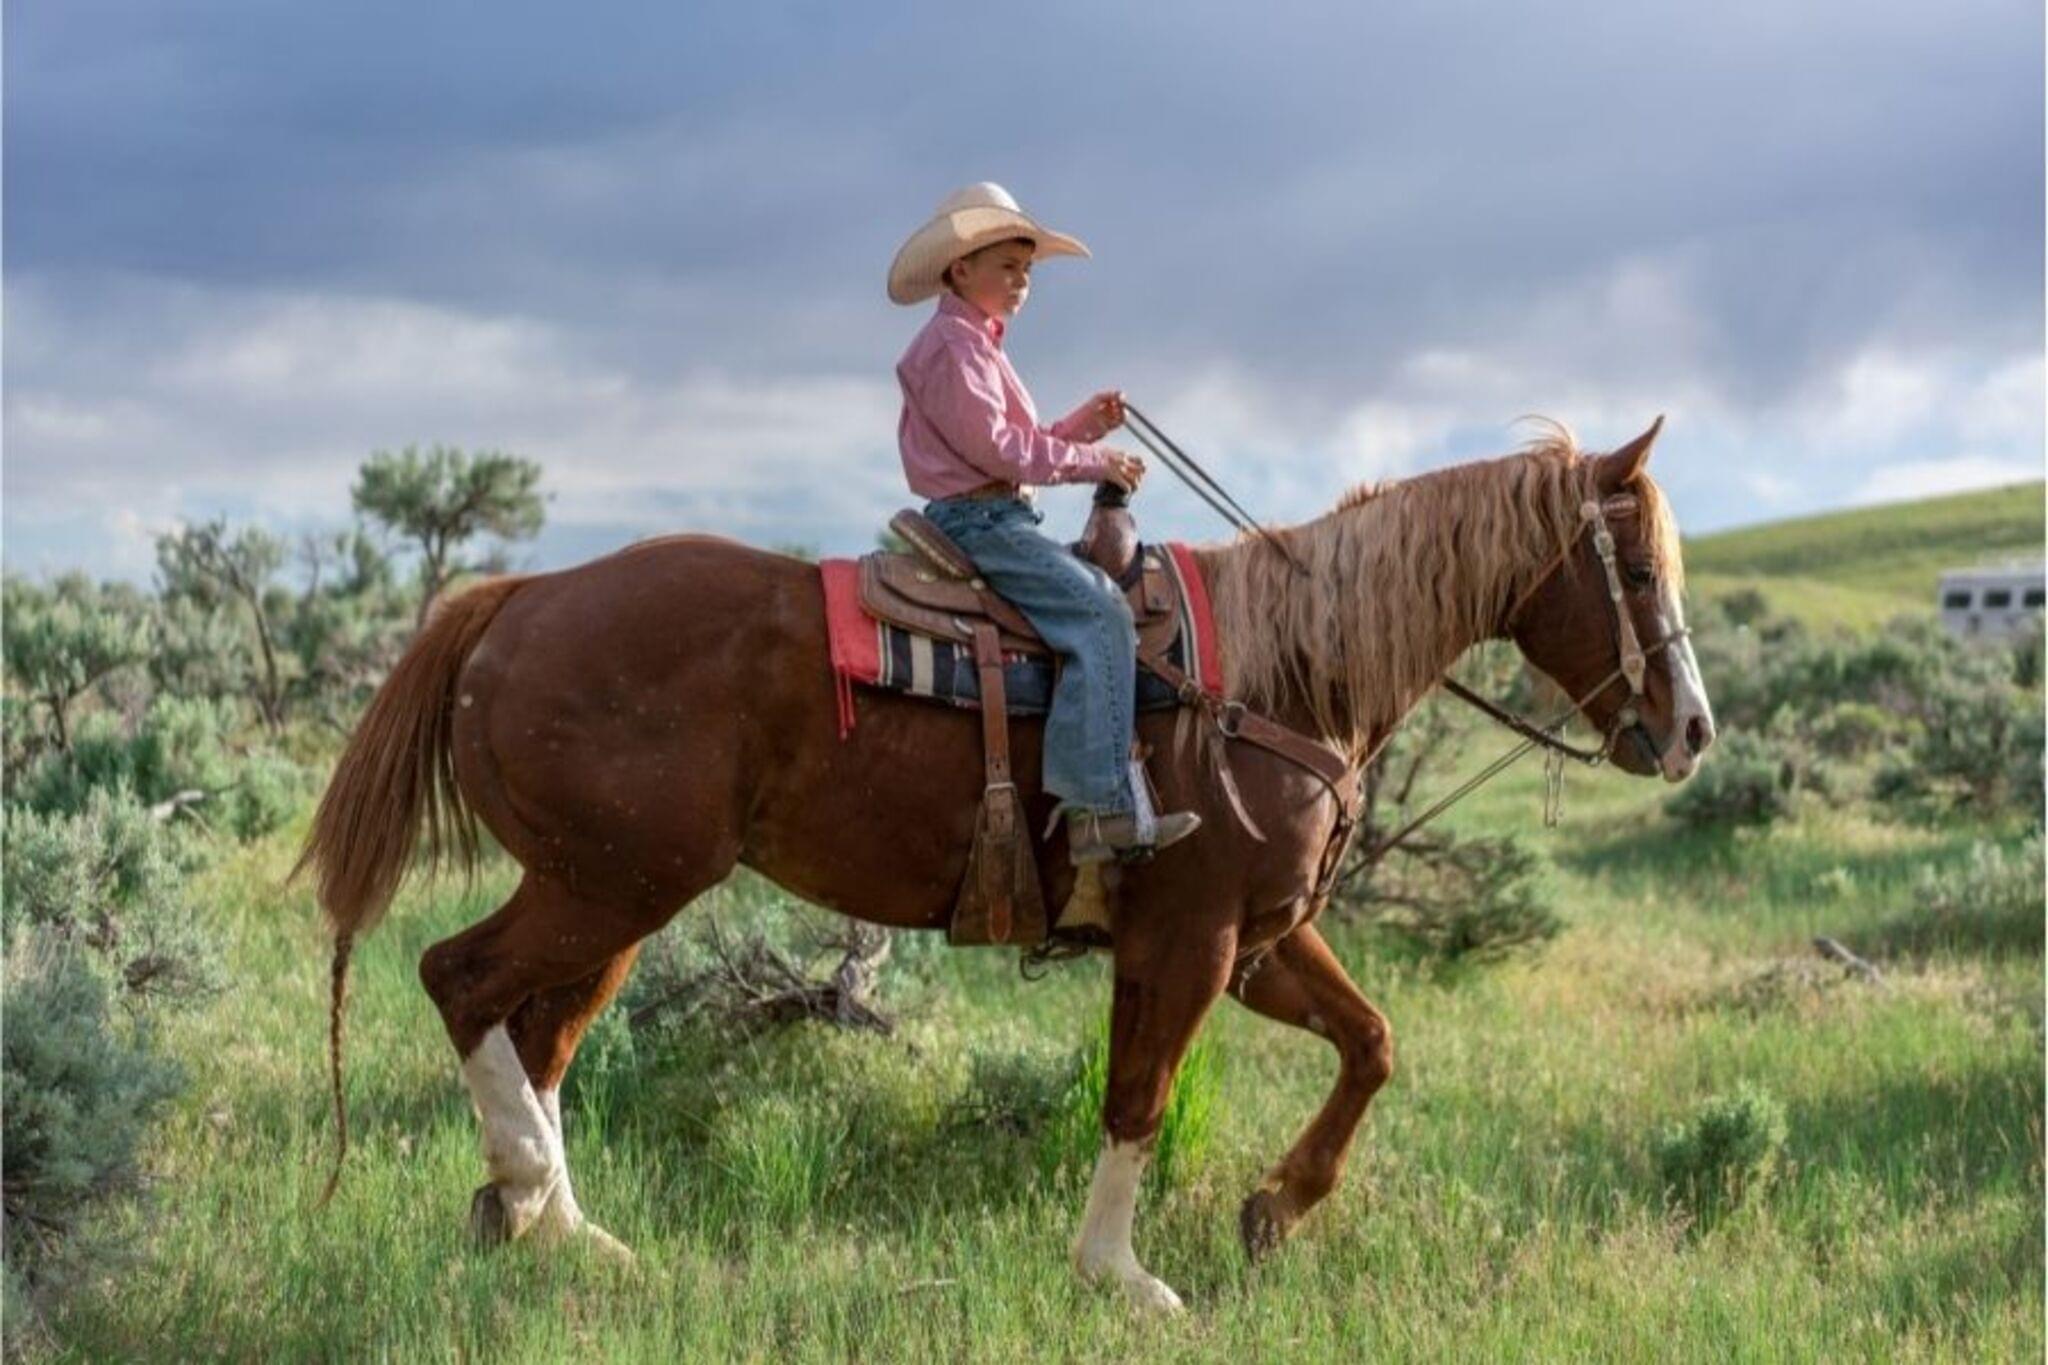

Step-by-step guide to go horseback riding
Horses for Kids
Step 1
Put on your helmet and fasten the chin strap so it fits snugly.
Step 2
Put on closed-toe shoes or riding boots.
Step 3
Put on long pants to protect your legs while riding.
Step 4
Arrive at the supervised stable and check in with the instructor.
Step 5
Listen to the instructor's safety briefing and follow their instructions.
Step 6
Approach your assigned horse slowly and calmly.
Step 7
Observe the horse's behavior from a safe distance to see how it is feeling.
Step 8
Ask the instructor to show you which grooming tool to use.
Step 9
Brush the horse's coat as the instructor demonstrated.
Step 10
Ask the instructor to help fit and check the saddle and bridle.
Step 11
Mount the horse with the instructor's help.
Step 12
Walk the horse while holding the reins correctly as the instructor directs.
Step 13
Dismount safely when the instructor tells you and groom the horse to say thank you.
Step 14
Share your horseback riding photo or story and what you learned on DIY.org
Help!?
What can we use if we don’t have a riding helmet at home?
If you don't have a riding helmet, ask the supervised stable to rent a certified riding helmet or, only with the instructor's approval, use a snug bike helmet and be sure to fasten the chin strap before mounting.
What should we do if the child can't get on the horse or the horse moves while mounting?
If mounting is difficult, ask the instructor to steady the horse, use a mounting block, and confirm the instructor has checked the saddle and bridle and adjusted stirrup length before trying again.
How can we adapt the activity for younger or older children?
For younger children have the instructor or parent lead the horse while the child practices brushing with long pants and closed-toe shoes, and for older children let them mount with instructor help and practice holding the reins and walking the horse as directed.
How can we extend or personalize the horseback riding activity after the lesson?
To extend the activity, keep a small stable journal noting the horse's name, which grooming tool and brush you used, take a horseback riding photo after grooming, and share the photo and what you learned on DIY.org.
Watch videos on how to go horseback riding
Horse Facts for Kids
4 Videos
Horse Facts for Kids
How To Draw A Horse (for kids)
Why Wild Horses Are at Risk

How To Draw A Horse - Preschool
Facts about horseback riding and horse care
🐴 Horses can sleep both standing up and lying down — they use a special “stay” mechanism in their legs to nap while standing.
🪖 Riding helmets are made to absorb impact and many stables require them for kids to help reduce the chance of serious head injuries.
🧽 Grooming isn’t just cleaning — brushing your horse removes dirt, helps spot cuts or swelling, and builds trust between you and the horse.
🏇 Some racehorses can sprint over 40 mph in short bursts, but safe riding at a stable is usually much slower and controlled.
👂 Horses communicate with their ears, eyes and tail — watching those signals helps riders understand how the horse is feeling and stay safe.
How do I take my child horseback riding at a supervised stable?
What materials and equipment are needed for a child to go horseback riding?
What ages are suitable for children to start horseback riding?
What are the benefits and key safety tips for children who go horseback riding?
