Film a Back to School Hack!
Film a short back to school hack video showing a clever DIY desk organizer using recycled materials, planning shots, speaking clearly, and editing simply.


Step-by-step guide to film a Back to School hack
SCHOOL IS COOL! 11 FUN School Hacks & Back to School DIY Ideas
Step 1
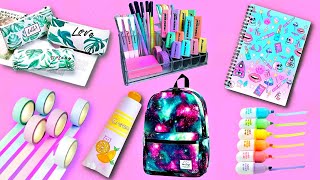
Gather all the Materials Needed and bring them to a clear table.
Step 2
Clear the flat table or desk so you have plenty of room to build and film.
Step 3
Sketch a quick plan on paper showing where each recycled piece will go in your desk organizer.
Step 4
Write a short shot list naming three shots you will film: an intro a close-up and a reveal.
Step 5
Cut your recycled pieces to the sizes from your plan using scissors.
Step 6
Assemble the organizer by attaching pieces together with glue or tape.
Step 7
Press pieces together and hold them in place until the glue or tape feels secure.
Step 8
Let any glue dry completely before you touch the organizer again.
Step 9
Decorate and label each compartment with coloring materials stickers or sticky notes.
Step 10
Position your finished organizer on the table where you will film.
Step 11
Set up a bright light so your organizer is easy to see on camera.
Step 12
Film each shot from your shot list while speaking clearly and showing details slowly.
Step 13
Edit your clips by trimming out mistakes and adding short captions where helpful.
Step 14
Export or save the finished video file to your device.
Step 15
Share your finished creation on DIY.org
Help!?
What can we use if we don't have glue, scissors, or stickers from the materials list?
Use strong clear tape or a stapler instead of glue, kid-safe safety scissors or have an adult pre-cut cardboard strips instead of full scissors, and replace stickers with masking tape or sticky notes for labeling and decorating the organizer.
My pieces keep coming apart or the glue isn't holding—what troubleshooting steps should I try?
Follow the instructions to press pieces together and hold them in place until secure, add extra tape along seams, let any glue dry completely and weight glued areas with books while drying, and re-cut ragged edges before reassembling if needed.
How can I adapt this activity for younger children or make it more challenging for older kids?
For younger children have an adult pre-cut the recycled pieces and let them focus on decorating and narrating the intro shot, while older kids can design more compartments in their sketch, use precise cuts, expand the shot list, and do more detailed editing when trimming clips and adding captions.
What are simple ways to extend or personalize the organizer and the video before sharing it on DIY.org?
Personalize the organizer by painting or covering compartments with patterned paper and adding labeled drawers with sticky notes, film an extra close-up detail shot, and enhance the video by trimming clips, adding short captions or background music during editing before exporting.
Watch videos on how to film a Back to School hack
11 DIY Best School Crafts - BACK TO SCHOOL HACKS - Easy and Cute School Supplies #diy #schoolcrafts
4 Videos
11 DIY Best School Crafts - BACK TO SCHOOL HACKS - Easy and Cute School Supplies #diy #schoolcrafts
EASY CRAFTS FOR BACK TO SCHOOL 🏫✏️ FUNNY DIY SCHOOL HACKS
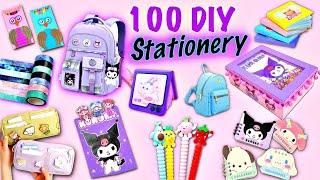
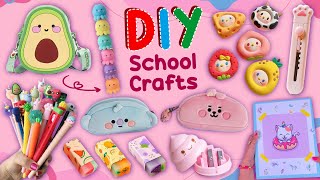
100 DIY STATIONERY IDEAS - Back To School Hacks and Crafts
22 DIY EASY SCHOOL SUPPLIES IDEAS YOU SHOULD DEFINITELY TRY - BACK TO SCHOOL HACKS AND CRAFTS
Facts about filmmaking for kids
🎬 Short clips (30–60 seconds) often get the most replays—plan your key shots first!
♻️ Recycling one aluminum can saves enough energy to run a TV for about three hours.
🖍️ Cardboard is super kid-friendly: it’s easy to cut, fold, glue, and decorate for organizers.
🎨 Storyboards were popularized by Walt Disney studios in the 1930s to plan animated scenes shot-by-shot.
🎙️ Clear speaking plus simple on-screen captions helps viewers watch DIY hacks even with the sound off.
How do I film a short Back to School Hack video showing a DIY desk organizer?
What materials do I need to make a recycled DIY desk organizer and film the hack?
What ages is this filming and crafting activity suitable for?
What are the benefits of making a Back to School hack video and what safety tips should we follow?
