Learn to Sew
Make a small felt pouch using a needle, thread, and fabric; learn running stitch, whipstitch, knotting, and safe sewing techniques.


Step-by-step guide to learn to sew
Step 1
Lay out all your materials on a clean table so everything is ready and easy to reach.
Step 2
Ask an adult to come sit with you and show how to hold the needle safely before you start sewing.
Step 3
Use the ruler and fabric marker to draw a rectangle about 12 cm by 8 cm on your felt.
Step 4
Cut out the marked rectangle from the felt using scissors.
Step 5
Fold the felt rectangle in half so the short edges meet and a pouch shape appears.
Step 6
Use safety pins to pin the two open side edges so the layers stay lined up.
Step 7
Cut a length of thread about 80 cm long so you have enough to sew both sides and the top.
Step 8
Put the thread through the needle eye so one end hangs free and the needle is ready.
Step 9
Tie a small knot at the loose end of the thread so it won’t pull through the fabric.
Step 10
Sew up the first side using a running stitch by pushing the needle in and out along the edge about 5 mm apart until you reach the top.
Step 11
Continue the running stitch across the folded top and down the second side until you reach the bottom so both side seams are sewn.
Step 12
Make two small knots close to the fabric to secure the running stitch and leave a short tail.
Step 13
Finish the top opening with a whipstitch by bringing the needle up through the front edge then looping over the edge and repeating about every 5 mm until the top edge looks neat.
Step 14
Tie two small knots to secure the final stitch and carefully cut off any extra thread.
Step 15
Share a photo of your finished felt pouch on DIY.org so everyone can see your new sewing skills.
Help!?
What can I use if I don't have felt, a fabric marker, or a sharp sewing needle?
Use a scrap of cotton (like an old T-shirt) instead of felt, mark the 12 cm × 8 cm rectangle with a pencil or washable marker, and substitute a blunt plastic sewing needle or a large-eye yarn needle for safer threading.
My layers keep shifting while I sew—how can I stop that so my running stitch looks neat?
Put extra safety pins or small binder clips along the two open side edges before Step 6 and remove each pin as you sew so the folded edges stay aligned for the 5 mm running stitches in Steps 11–12.
How should I change this activity for younger or older children?
For younger kids, have an adult do the scissors and needle steps and use pre-punched holes plus a plastic needle and thick yarn, while older kids can add a lining, zipper, or embroidery before finishing the top with the whipstitch.
How can we personalize or extend the finished felt pouch after completing the whipstitch?
Decorate the 12×8 cm rectangle before sewing with buttons, fabric paint, or embroidery, then add a ribbon strap, button closure, or extra felt pocket to turn the finished felt pouch into a mini purse or coin pouch to share on DIY.org.
Watch videos on how to learn to sew
Tips For Teaching Children How To Sew (Ages 2-11+) | Paige Handmade
4 Videos
Tips For Teaching Children How To Sew (Ages 2-11+) | Paige Handmade
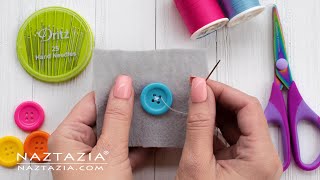
HOW to SEW by HAND for BEGINNERS - Learn BASIC SEWING Skills
How to Sew by Hand for BEGINNERS!
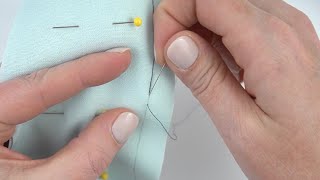
Learn to sew in 20 minutes! | easy step-by-step tutorial
Facts about hand sewing for kids
🪡 The oldest known sewing needles made from bone are over 40,000 years old.
🧵 A typical small spool of sewing thread holds around 100 meters (about 110 yards).
🐑 Felt is one of the oldest textiles and can be made by matting wool fibers without weaving.
✂️ The running stitch is one of the simplest hand-sewing stitches and is often the first stitch beginners learn.
🛡️ Thimbles protect your fingertip when pushing a needle — antique thimbles were sometimes made from silver and given as keepsakes.
How do I teach my child to sew a small felt pouch?
What materials do I need to make a felt pouch with my child?
What ages is learning to sew a felt pouch suitable for?
What safety tips should I follow when my child learns to sew?
