Do Art with Plastic
Make colorful art using recycled plastic pieces to create mosaics, wind chimes, or sculptures while learning about recycling and design.


Step-by-step guide to Do Art with Plastic
Step 1
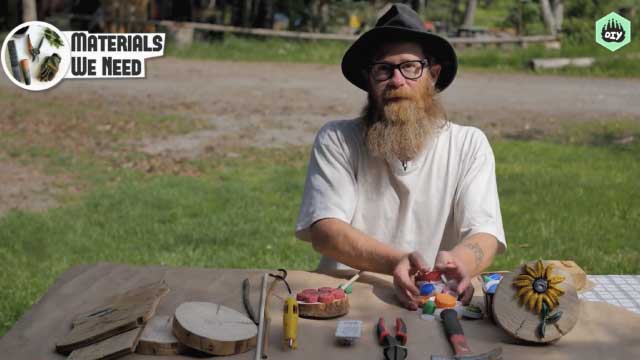
Clear a flat workspace and put all Materials Needed within reach.
Step 2
Decide whether you will make a mosaic wind chime or a sculpture.
Step 3
Wash and dry your recycled plastic pieces so they are clean and safe to use.
Step 4
Sort the plastic pieces by color shape or size into separate piles.
Step 5
Cut or trim plastic pieces into the shapes you want using scissors.
Step 6
Lay out your pieces on the base or on the table to plan the design without attaching anything.
Step 7
Add color or patterns to pieces with colouring materials and wait for the color to dry.
Step 8
Attach pieces to make your project using the method for your choice: glue pieces onto the base for a mosaic; punch holes and tie pieces onto string for a wind chime; or glue and stack pieces to build a sculpture.
Step 9
Add beads buttons or extra pieces to decorate and balance your artwork.
Step 10
Let glue dry fully and test that all pieces are secure or that your wind chime hangs evenly.
Step 11
Share a photo or video of your finished creation on DIY.org
Help!?
What can we use if we don't have the exact glue, string, or beads listed in the Materials Needed?
If you don't have craft glue, string, or beads use a hot glue gun with adult help or clear packing tape to attach pieces, sturdy twine or fishing line for hanging, and punched bottle caps or recycled cereal-box cardboard for decorative accents or a base.
My pieces won't stick or my wind chime hangs lopsided — what should we try?
Press glued areas firmly and let glue dry fully as instructed, reinforce weak spots with extra glue or clear tape, and rebalance the wind chime by moving tied strings along the base until it hangs evenly.
How can we adapt the activity for younger children or make it more challenging for older kids?
For preschoolers have an adult pre-wash, pre-cut, and pre-punch holes and use non-toxic glue sticks and large pieces, while older kids can trim intricate shapes with scissors, experiment with stacking and hot glue for sculptures, and plan detailed color patterns during the lay-out step.
How can we extend or personalize our mosaic wind chime or sculpture after finishing the basic steps?
Personalize by adding painted patterns with permanent markers in the 'Add color' step, glue on extra beads, buttons, or small bells for sound, seal the finished artwork with clear varnish for outdoor display, or arrange pieces into a themed color-sorted mosaic before attaching to the base.
Watch videos on how to Do Art with Plastic
Recycled Art Ideas for Kids: Ladybug's Family from Plastic Bottles | DIY Recycled Bottles Crafts
4 Videos
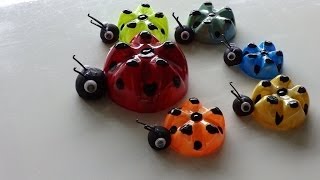
Recycled Art Ideas for Kids: Ladybug's Family from Plastic Bottles | DIY Recycled Bottles Crafts
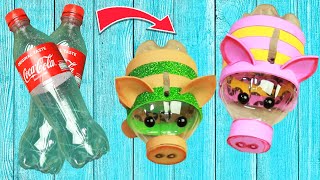
recycled craft ideas plastic bottles - How to make piglets with recycled plastic bottles
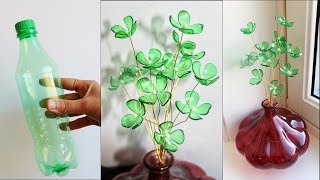
How To Make Very Easy and Beautiful Plastic Bottle Flower - Plastic Bottle Craft -Bottle Art
Make a Sculpture Using Recycled Materials - Art with Ms. Natasha - Art for Kids
Facts about recycling and upcycling for kids
♻️ Only about 9% of all plastic ever made has been recycled — the rest becomes trash or pollution.
⏳ Most plastics can take hundreds to thousands of years to break down in nature.
🎨 Artist Aurora Robson is famous for turning plastic debris into giant, colorful sculptures to raise awareness.
🔔 You can make wind chimes from bottle caps, straws, and cut-up containers — plastic makes playful, tinkling sounds!
🌈 Mosaics don't need ceramic tiles — bright plastic pieces make lightweight, durable mosaic art.
How do I make recycled plastic art (mosaics, wind chimes, sculptures) with my child?
What materials do I need for a recycled plastic art project?
What ages is making art with recycled plastic suitable for?
What safety tips and creative variations should I know for recycled plastic art?
