Paint Your Pot
Decorate a small terracotta pot using non-toxic paints, stencils, and non-toxic sealant; then plant a seedling to learn about art, care, and growth.

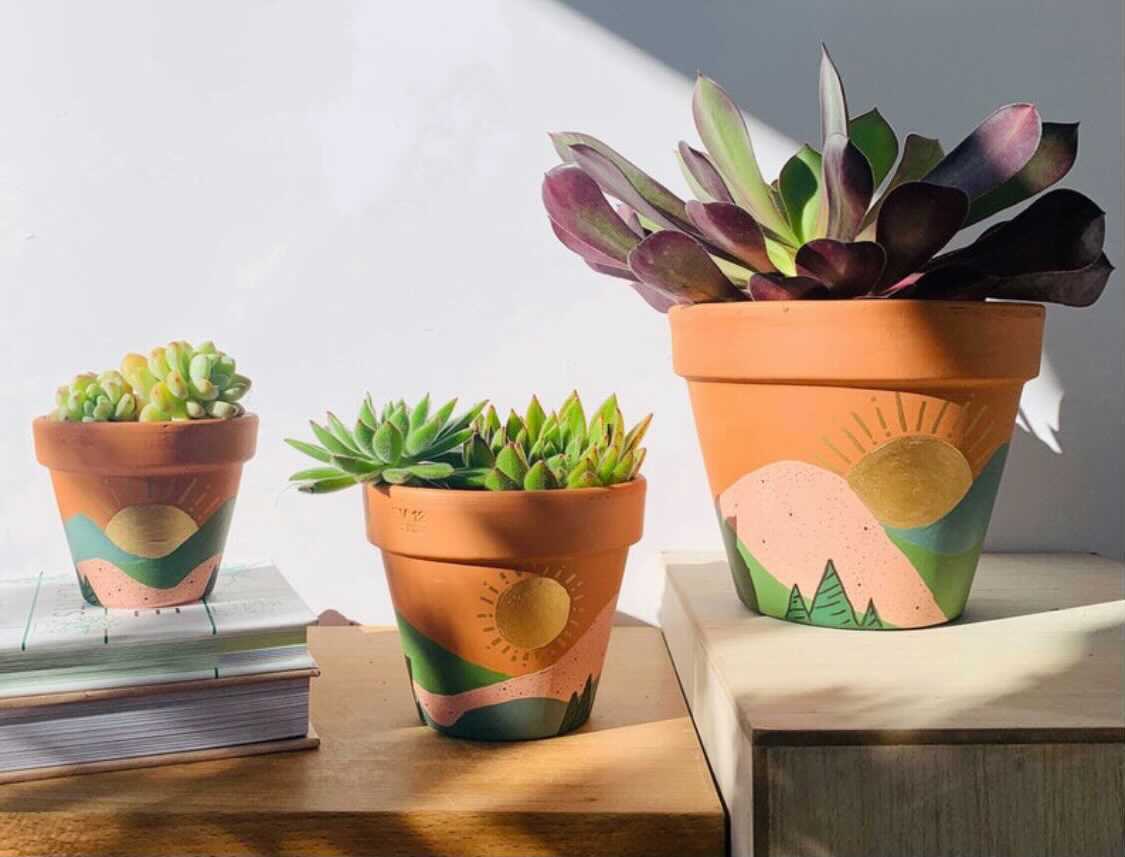

Step-by-step guide to Paint Your Pot
Step 1
Cover your workspace with newspaper or a table cover so paint won’t make a mess.
Step 2
Wipe the outside of the terracotta pot with a damp paper towel to remove dust.
Step 3
Choose the paint colors and stencil design you want to use for your pot.
Step 4
Paint one even base coat over the outside of the pot using a brush.
Step 5
Let the base coat dry completely before you touch the pot.
Step 6
Place your chosen stencil on the dry pot and hold it steady.
Step 7
Paint over the stencil to add shapes or patterns to the pot.
Step 8
Lift the stencil carefully from the pot so the design stays neat.
Step 9
Let the stencil paint dry fully before adding sealant.
Step 10
Apply a thin layer of non-toxic sealant evenly over the painted areas.
Step 11
Let the sealant dry completely following the sealant’s instructions.
Step 12
Fill the pot with potting soil leaving about 1 inch of space at the top.
Step 13
Plant the seed or seedling into the soil at the right depth for the plant.
Step 14
Water the soil gently until it is evenly moist but not soggy.
Step 15
Share your finished painted pot and plant on DIY.org.
Help!?
What can we use instead of a terracotta pot, stencil, or non-toxic sealant if we can't find them?
Substitute a clean recycled plastic pot or tin can for the terracotta pot, make stencils from paper or painter's tape if you don't have a stencil, and use a labeled water‑based craft sealer (for example Mod Podge or a clear acrylic craft spray) instead of the specific non-toxic sealant.
My stencil paint smudged or the base coat looks uneven — what should I do?
Be sure you wiped the pot (step 2), apply thin even base coats with a brush (step 4) and let each coat dry completely before stenciling (step 5), then press the stencil edges firmly or secure it with low‑tack tape to prevent smudging.
How can I adapt this activity for younger or older children?
For younger kids, use washable tempera paints, large pre‑cut stencils and have an adult handle the sealant and planting steps (steps 9–13), while older kids can use acrylics, finer brushes for detail, apply the sealant themselves, and plant seeds or seedlings independently.
How can we extend or personalize the painted pot project?
Personalize the pot by pressing name stickers or washi tape under the sealant (step 9), adding glued mosaic tiles or ribbon after painting for texture, or painting a matching saucer and creating a handwritten plant‑care tag when you fill and plant the pot (steps 11–13).
Watch videos on how to Paint Your Pot
How to Paint Flower Pots Acrylic Painting LIVE Tutorial
4 Videos
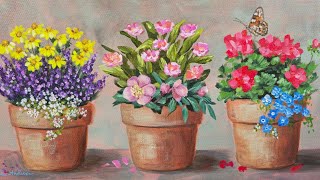
How to Paint Flower Pots Acrylic Painting LIVE Tutorial
How to paint a flowers pot step by step?🪴
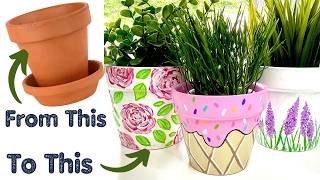
Painting Terracotta Pots with 6 Easy Ideas 🪴🎨 DIY Tips To Seal, Paint and Topcoat Your Pots

EASY Dot Painting OVAL Daisy Flower Pot Rainbow Colors Step By Step | Lydia May
Facts about gardening and crafts for kids
🪴 Terracotta pots are porous, so they let air and moisture move through—great for healthy roots!
🎨 Many acrylic paints are non-toxic and dry quickly, making them perfect for kids' pot-painting projects.
🌱 A healthy seedling can grow very fast—sometimes doubling in size in just a week with good light and water.
🛡️ A clear, non-toxic sealant protects painted designs from water and fading so your pot stays bright.
♻️ Decorating and reusing an old pot is a fun upcycling idea that keeps materials out of the trash.
How do I do the 'Paint Your Pot' activity step by step?
What materials do I need for Paint Your Pot?
What ages is Paint Your Pot suitable for?
What are the benefits of doing Paint Your Pot with my child?
