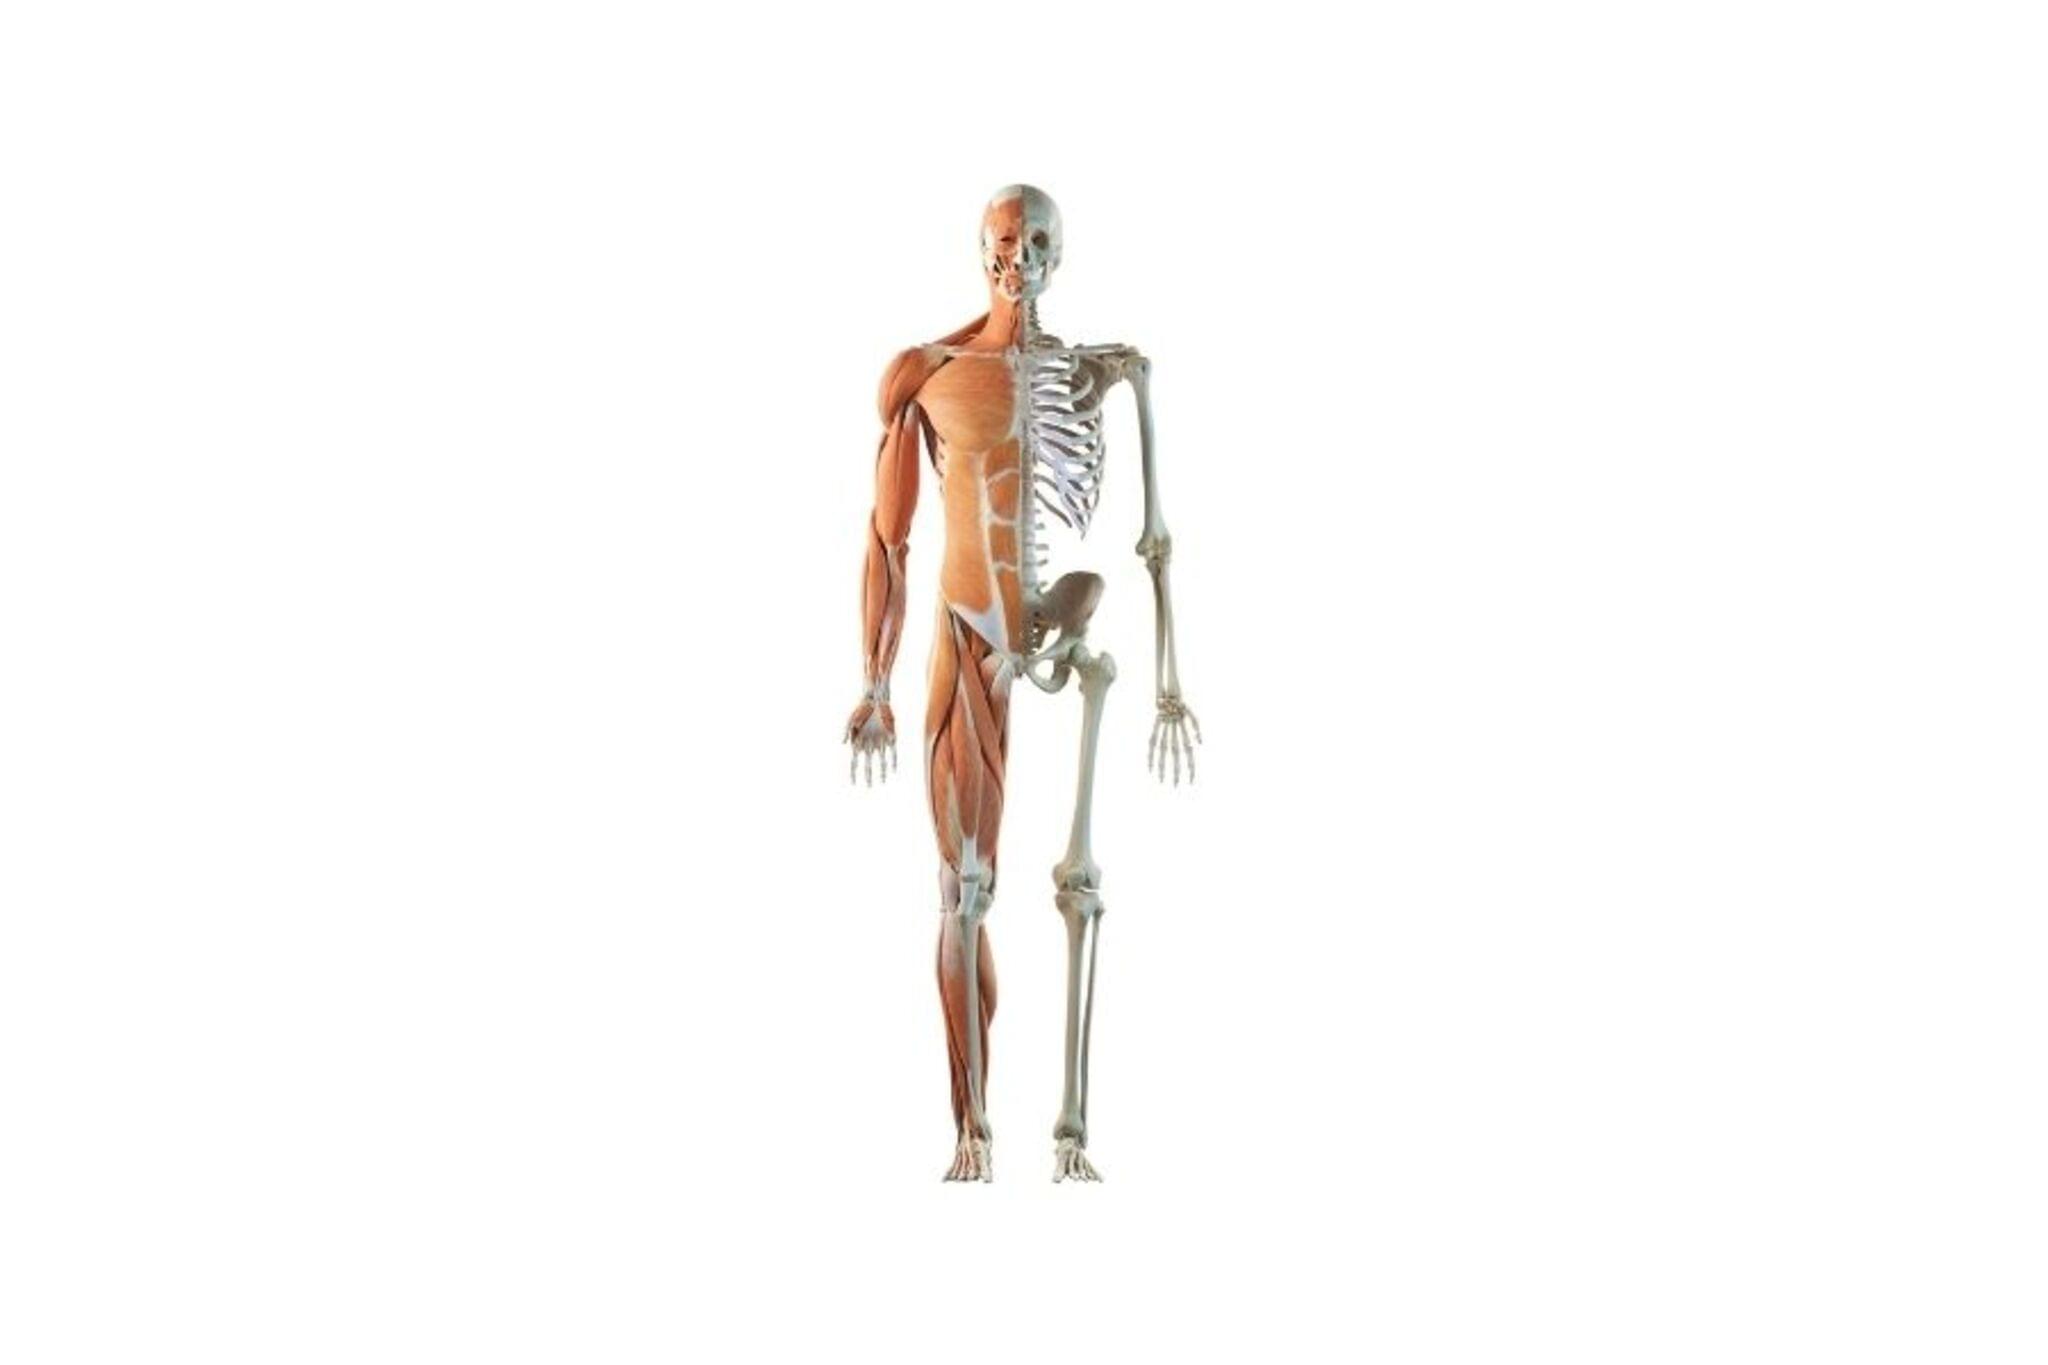
Draw the Musculoskeletal System
Draw the human musculoskeletal system using paper, pencils, and colored markers; label major bones and muscles to learn how movement and support work.

Drawing Apps
Step-by-step guide to draw the musculoskeletal system
Overview of the Musculoskeletal System, Animation
Step 1
Gather all the materials listed and put them where you can reach them easily.
Step 2
Place one sheet of paper flat on a table and put your pencil and eraser beside it.
Step 3
Lightly sketch a full-body human outline with simple shapes to set the correct size and proportions.
Step 4
Draw the skull at the top of your outline using a rounded oval shape.
Step 5
Draw the spine as a single curved line from the base of the skull down to where the pelvis will be.
Step 6
Sketch the ribcage in the chest area and draw the pelvis shape at the base of the spine.
Step 7
Draw the long arm and leg bones inside the outline (upper arm bone and forearm bones and thigh bone and lower leg bones).
Step 8
Add simple shapes for the hand and foot bones at the ends of the arms and legs.
Step 9
Outline the major muscle groups over the bones (shoulders deltoids chest biceps triceps abdominals quads hamstrings calves).
Step 10
Use one color for bones and a different color for muscles to color-code your drawing with markers or colored pencils.
Step 11
Use a black pen to draw leader lines and clearly label each major bone and each major muscle.
Step 12
Draw arrows at the shoulder elbow hip and knee to show which way those joints move.
Step 13
Write a one-line note beside each arrow that names the movement (for example "elbow bends to bring hand in").
Step 14
Add a title at the top of your page and a small legend that explains which color means bones and which color means muscles.
Step 15
Share your finished musculoskeletal drawing on DIY.org.
Help!?
What can I use if I don't have markers or colored pencils to follow the color-coding step?
If you don't have markers or colored pencils, use crayons, watercolor paints, colored paper cutouts, or even colored tape to color-code bones and muscles as instructed.
My sketch's proportions and spine look wrong—how can I fix that while following the steps?
If your proportions or spine curve look off, lighten the initial pencil sketch, redraw the full-body outline using simple shapes and a single gentle curved line for the spine, then correct bones and muscles before inking with your black pen and labels.
How can I adapt this activity for younger or older kids?
For younger children, simplify by tracing a doll or printed outline and using stickers for bones and muscles, while older kids can add more detailed bone/muscle labels, precise leader lines, and fuller one-line movement notes beside each arrow.
What are some ways to extend or personalize the finished musculoskeletal drawing?
To enhance the project, create a layered tracing-paper overlay or flipbook to show joint movements with arrows and one-line notes, add textured materials for muscles, include a custom title and legend, and then share the final piece on DIY.org.
Watch videos on how to draw the musculoskeletal system
How your muscular system works - Emma Bryce
3 Videos
How your muscular system works - Emma Bryce

"Understanding the Muscular System: Anatomy, Physiology, and Function | Explained by Tutor

The Musculoskeletal System: Supporting and Moving Your Body
Facts about the musculoskeletal system
🦴 An adult human has 206 bones, but babies are born with about 270 that fuse as they grow.
💪 There are over 600 muscles in the body; the largest is the gluteus maximus and the tiniest is the stapedius in the ear.
🔗 Tendons connect muscles to bones while ligaments connect bones to other bones to stabilize joints.
⚖️ Bones are living tissue that constantly remodels—exercise can make them stronger and inactivity can weaken them.
🧠 Muscles only pull (never push); your brain sends nerve signals that tell muscles which fibers to contract for movement.
How do I help my child draw the human musculoskeletal system step by step?
What materials do I need to draw the musculoskeletal system with my child?
What ages is drawing the musculoskeletal system suitable for?
What are the benefits and safety tips for drawing the musculoskeletal system with kids?
