Make a Forest Home
Build a small forest habitat model using twigs, leaves, clay, and recycled materials to learn about ecosystems and shelter for plants and animals.


Step-by-step guide to make a forest home
Step 1
Gather all the Materials Needed and bring them to a flat workspace.
Step 2
Put your tray or piece of cardboard on the table to be the forest floor.
Step 3
Lightly draw where trees a shelter a pond and paths will go on the base.
Step 4
Pinch off bits of modeling clay and flatten each into a small disk to make tree bases.
Step 5
Press each clay disk onto the spots you drew so the bases stick to the forest floor.
Step 6
Push twigs into the clay disks to create tree trunks and press until they stand firm.
Step 7
Attach a leaf to the top of each twig using a small dab of craft glue to make leafy treetops.
Step 8
Fold a piece of recycled cardboard into a tiny shelter shape for animals to hide in.
Step 9
Glue the folded cardboard shelter onto the base where you drew the shelter spot.
Step 10
Arrange small stones into a pond edge or a winding path and press or glue them onto the base.
Step 11
Shape one small animal or a plant from modeling clay.
Step 12
Place your clay animal or plant into the forest where you like it and press gently so it stays.
Step 13
Share your finished forest home on DIY.org.
Help!?
What can I use if modeling clay or craft glue is hard to find?
If modeling clay is unavailable, use playdough or air-dry clay for the tree bases and animals, and replace the small dab of craft glue for leaves with PVA school glue or a low-temperature hot glue gun.
My twigs keep falling over or the clay disks won't stick to the cardboard—what should I do?
Make larger, thicker modeling clay disks and press them firmly onto the tray or cardboard base, push the twigs deeper into the clay until they stand firm, and let glued leaf tops dry flat under a light weight if they keep sliding off.
How can I adapt this activity for younger or older children?
For younger kids simplify by using bigger pre-cut twigs, larger clay pieces, and sticker leaves to skip fiddly gluing, while older children can fold more detailed recycled-cardboard shelters, sculpt finer clay animals, and paint the forest floor.
How can we extend or personalize our forest home after it's finished?
Enhance your forest by adding moss or real leaves for texture, arranging small stones into decorative paths or a pond edge, placing an LED tealight inside the folded cardboard shelter, or writing a short story about the clay animal before sharing on DIY.org.
Watch videos on how to make a forest home
Forest Model Making (Jungle) For School Project With Wild Animals | DIY At Home.
3 Videos
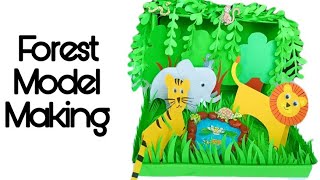
Forest Model Making (Jungle) For School Project With Wild Animals | DIY At Home.
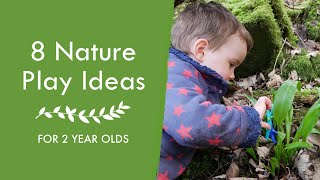
NATURE PLAY FOR A TWO YEAR OLD | 8 Forest Activities for 2 year olds
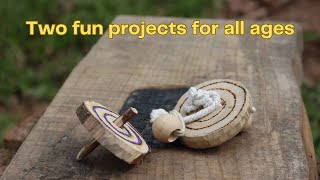
Making woodland toys that spin - Forest School Tool Activities
Facts about forest ecosystems and habitats
🌳 Forests cover about 31% of Earth's land area — they're huge homes for many plants and animals!
🐞 A single fallen log can host hundreds of species of insects, fungi, and tiny plants.
🍂 Leaf litter acts like a cozy blanket on the forest floor, keeping soil moist and feeding new plants.
🏠 Many animals build shelters from twigs, leaves, and mud — from bird nests to insect burrows.
♻️ Turning recycled bits into craft materials reduces waste and makes super imagination-powered decorations!
How do I make a Forest Home model to teach kids about ecosystems?
What materials do I need to build a Forest Home with twigs, leaves, clay, and recycled items?
What ages is the Forest Home activity suitable for?
What are the benefits and safety tips for making a Forest Home?
