Make a hot appetizer
Make mini grilled cheese toasts using bread, cheese, and a skillet with adult supervision. Learn safe cooking, measuring, and simple heat control.

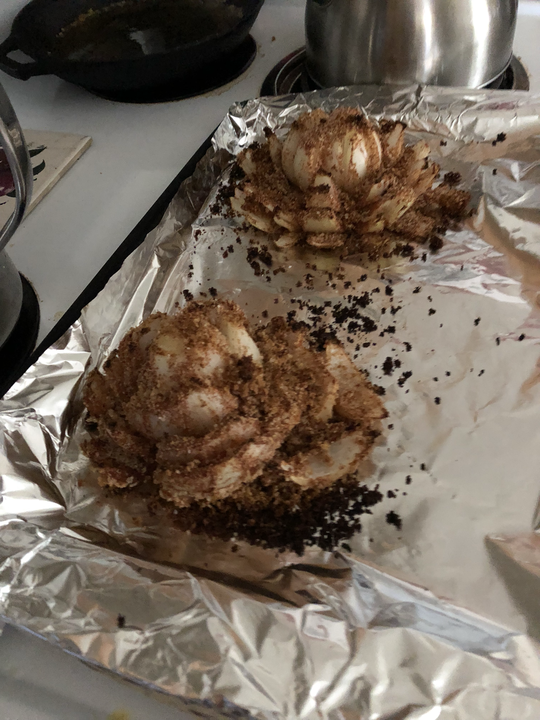

Step-by-step guide to make mini grilled cheese toasts
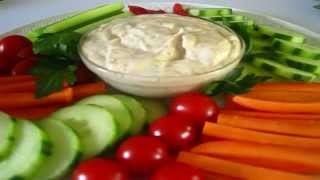
Easy Veggie Dip Recipe
Step 1
Wash your hands with soap and water for 20 seconds.
Step 2
Gather all materials and place them on a clean counter near the stove.
Step 3
Use the measuring spoon to scoop about 1 teaspoon of butter for each sandwich and put the butter on a small plate.
Step 4
Spread the measured butter evenly on one side of each bread slice using the butter knife.
Step 5
Place one slice of cheese on the unbuttered side of a bread slice.
Step 6
Put the second bread slice on top with the buttered side facing out to make a sandwich.
Step 7
Ask an adult to turn the stove on and heat the skillet to medium-low and wait for them to tell you it’s ready.
Step 8
Place the sandwich in the skillet butter-side-down and cook for about 2 minutes until the bottom is light golden.
Step 9
Use the spatula to flip the sandwich and cook the other side for about 2 minutes until the cheese is melted and both sides are golden.
Step 10
Remove the sandwich to a plate and let it cool for 1–2 minutes.
Step 11
Share a photo of your finished mini grilled cheese toasts on DIY.org.
Help!?
Can I substitute any of the tools, like the measuring spoon, butter knife, or skillet, if we don't have them?
Use a regular teaspoon to scoop about 1 teaspoon of butter, a dinner knife to spread the butter on the bread, and cook the sandwich in a nonstick pan or toaster oven on medium-low with an adult handling the heat.
My bread is browning too fast or the cheese isn't melting—what should I do?
If the bottom gets too dark during the 2-minute cook step, lower the skillet to low, cook a little longer, and cover the pan briefly after flipping so the trapped heat helps the cheese melt without burning the bread.
How can I adapt this activity for a 3‑year‑old, a 7‑year‑old, and a 12‑year‑old?
For a 3‑year‑old let them wash hands and place pre-buttered bread while an adult does the measuring, stove heating, and flipping; for a 7‑year‑old supervise them measuring, spreading butter, and placing the sandwich in the pan while the adult turns on the stove; for a 12‑year‑old let them do all steps including using the spatula on the skillet with adult supervision for the heat.
How can we make the mini grilled cheese toasts more fun or unique?
Add sliced tomato, ham, or herbs between the cheese and the bread before placing the second slice, cut cooked toasts into shapes with cookie cutters, and then share a photo of your finished mini grilled cheese toasts on DIY.org.
Watch videos on how to make mini grilled cheese toasts
Veggie Dip | The Best Vegetable Dip Recipe!
3 Videos

Veggie Dip | The Best Vegetable Dip Recipe!

The veggie dip my kids make
Christmas Day CREAMY VEGETABLE DIP - How to make VEGETABLE DIP Recipe
Facts about cooking and kitchen safety for kids
🧀 Grilled cheese sandwiches got a popularity boost in the 1920s when sliced bread and processed cheese made them quick and affordable!
🍞 There are thousands of kinds of bread around the world—mini toasts can be made with anything from sourdough to whole wheat to make new flavors!
🔥 Cooking on medium-low heat helps cheese melt fully while the bread turns golden instead of burning.
📏 Simple measurements—like 1 tablespoon of butter or 1/4 cup of shredded cheese—help each mini toast cook the same way every time.
🧑🍳 Always have an adult nearby when using a skillet—hot pans and oil can cause burns, so supervision keeps cooking safe and fun.
How do I make mini grilled cheese toasts with my child?
What materials and ingredients do I need to make mini grilled cheese toasts?
What ages are mini grilled cheese toasts suitable for?
What safety tips and learning benefits come from making mini grilled cheese toasts?
